By Suneha
How To'sAt Sketch My Pic, knowledge meets art and photography. Whether you are a beginner or a seasoned artist, this blog on how to draw a Penguin will help you in your artistic ventures.
1. Pencils - You will need pencils to sketch the outline and fill in the details.
2. Drawing paper and a drawing board—You will need drawing paper to sketch the penguin. A drawing board also helps ease the process of drawing, but as long as you have a flat surface, this can be omitted.
3. Eraser—You will need an eraser to erase any mistakes in your drawing. Use kneaded rubbers and erasers to prevent damage to your drawing paper and sketch.
4. Pen for outlining (optional)
5. Colored Pencils for coloring (optional)
Check out our page: SketchMyPic
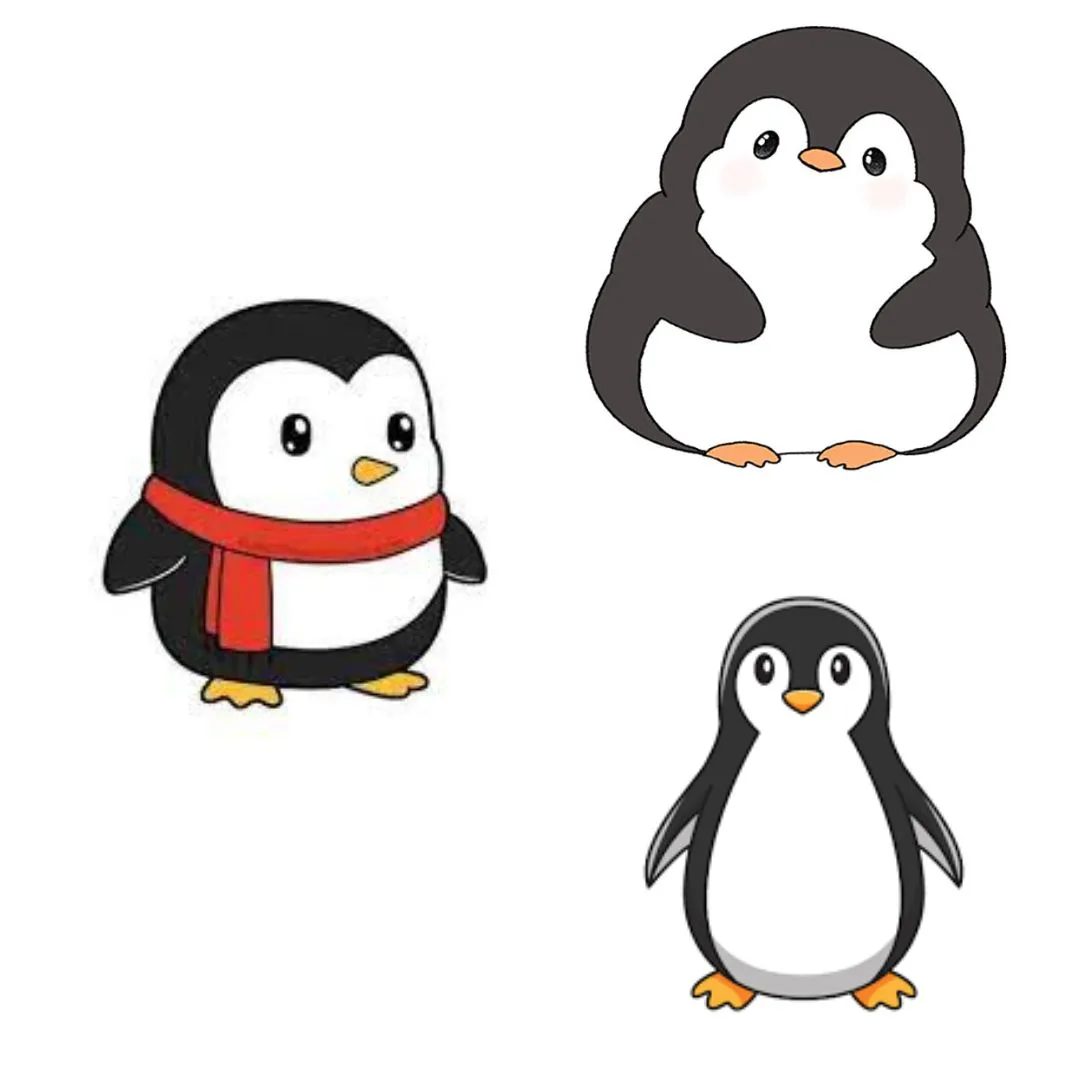
This sub-section of the blog dives into the basic sketches for drawing a penguin. This is an easy guide for kids. All you need is a drawing pencil, drawing paper, an eraser, and some colored pencils, which are optional.
Step 1: Start by understanding reference points and guidelines
Knowing drawing guidelines and reference points is mandatory for any artist, whether a novice or an expert. The sketching tutorials in Sketch My Pic have lines running through the center of the drawing paper which serve as guidelines. It is an easy reference point to follow before you start drawing.
Step 2: Draw the head and torso of the penguin
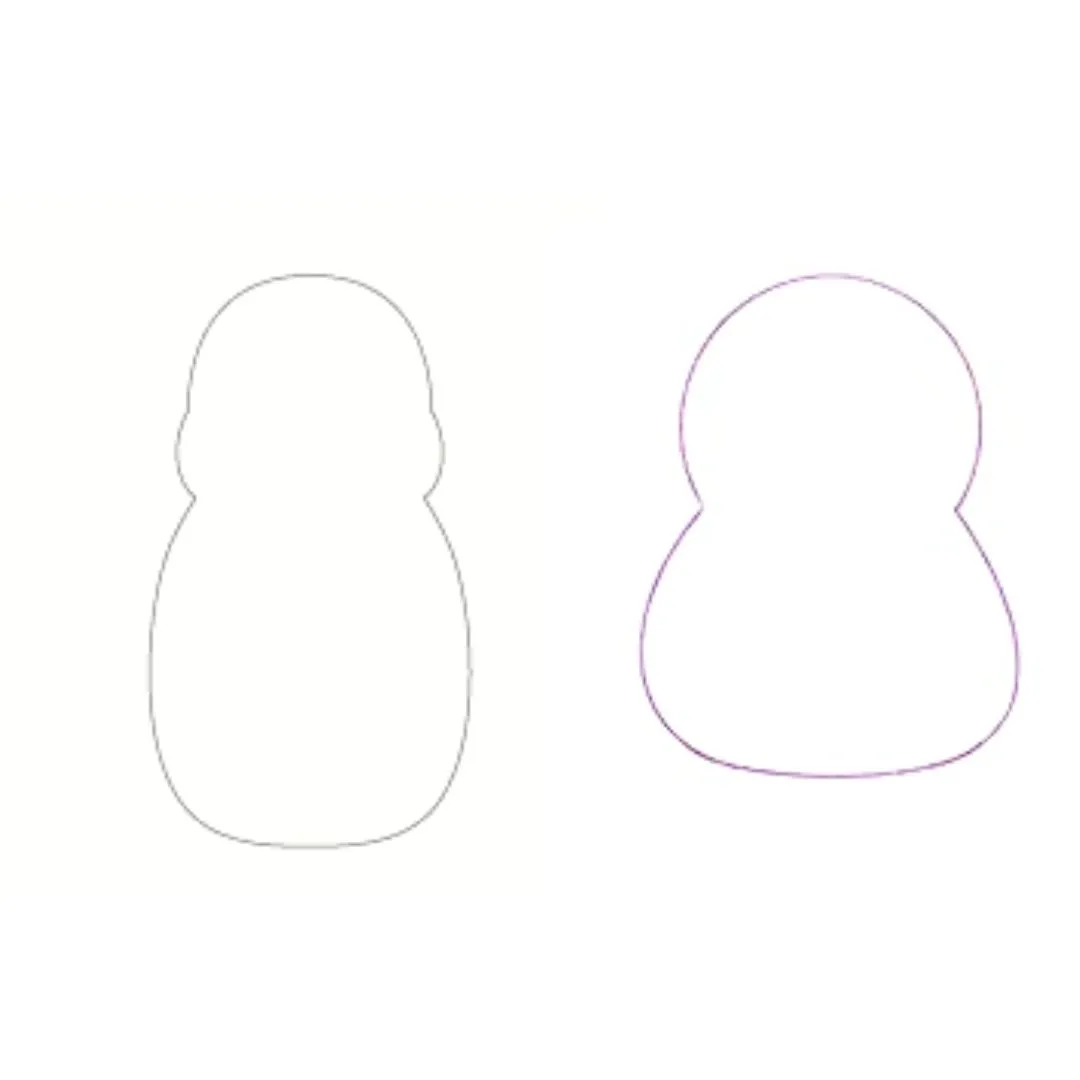
Start by drawing the penguin's head and torso. Make half a sphere depicting the head. Create a wider curved shape joining the sphere and flattening out at the bottom to depict the torso. This is what it should look like on paper.

Step 3: Draw the eyes and beak of the penguin
Create two small spheres inside the head and a triangle shape to depict the eyes and beak, respectively.
Step 4: Outline the wings
Using a triangular shape, create two small wings on each side of the torso.
Step 5: Distinguish between the inner and outer half of the penguin's body
A penguin has two distinct coats- black, which depicts the outer coat, and the inner white half, which distinguishes the penguin's plumage.
Make smooth lines around the penguin's body to distinguish between the coats.
Step 6: Add the legs
Draw the legs of the penguin at the bottom.
Step 7: Color your penguin

You can use black and white colored pencils to color your penguin. Use orange to color the beak.
Check out: How to Draw People
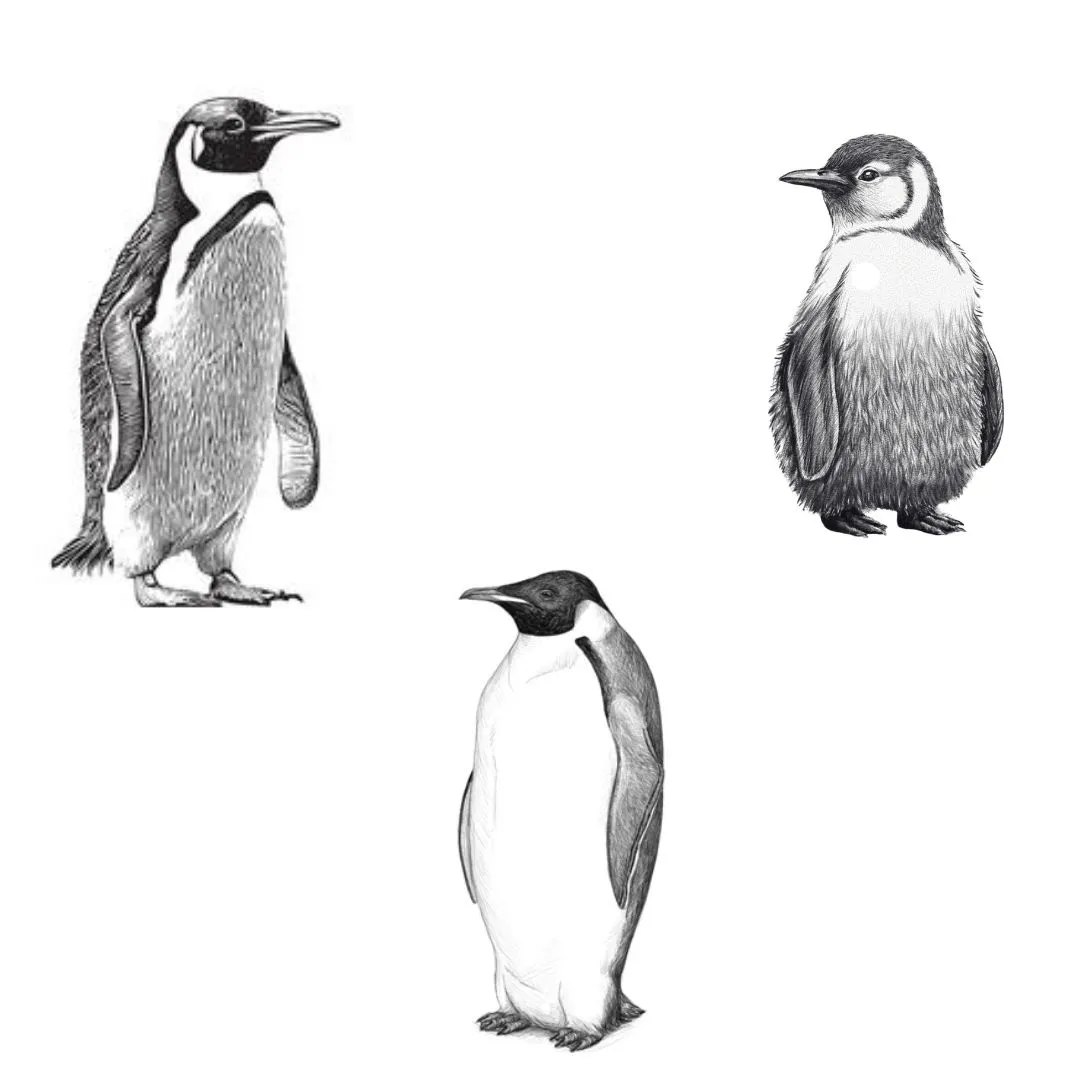
This part of the guide will teach you how to draw a realistic penguin. This six-step guide is comprehensible and beginner-friendly for all art enthusiasts.
Step 1: Draw the head of the penguin
For the first step, you need to draw the head of the penguin. Using a circular shape, outline the head of the penguin.
Step 2: Draw the body and outline the wings of the penguin
Using an elliptical or oval shape, draw the penguin's body. Then, add two lines on either side of the body to depict the wings.
Step 3: Draw the eyes, legs, neck, and beak of the penguin
Draw an oval shape to outline the eyes of the penguin. Using additional lines, outline the neck and beak.
Add curved lines to depict the legs from the bottom of the body.
Step 4: Add in more details
Since we have only outlined the anatomy of the penguin, we will need to fill in more details. Start by adding extra lines and details to the wings and legs of the penguin. Finish up with the eyes of the penguin by adding in a pupil and drawing the rest of the beak.

Step 5: Distinguish between the dark and white coat of the penguin
Add lines to denote the penguin's black-and-white coat. You can follow the example given below.
Step 6: Sketch in the black coat
After denoting the penguin's coats, sketch and shade the black coat to make it darker. Shade below the beak of the penguin to make it look more realistic.
Check out: How To Draw Braids
Penguins are some of the cutest and most fascinating creatures on Earth. They are pretty interesting to observe and gather information about. We hope that through this article, you were able to learn more about sketching a penguin. We wish you all the best in your creative endeavors.