By Suneha
How To'sLions are one of the most majestic animals to exist in nature. Being at the top of the food chain, they are fierce and prideful predators. In this blog, we will be walking you through an easy guide on how to draw a lion.
Lions are drawn for a long range of reasons. Some draw it for their fantasy characters while some draw it just for fun. If you are an artist who is willing to increase your artistic potential or someone who wants to spend your leisure drawing, we have got you covered.
1. Pencils - You will need a 2H Pencil for sketching the outline and then filling in the details with an 8B pencil.
2. Drawing Paper and a drawing board - You will need drawing paper to sketch the drawing of the lion. A drawing board also helps ease the process of drawing but as long as you have a flat surface, this can be omitted.
3. Eraser - You will require an eraser to erase any mistakes or errors in your drawing. We suggest using a kneaded rubber to avoid any damage to your paper and sketch.
4. Pen for outlining (optional)
5. Colored Pencils (optional)
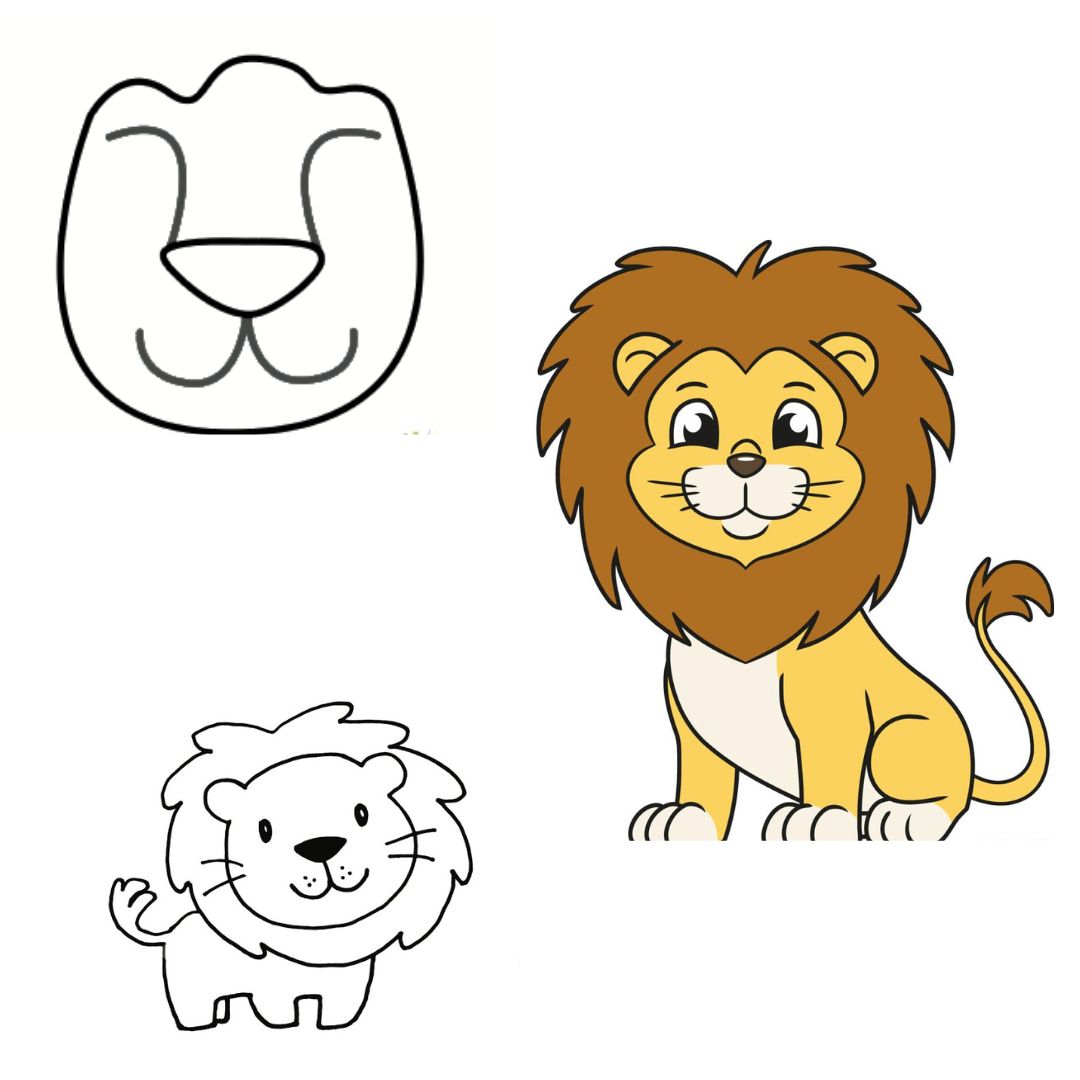
In this blog section, we will show a beginner-friendly tutorial on how to draw a lion for kids.
Step 1: The Defining features of the sketch
Drawing a Lion becomes easier for kids by using a simple formula of the lion's body faced sideways and a simple, symmetrical face. Create a basic shape that will be your guideline in creating the lion's body and face.
Step 2: Add the nose and mouth of the lion
After the first step, add the facial features like the nose and the mouth. Start off by making a triangular-like shape on your drawing page. Inside this shape, make a smaller upturned triangle to indicate the nose of the lion. From the pointed end of the triangle, extend a short line and add a curve to it to show the mouth of your lion.
Step 3: Outline the head of the Lion

Now that you have an idea where the nose and mouth of the lion are, start creating the head. Using a spherical shape, make a curved line that connects both ends of the triangular shape which was made in Step 1. Make sure to make the shape big because you will have to incorporate the whiskers and eyes of the lion.
Step 4: Draw the eyes and the ears
Now, draw the eyes and ears of the lion. Make two small spheres around the top-left and top-right corners of the head to depict the ear. Add two circles inside the head, close to the nose of the lion to draw the eyes.
Step 5: Add the mane
With your pencil, draw the mane of the lion. Start by outlining a bigger circle around the face of the lion and add radial lines to it to show the lion's mane.
Step 6: Create the lion's body
From the center where you drew the lion's face, drop a straight line. Additionally, join it to one side of the body with a curved line to show the sideward body of the lion.
Step 7: Add the legs and tail
To complete your drawing, add the tail and the legs of the lion.
Step 8: Color your drawing
Color your lion with any coloring kit. With this your lion sketch is ready.
Check out: How To Draw A Cat
In this part of the blog, we will present how to draw a lion's face. Please note that this is a more advanced-level guide on how to draw a lion's face.
Step 1: Understand the anatomy of the lion's face
The first step to creating a sketch is to refer to pictures to figure out the anatomy of your subject. Plan your sketch accordingly and create a mind map for smoother execution.
Step 2: Draw the Basic Guidelines
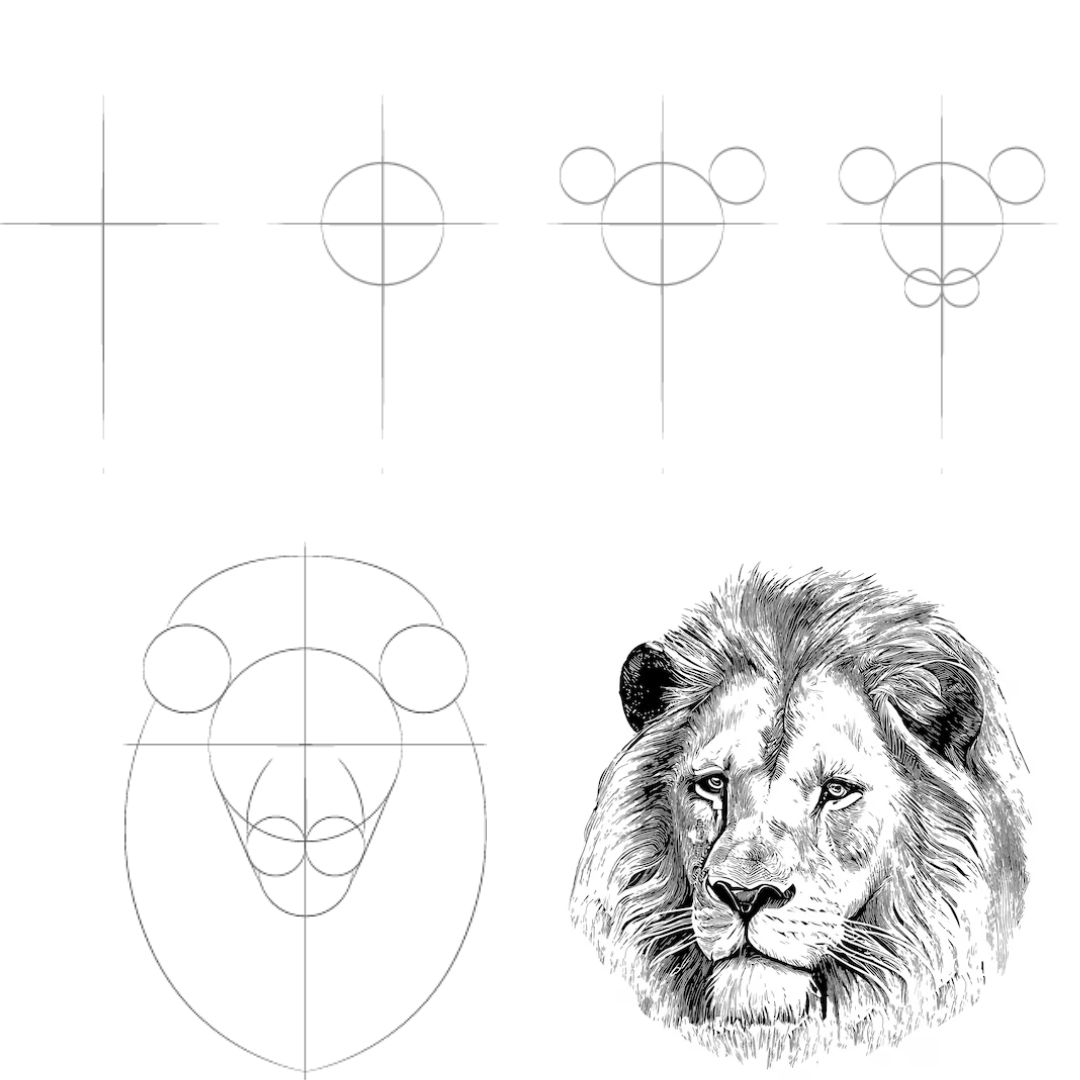
In any sketch, you should always start with the basic guideline shapes. Begin by making a vertical line in the middle of the page and a horizontal line around one-third from the top of the vertical line. This will be your guideline to frame the basic shapes for the lion's face.
Draw a circle where the two lines cross to make the lion's face. Make it in such a way that it only covers half of the horizontal line.
Step 3: Basic shapes for the ears, mouth, and jaw.
In the next step, make the basic shapes for the ears. Draw two smaller circles on top of the left and right sides of the face. Additionally, add two smaller spheres around the bottom half of the face to indicate the mouth of the lion. Add a small circle below the two spheres to depict the jaw of the lion. Connect these lines (the mouth and the jaw) to make the snout of the lion.
Step 4: Sketch the mane
Trace the mane of the lion by using curved lines and strokes that connect from the ears to the bottom of the vertical line.
Step 5: Draw the eyes of the lion
To draw the eyes of the lion, draw two small circles on the left and right side (inside the face) of the horizontal line. These will be the eyeballs. Draw elliptical shapes around the eyeballs to make the eyes.
Step 6: Draw the nose
Draw a flattened inverted triangle that connects the two spheres (indicating the muzzle) to the bottom sphere (indicating the lower jaw). Connect the inner corners of the eye to the nose with light and curved lines as shown in the picture.
Step 7: Refine the lion's features
To make the drawing more realistic and natural, refine the nose, ears, eyes, and mouth of the lion. Following the basic shapes that you created for the features of the lion, trace and create a refined look of the lion.
Step 8: Refine and shade the mane
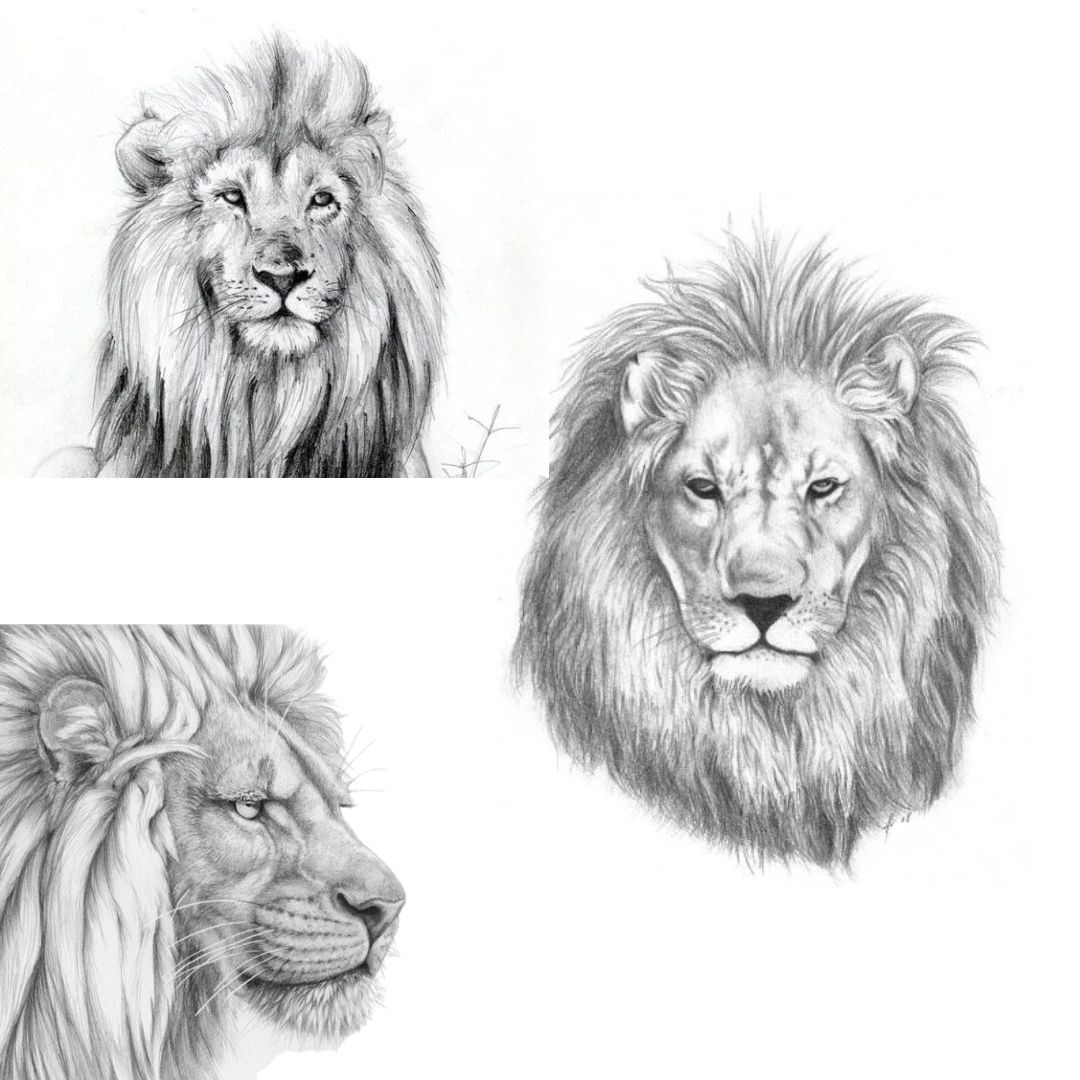
The mane is the most striking and prideful feature of a lion. Use your shading pencils to create shadows and dimensions around the mane of the lion to give it a more realistic and voluminous look.
Step 9: Complete your drawing
After you reach your desired product by making a few additional touches, you will have completed the sketch.
Check out: How to Draw People
We hope this blog was helpful for you in enriching your artistic endeavors. You can go through the page of SketchMyPic for more cool drawing guides.


