By Jinee
How To'sCats have captivated human hearts for centuries with their elegance and charm.
Whether you're an experienced artist or just beginning to explore the world of drawing, capturing the essence of a cat on paper can be a rewarding and enjoyable experience.
In this comprehensive step-by-step guide, we will walk you through the process of drawing a cat, from basic shapes to adding intricate details.
So, sharpen your pencils and let's embark on an artistic journey to create a stunning cat illustration!
Materials Needed
Before you start drawing, gather the following materials:
1. Drawing paper or sketchbook
2. Pencils (HB, 2B, and 4B are recommended for different tones)
3. Eraser
4. Sharpener
5. Ruler (optional but helpful for straight lines)
6. Blending tool or tissue (optional for shading)
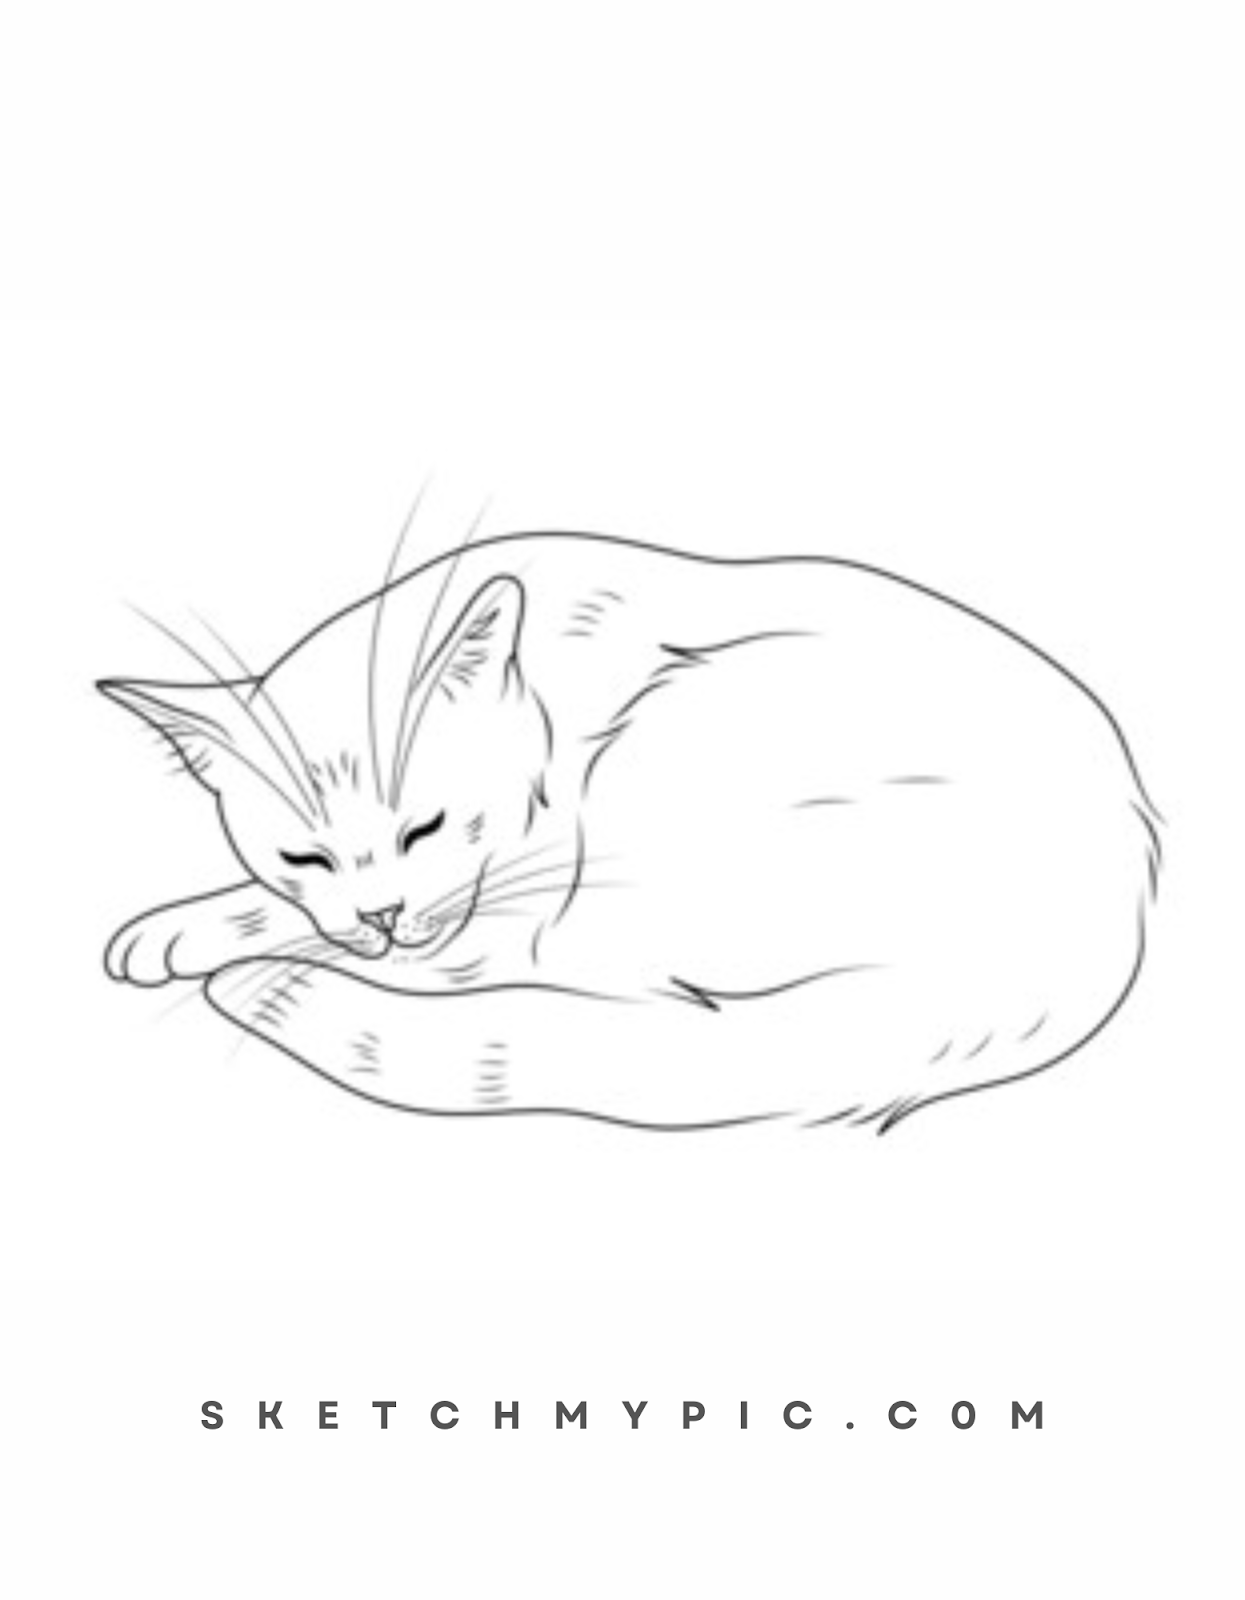
Step 1: Basic Outline
Begin by drawing a basic outline of your cat's body. Start with a circle for the head and a slightly elongated oval for the body. Remember that cat body shapes can vary depending on the breed, so feel free to adjust the proportions accordingly. Add two smaller circles on the head to indicate the ears' placement.
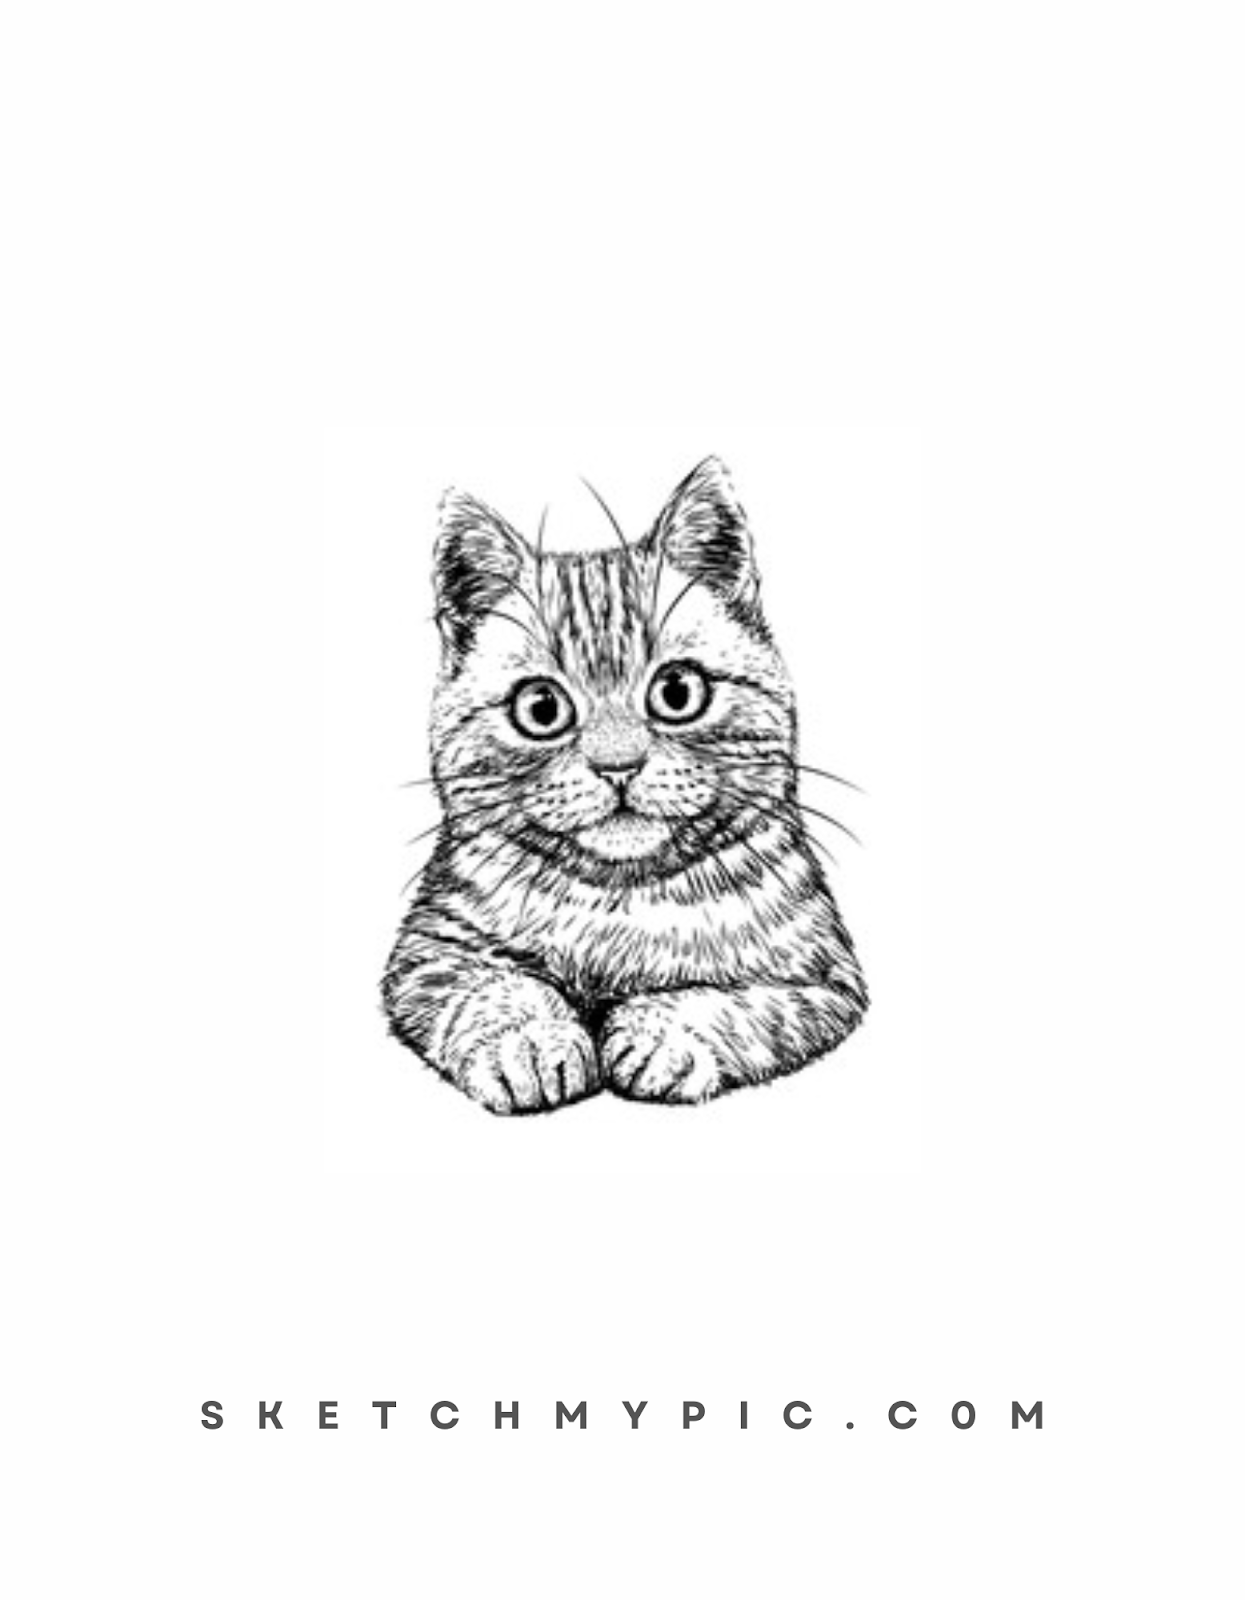
Step 2: Drawing the Eyes and Nose
Now, focus on the cat's face. Draw almond-shaped eyes within the circles you created earlier. Cats have expressive eyes, so try to capture their unique gaze. Add a small triangle shape below the eyes to represent the cat's nose. At the top of the head, draw a curved line for the forehead, and two small curves on each side of the nose for the whisker spots.
Step 3: Shaping the Ears
Refine the shape of the ears by adding more details. Depending on the cat's breed, the ears may be pointed or rounded. Study the reference image you're using, or imagine the cat's appearance you'd like to create, and draw the ears accordingly.
Step 4: Drawing the Mouth and Whiskers
Position the mouth slightly below the nose. Draw a gentle curve to represent the mouth's contour. Then, add three to four short lines on each side of the nose for the whiskers.
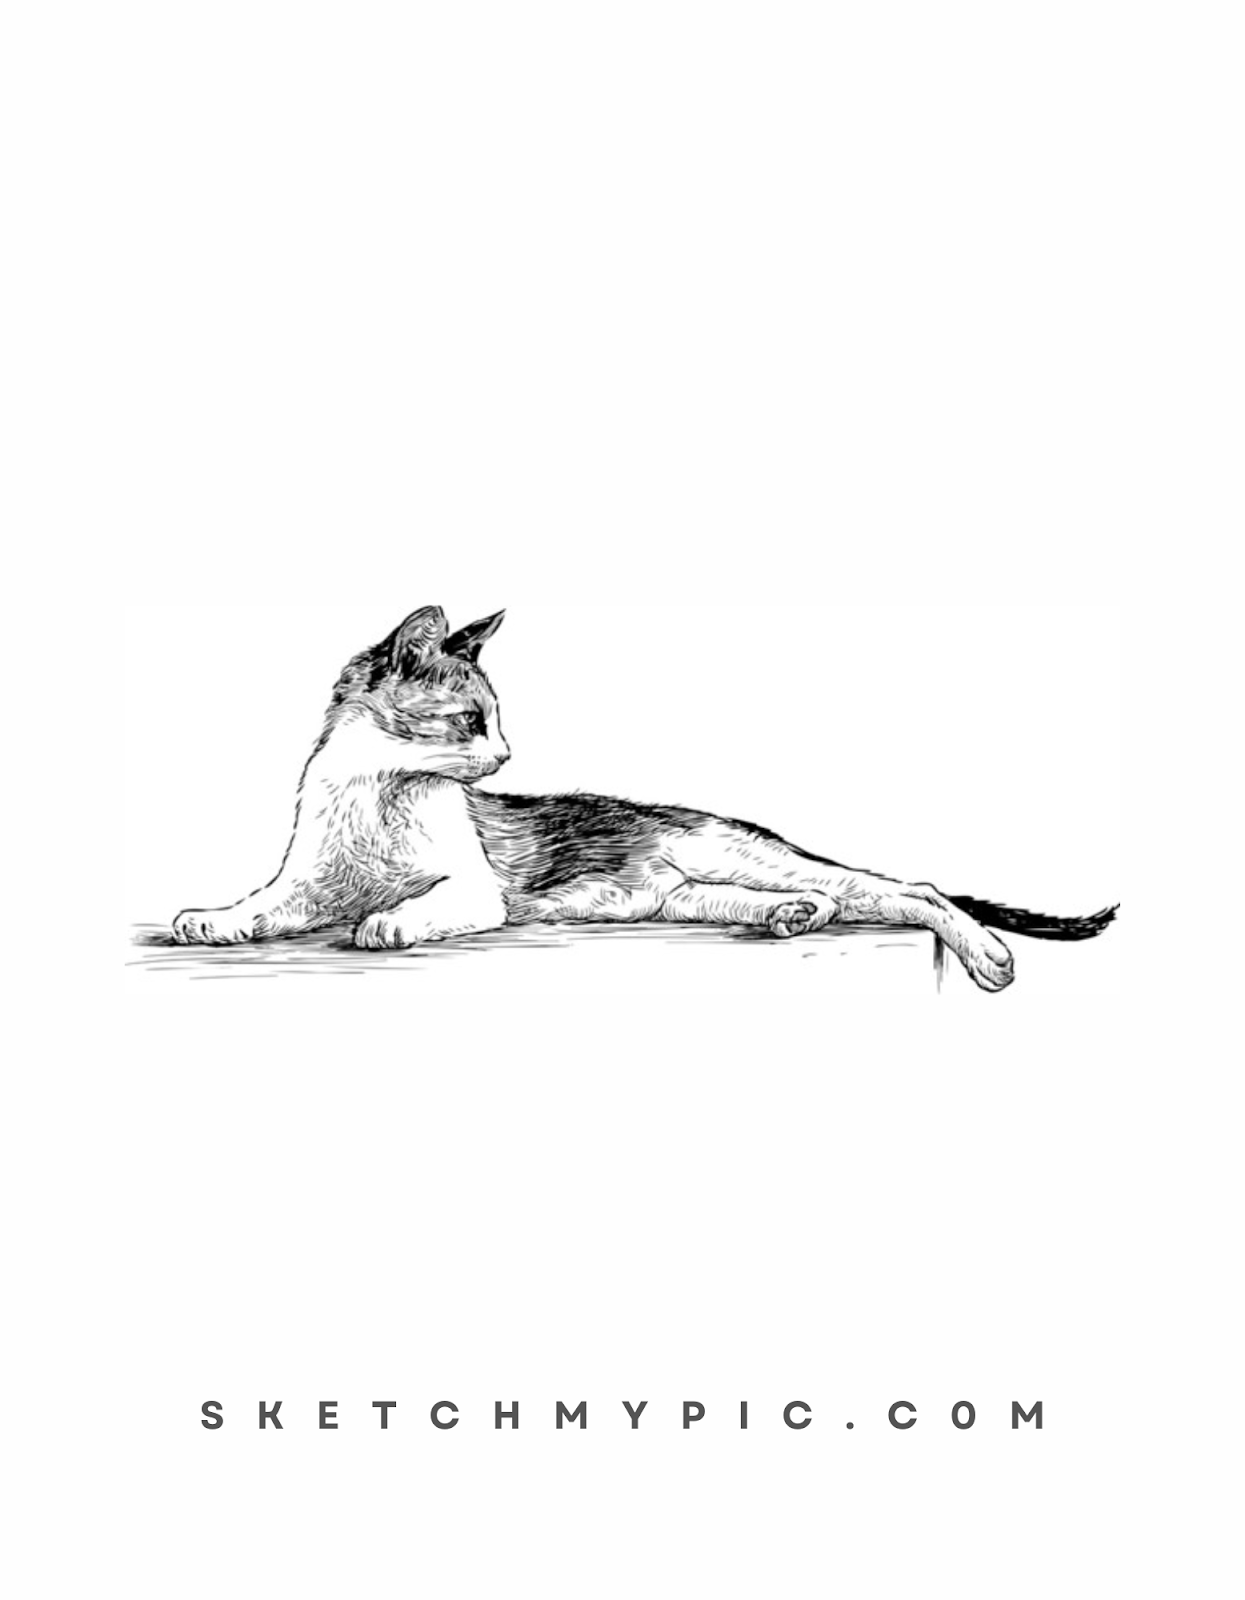
Step 5: Creating the Body
Now, focus on the body of the cat. Use the elongated oval shape as a guide and refine it to create a sleek and graceful silhouette. Draw the front and hind legs using slightly curved lines. Pay attention to the proportions to maintain a balanced look.
Step 6: Sketching the Tail
Cats are known for their expressive tails. Sketch the tail of your cat using a long, flowing line. The tail can be straight, curved, or even fluffy, depending on your chosen cat's breed or the desired artistic style.
Step 7: Adding Depth with Shadows
Shading is crucial to give your cat drawing a three-dimensional appearance. Determine the direction of the light source and imagine where the shadows would fall. Use your 2B or 4B pencil to shade the areas that are away from the light source, such as the underside of the body, legs, and tail. This will create depth and make your cat illustration more realistic.
Step 8: Highlighting the Eyes
To bring life to your cat's eyes, add highlights using your eraser. Erase a small section in each eye, leaving a small spot that represents the reflection of light. This simple technique will give your cat a more vibrant and captivating look.
Step 9: Texturing the Fur
Cats have unique fur textures that can vary depending on the breed. To mimic this texture, use short, light strokes with your pencil to represent fur. Be mindful of the direction of the fur growth and follow it consistently across the cat's body. Use your blending tool or tissue to smoothen out the strokes and create a more natural look.
Step 10: Final Touches
Review your cat drawing and make any final adjustments. Check if the proportions are correct, the features are well-defined, and the shading is consistent. Take your time to refine any areas that need improvement.
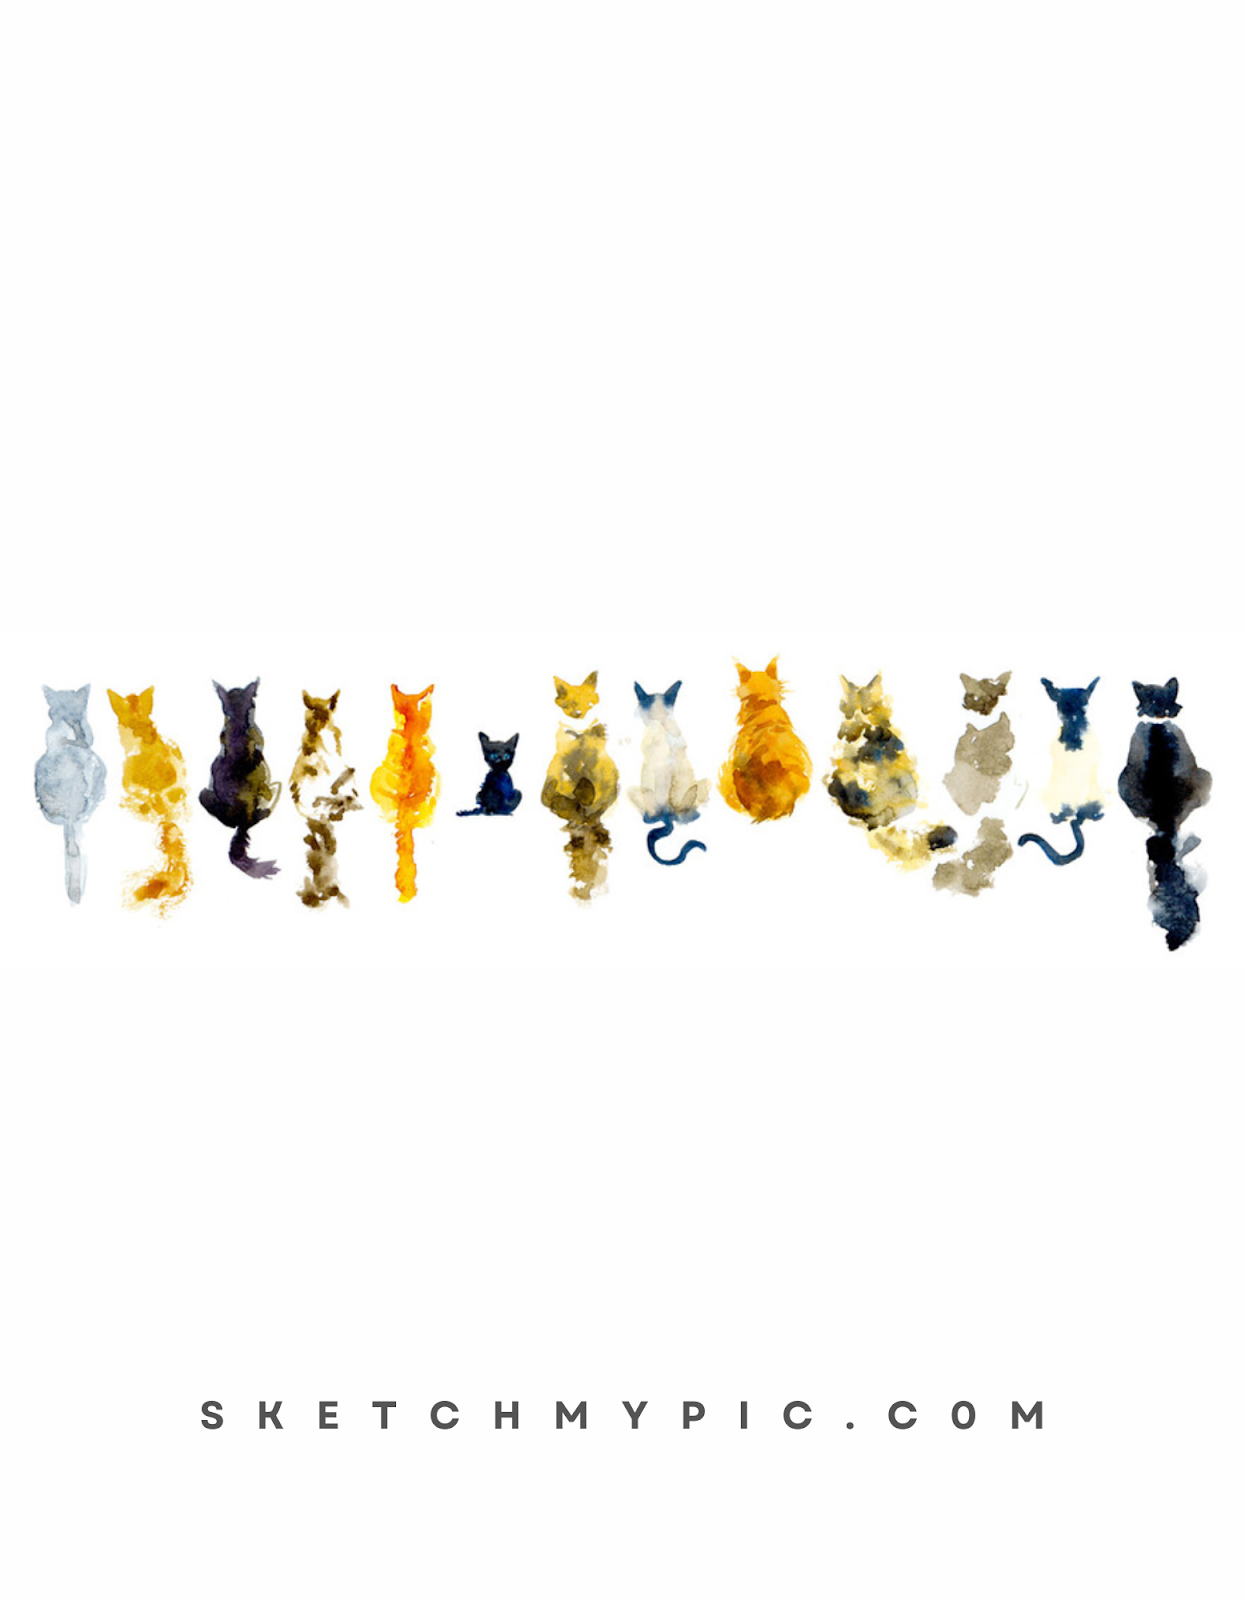
Coloring Your Cat Drawing
Once you have mastered the art of drawing a cat, it's time to infuse your feline friend with a burst of colors. Coloring your cat can be a delightful and creative process, allowing you to bring out the personality and charm of your furry subject. Whether you opt for realistic colors or decide to unleash your imagination with vibrant hues, follow these steps to color your cat drawing:
Step 1: Choosing Your Color Palette
Before you start coloring, decide on the color palette you want to use for your cat. If you're aiming for a lifelike depiction, observe reference images of the cat's breed you're drawing. Study the fur patterns, eye colors, and any distinctive markings. Colored pencils or watercolor paints are excellent choices for this step, depending on your preferred medium.
Step 2: Base Color Layer
Begin by adding the base color to your cat's fur. Start with a light layer of color, using gentle, even strokes to cover the cat's body. Layer the colors gradually, adding more depth and richness to the fur. Observe the fur's direction and use your strokes to mimic its texture, whether short and smooth or long and feathery.
Step 3: Adding Fur Patterns and Markings
If your chosen cat breed has specific fur patterns or markings, now is the time to add them. Pay attention to the reference images or your artistic vision, and use darker or lighter shades to create the desired patterns. Some cats have spots, stripes, or distinct colors on their faces, ears, or tails, so incorporate these unique features to make your cat illustration stand out.
Step 4: Detailing the Eyes
The eyes are the windows to the soul, and they play a crucial role in bringing your cat to life. Use different shades and hues to capture the depth and intensity of the eyes. Pay attention to the pupils and the reflection of light to make the eyes appear realistic and expressive. Use white or light-colored pencils to add a glimmer to the eyes, giving them a touch of liveliness.
Step 5: Coloring the Nose and Ears
Next, focus on the nose and ears. Depending on the breed and fur color, the nose can be shades of pink, black, or brown. Add subtle shading and highlights to create a three-dimensional appearance. For the ears, use a combination of light and dark shades to enhance their shape and texture.
Step 6: Highlighting the Fur
To add a touch of realism and dimension to your cat's fur, incorporate highlights. Identify the light source in your drawing and imagine where the light would hit the cat's fur the most. Use a white or light-colored pencil to gently apply highlights to these areas, giving your cat's fur a lustrous and shiny look.
Step 7: Blending Colors
To achieve a smooth and seamless transition between colors, use blending techniques. Colored pencils can be blended by layering different colors and using a blending tool or your fingers to smudge and merge them. Watercolor paints can be blended by gently applying water to the paper and allowing the colors to flow together. Be cautious not to oversaturate the paper, as it may cause it to warp.
Step 8: Final Touches
Once you have colored your cat, take a moment to review your artwork and make any final adjustments. Check if the colors are well-balanced, the fur looks realistic, and the eyes have a captivating gaze. Make any necessary refinements to ensure your cat drawing is a true representation of your artistic vision.
Conclusion
Drawing a cat may seem challenging, but with dedication and practice, you can create a beautiful cat illustration that captures the elegance and charm of these fascinating creatures. Remember to start with a basic outline and gradually add details and shading to bring your cat to life. Embrace the opportunity to experiment with different cat breeds and poses to express your unique artistic vision. Drawing cats can be both enjoyable and rewarding, allowing you to connect with the essence of these beloved animals. So, grab your pencils, let your creativity flow, and embark on an artistic journey to draw the purr-fect cat!