
By Suneha
GuideBlurry pictures can be a source of annoyance for a lot of photographers. It is, however, not always possible to get perfect pictures hence, every photographer needs to be well-versed in photo editing techniques to reduce noise and increase clarity.
In this article, we present to you how to make blurry pictures clear by using software like Photoshop and online browser apps like Fotor and BeFunky.
Pictures can become blurry due to many reasons which may or may not be related to the camera, subject, or surroundings.
1. Unsteady Capture - Unsteady hands or motion when clicking a picture can lead to blurry images. This problem is more visible in areas with low light and slow shutter speed motions.
2. Low Light - For a picture to be taken, light plays a very important role. In lower light, cameras use a slow shutter speed motion to capture enough light. This can result in blurred images. This can be resolved by using a higher ISO or a wider aperture.
3. Out of focus - Sometimes, your camera may not be able to focus on a subject resulting in out-of-focus pictures. This occurs if the autofocus system is not functioning properly or the manual settings done by the photographer are incorrect.
4. Lens Quality and Dirty Lenses - Lower lens quality is one of the reasons for blurry images. They may introduce optical distortions which can cause the photos to blur.
Lenses that are dirty, dusty, and have smudges on them can impact the clarity of an image greatly, making it blurry.
5. Compression - When images are heavily compressed, they can greatly reduce the clarity of an image, resulting in a blurry appearance.
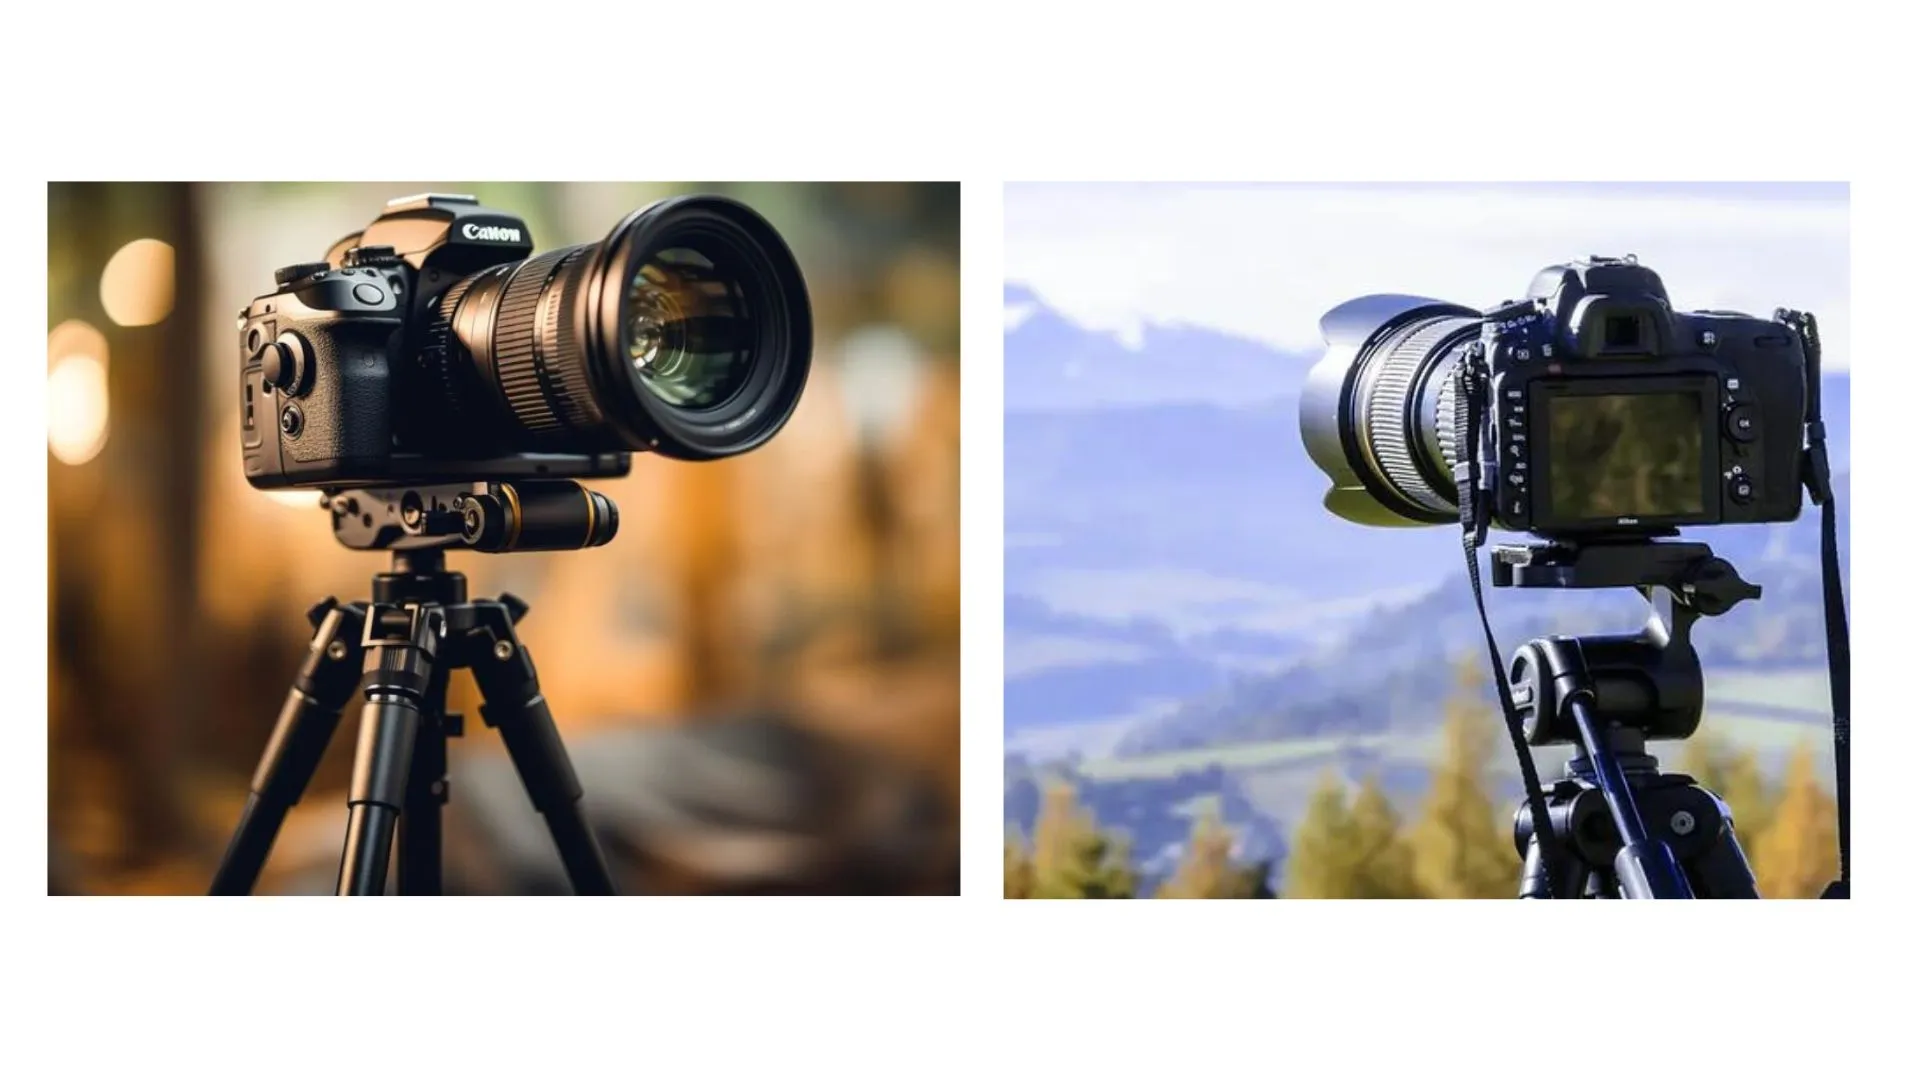
To minimize blurry images you can use a tripod for stability and pay close attention to the lighting conditions.
Check out: How to Remove Color From Image
![]()
Photoshop is one of the best tools available for any device to fix blurry photos. In this guide, we will give you a step-by-step tutorial on how to make blurry pictures clear using Photoshop. Photoshop is the best software to use for photo editing and photo modifications.
Step 1: If you installed Photoshop, launch it. If you do not have Adobe Photoshop installed, you can download a free trial from Adobe’s official website or buy the premium version for long-term usage.
Step 2: After launching Adobe Photoshop, open your blurry photo. Click on File, which is available in the top menu bar. Click on Open, browse through your device, and upload a blurry picture of your choice. The picture will be uploaded to Photoshop.
Step 3: After uploading the photo, you need to make a Duplicate Layer. Head to the Layers panel, usually on the right side. Right-click on the background layer and choose the Duplicate layer. A copy of your photo will appear, which you can work on so that the original image is not tampered with.
Step 4: Right-click on your background layer and select the option ‘Convert to Smart Object.’
![]()
Step 5: From the Filter menu, click on ‘Sharpen.’ Then select ‘Unsharp Mask.’ Use the preview box to see the changes made to your image. Adjust it as per your needs, and you will have successfully unblurred your picture.
Step 6: Click on OK and save the image.
img source: BeFunky
BeFunky is an online web app that can be used on any device. It is beginner-friendly and provides many options, services, and alternatives to transform your photos. In this section of the blog, we will present a step-by-step guide on How To Make Blurry Pictures Clear using BeFunky.
Step 1: Open BeFunky on your web browser or device.
Step 2: Click on Edit a Photo and upload a picture from your gallery. Choose a blurry image that you need to edit.
Step 3: Use the sharpen tool to reduce or unblur an image. At the bottom part of your screen, you will see many editing options. Choose ‘Sharpen’ (the magic wand icon) and select it.
Step 4: Drag the Sharpen slider to control the degree of your sharpening effect. Slide it to the right side to increase sharpness and clarity and reduce blur.
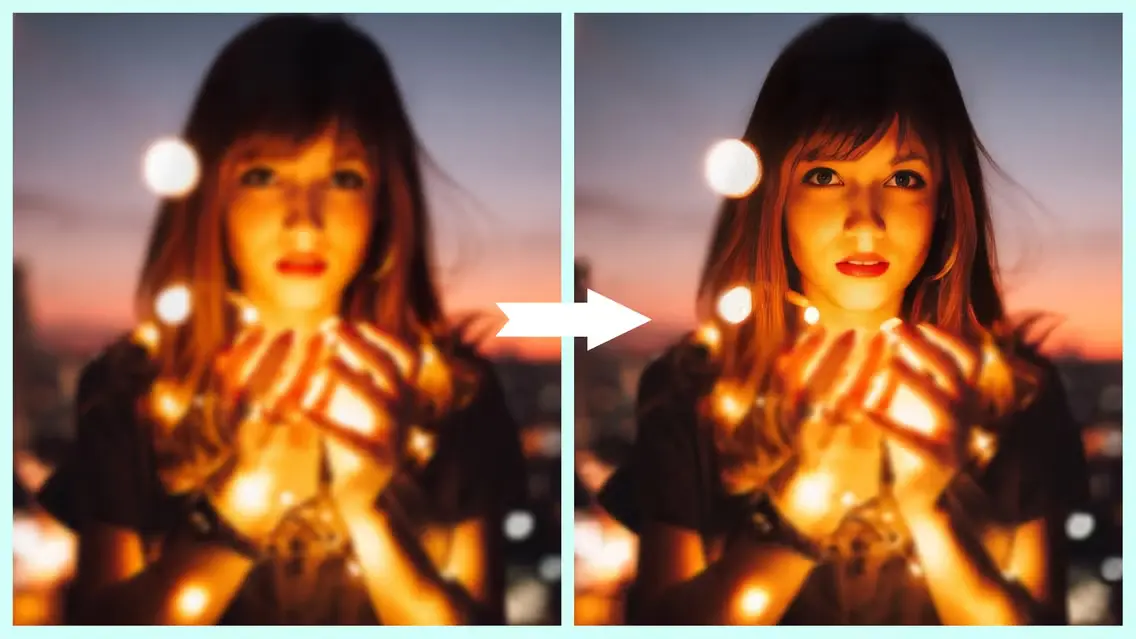
Step 5: After the adjustments, compare the two images and save your photo.
Check out more blogs on Sketch My Pic
In this guide, we will present a step-by-step guide on how to fix blurry photos using Fotor.
Step 1: Go to the Fotor website.
Step 2: Upload a blurry photo from your gallery. Click on the option ‘Unblur Image Now.’ Upload your image, and Fotor will redirect you to its editor.
Step 3: Now wait for Fotor to do its work and you will have your unblurred image ready. You do not have to do anything here, as the tool automatically unblurs your photos.
Step 4: Once the work is done, download the photo by clicking on ‘Download.’
Also, check out: How to Blur a Picture: A Detailed Guide
1. Adjust Sharpness and Contrast - To fix blurry images, increase sharpness and contrast in the adjustment settings of your blurred photo. This is one of the easiest and simplest ways to increase clarity and remove unnecessary blur and noise. By making your image sharper, you can bring finer details to the attention of the audience.
2. Use stabilizing Techniques - As mentioned earlier, one of the major reasons blurry images occur is because of camera shake or unsteady motion. Modern cameras have advanced techniques which have built-in stabilizing features. You can also use a tripod to click images.
3. Ensure the lighting conditions and depth of field - Blurry photos occur as a result of low lighting which leads to a slower shutter speed to capture an image. It also occurs due to improper focus or shallow depth of field. Ensure that lighting conditions are proper to capture a blur-free image. You can also use sharpening tools in software to create finer details in your picture and tune out unnecessary distractions and noise. This brings clarity to the viewer’s eye as well.
img source: BeFunky
We hope that this guide was helpful for you. Blurry images are definitely a hassle but these can be minimized by keeping in mind the lighting of the area and keeping high-quality lenses. You can also use Photoshop, Fotor, and BeFunky to increase the clarity of your images and fix blur.


