By Suneha
GuideThe phenomenon of blurring pictures has grown rapidly in recent years. While blurry photos taken by accident are not 'cool', intentional blurring has a unique aesthetic to them. Through our detailed tutorial, we will discuss steps on how to blur a picture.
As a result of its multifaceted utility, blurring plays an important role in photo techniques. You can hide or remove extra information, highlight a particular subject by blurring the background, or simply use it to accentuate the beauty of the image.
Through our tutorial, we hope to make the technique more digestible.
Sketch My Pic is a great tool to blur your photos online. Using this tool, you can easily get your desired results. Here’s a detailed tutorial on how to blur photos using the blur tool in Sketch My Pic.
You can use the website on your mobile phones as well as laptops.
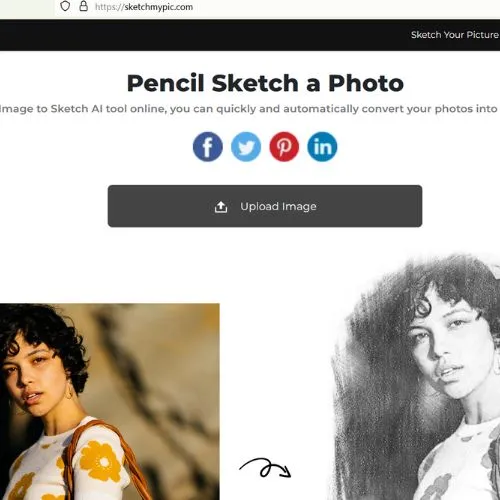
Step 1: Enter the web URL: https://sketchmypic.com/. It will automatically direct you to the main page of the website.
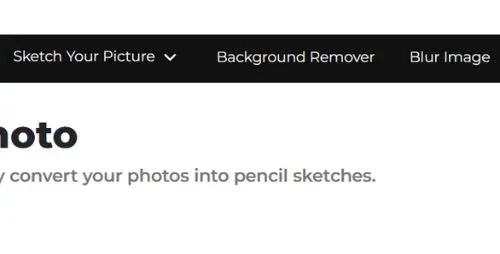
Step 2: On the top right-hand side of the page, click on the option ‘Blur Image’. It will redirect you to another page.
Step 3: Click on the ‘Upload Image’ option. Choose a photo that you would like to blur.

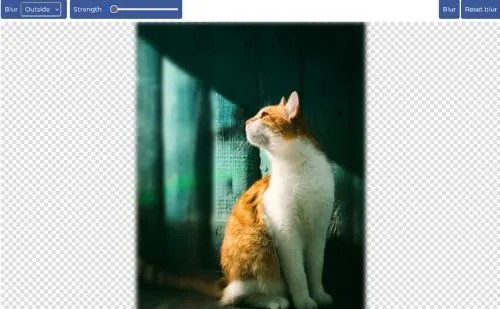
Step 4: After uploading the image, select the region you want to blur and draw a square.
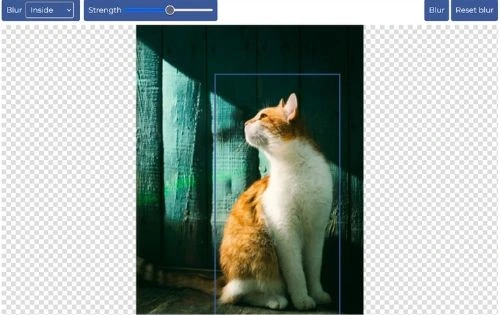
Step 5: Use the Blur ‘Outside’ or Blur ‘Inside’ option depending on the result you desire. You can also modify the strength of the blur using the ‘Strength’ tool. You can also use ‘Reset Blur’ to reset the modified picture as per your requirements.
Step 6: Lastly, click on ‘Download Image’ to download the blurred photo.
These are the steps you need to follow on how to blur a photo using the Sketch My Pic website. We hope this was helpful.
You can also use the built-in Portrait mode on your iPhone to blur photos. However, the models which support portrait mode are as follows:
Step 1: Start the Camera app and tap on Portrait
Step 2: Before taking a photo, tap the f icon in the top-right corner of the iPhone. You will see an f-stop slider at the bottom of your screen.
Step 3: You can swipe the slider to increase/decrease the blur in your background.
Step 4: Click the picture once you are satisfied.
You can adjust the blur in your already existing photos. Open the photos app and tap on Edit and then the f button. Use the same instructions from step 2 and save once you have the desired result. However, note that you can only use the blur tool for pictures clicked in Portrait Mode.
You can use PowerPoint to blur an entire image. Do note that you can only use the ‘Blur’ tool in the desktop app. It is not available for PowerPoint Web. We hope the tutorial will help make your presentations more unique and artistic.
Step 1: Open PowerPoint on your desktop.
Step 2: Use the ‘Insert’ option and then click on ‘Pictures’.
Step 3: Select the photo that you want to blur.
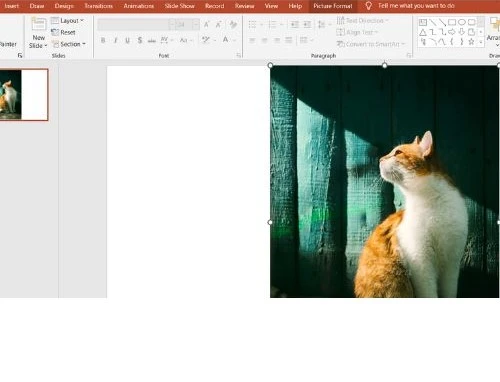
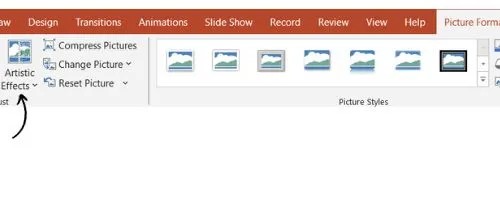
Step 4: Click on the ‘Picture Format’ tab (or Format) on the toolbar and select ‘Artistic Effects’.
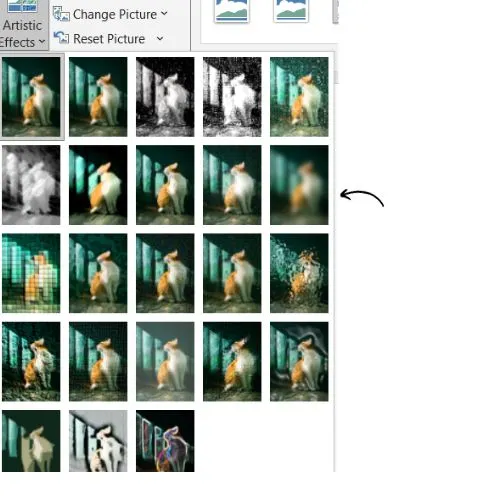
Step 5: Click on the Blur option. You can change the degree of blurriness by tapping the ‘Artistic Effects Options.’ Use the Radius tool to adjust your blur. The higher the number, the more blurry the image will be.
We hope the above tutorial was helpful!
In addition to redefining clarity and sharpness, blurring serves many other purposes. Used in nearly all aspects of photography, below are a few different blur techniques that can be used for different situations.
1. Gaussian Blur- One of the most widely used techniques, Gaussian blur is named after the Gaussian mathematical function. The function depicts a symmetrical, bell-shaped curve.
In this technique, high-frequency components like noise and details are reduced while low-frequency elements like larger features and overall structures are retained.
Gaussian blur is supported by most software and is very beginner-friendly.
2. Motion Blur- Motion blur is a photographic effect that occurs when there is movement of the camera, the subject, or both. This results in the blurring of movement and is commonly used in photography and film-making.
Typically, blur occurs in the direction of motion. The density of the blur depends on the shutter speed of the camera. Slow shutter speeds allow more light to reach the camera sensor, causing blurring to be longer and more pronounced.
3. Radial Blur- Radial blur is a visual effect that originates from a central point from which the blur radiates, creating a sense of motion and rotation. The farther you move away from the central point, the blur becomes more pronounced in a radial pattern.
Radial blur is often applied to images to show movement. It is commonly used in photography and graphic design.
4. Box blur- Box blur is a simple blur technique involving the blurring of an image based on the average color values of neighboring pixels. It is a straightforward technique used to create a uniform and smooth appearance of the image overall.
Box blurring is used to soften images, reduce noise, and smoothen images.
5. Surface blur- Surface blur is a visual effect that is mostly utilized to preserve edges while selectively blurring out larger and more uniform areas within the image.
It adjusts the radius and threshold parameters, creating a distinguished look between high-frequency and low-frequency components in the image.
Surface blurring is mostly applicable in retouching portraits while preserving facial features.
These are a few widely used blurred techniques. However, there are more blurring techniques used in the realm of photography and graphic design. The choice of blurring depends on the utilization of the picture and the desired visual effects.
Blurring is a useful skill in the realm of photography and design. It is important to identify what blur tool you would require for your pictures hence, we have penned down a bunch of blurring techniques.
Through the detailed guide on how to blur photos, we talked about the blur tool in Sketch My Pic, PowerPoint, and iPhone.
We hope that your visual creativity gets stimulated more with this article and you enjoy the process of blurring!


