By darakshan
Tips and Tricks GuidePainting with a watercolor might seem very easy. However, sometimes you have tried to do something new and have messed up. Watercolors can be very challenging if you do not know the techniques.
In this article, we have curated a list of 10 watercolor techniques you must know in your initial days of painting.
Below are some amazing tips and tricks for making your painting elegantly cool and unique. Read below to learn more about these hidden tips.
You must use a large flat or round brush at an angle for a dry wash technique. Add a generous amount of color to the water and start painting. Do not let the color dry. Hence, you have worked it out pretty fast. Once you have reached the bottom, dab your brush on a dry towel, and then use the same brush to blot the excess color for a clean look.
A wet wash is the same as a dry wash, with only one difference. Here you would require a generous amount of water to make your painting glisten with moisture. First, wet the area, dip the brush into the watercolor, start painting, and apply lines of color on the wet surface. This will help you blend the colors properly.

An underpainting is a monochrome wash that you can use for the first layer of the paint. Then, add transparent layers of color to give it a luminous effect. You can create this combination with any color. Use two different colors. Paint the first layer with a darker color, and use a lighter shade to give it a transparent finish.

Adding color and gradients to the painting can enhance and create depth. You can start by adding fresh watercolor paint to a wet paint surface. Then, use a similar or a darker hue beside the first color (you can also use a different color). Due to the wet surface, the water color blending at the edges creates a gradient effect. However, you can control the amount of color that needs to be applied.

Adding watercolor over the dried watercolor can create dimensions, textures, and even color variation. However, you must ensure the paper is completely dried before putting another watercolor layer. This will help your colors blend and won't create a mess. Also, while adding the second layer of watercolor, do not add much water to create a patchy look.

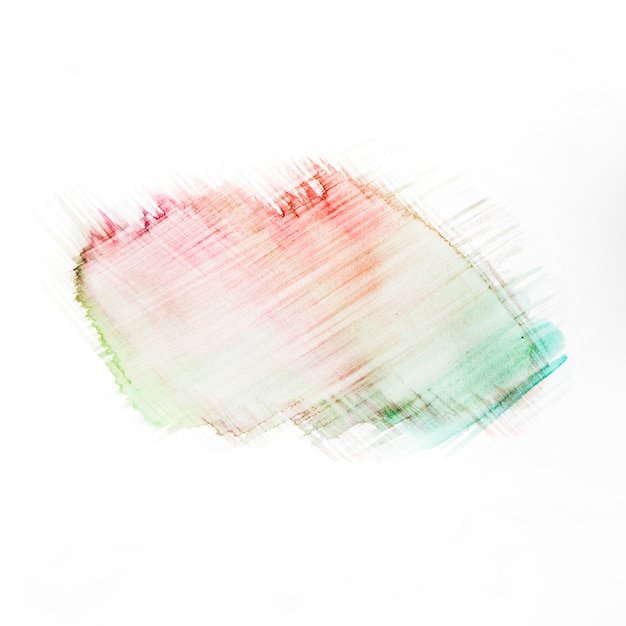
The dry brush technique requires very little paint to create a more scratchy brushstrokes effect. It is perfect for minuscule details like painting the hut's roof, muddy roads, and even skies. Mix the painting and ensure they are dry enough. Dip your brush in the paint and start painting lightly across the surface. You can dab the paint on a paper towel to remove the excess if the paint is too much.

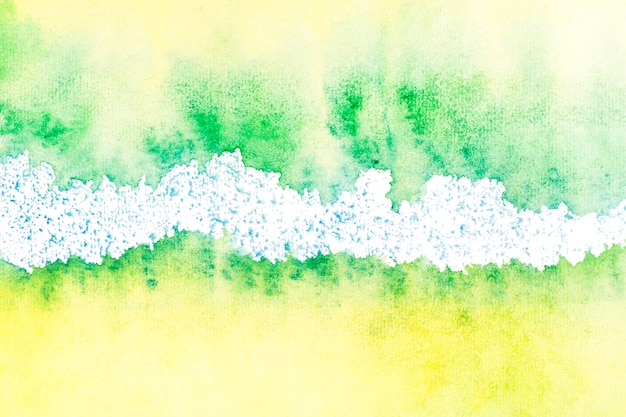
Watercolor blooms are also known as blossoms. These can be created by spraying watercolor on a partially dried watercolor base. When you apply the watercolor on damp paint, it creates irregular blobs. This happens when the liquid on the painted paper forces out the original pigment. All you need to do is wet wash a canvas and allow it to dry for a minute. When you see the paper slightly drying, load the brush with water and lightly touch the color on the paper. The dropped water will create sharp blooms. You can do it by painting the canvas with one color. Once it dries, wet wash the color with a different color. Once the two colors come in contact, see the magic of watercolor painting.
This technique requires a certain level of dryness to get the effect. First, apply a wet wash and tilt the surface, drifting the color to one side of the painting area. When enough color has moved, set it down and let it dry. As the color dries, it creates an upward bleeding-like texture and a backwash look. This is quite similar to watercolor blooms.
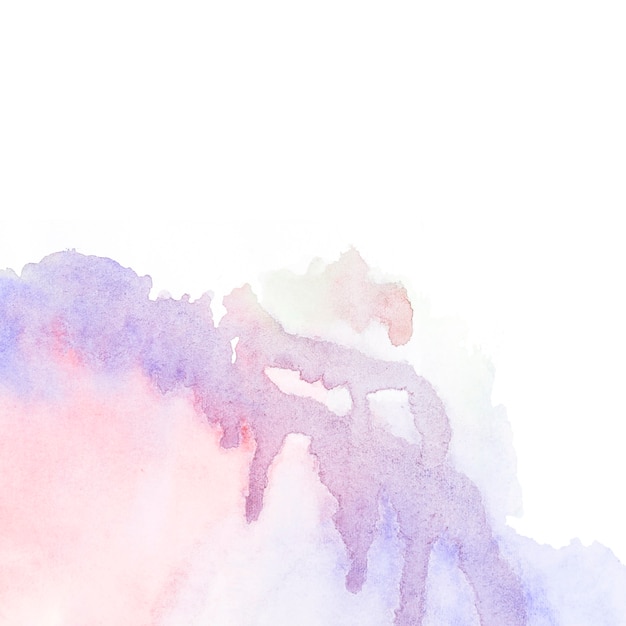
If you want your painting to look like a gradient that goes from a saturated color to a more transparent hue, feathering is the best option. A feathering effect can be created using a strong color and then using a clean wet brush to diffuse the color. To do this, you do not need more paint. All you need is water. The right amount of water will disperse the watercolor giving it a feather-like texture.
An irregular motion where you can create lines and or layers on the paint is known as scumbling. It is kind of like scribbling on watercolor paint. Do not press too hard. Just use a dry brush, paint irregularly in an area, and see beautiful textures in your paint.

A sponge is a fantastic tool to work with. Dip a regular or a sea sponge in watercolor and press gently on the canvas to make foliage of the trees, sand, sea, and many more. Bet you'll love the outcome.
The watercolor techniques given above are helpful, especially for beginners. If you are a beginner in art, use the abovementioned techniques to take your art to the next level. Also, there are so many tools available by which you can convert your basic photo to a watercolor art. You can also use them to show your creativity!


