By Archana
How To'sRemember how you had to take trips to a photo studio to get crisp, professional, passport-size photos? Well, now you can save time and effort by learning how to take passport photo with iPhone right at home.
The latest versions of iPhones allow you to take high-resolution images that easily qualify for professional passport photo requirements. All you need to do is set up your camera settings for the required resolution and know your passport photo requirements, and you are good to go.
First, let us know what are the main requirements when taking a passport photo at home.
A passport photo must be taken perfectly with the right settings because editing photos for passports does not give the right clarity and resolution. There are chances your application may get rejected for not adhering to the photo requirements.
Become aware of these prerequisites before taking a passport photo with your iPhone.
Every country has specific rules regarding passport photos when preparing the application. Before you take the photo, read the rules carefully regarding what you can wear, the background color, photo dimensions, resolutions, etc.
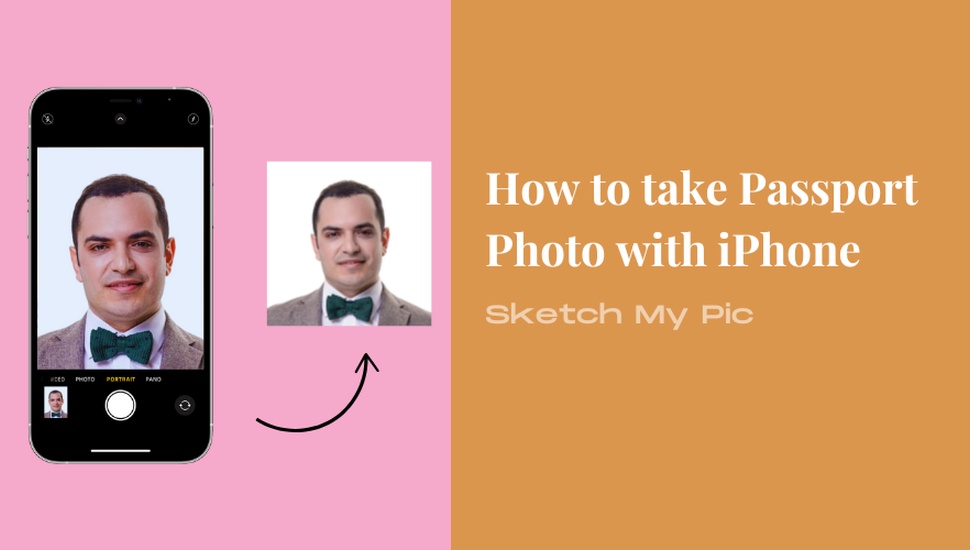
Here we have a sample image to show what a good passport photo looks like.
iPhone versions from iOS 7 offer high-resolution front and back cameras which you can use for capturing professional passport photos. Let us look at the important Camera settings that you need to turn on prior to taking your passport photos.
Now, go to the Photo Capture/ Camera app and click “Photo” mode. Click on the highest resolution available. Depending on the highest version available in your iOS, you can choose 12MP, 24MP, or 48MP.
Once these settings are done, do not make further mode changes or add filters to the photos you are going to capture.
Anyone can take a passport photo with an iPhone at home or any enclosed location. With the right lighting, a clear background, and the right iPhone camera settings, you can get professional passport photos in seconds.
Ensure your photo background wall is clear white or off-white. Opt for optimum lighting from the opposite side of the wall or experiment with various locations in the room that give the best lighting effect. If there is no white background, ensure there is optimum lighting to highlight facial features. You may remove the background late on while editing.
Ensure there are no shadows in the focus area and keep away from all possible obstructive sources, such as curtains, cupboards, tables, etc.
While placing your phone on a tripod is not mandatory, doing so makes your photo professional. You may sit or stand based on your comfort level, but ensure your chair/stool does not show behind your head. Place the iPhone around 1.5 meters away from your position while being 0.5 meters ahead of the background wall.
Place your phone in the settings mentioned in the previous section. View the grid layout and ensure the person’s face occupies the center grid.
Whether you are taking your photo or someone else's, ensure the person wears loose and comfortable clothing. Keep your pose neutral, neither smiling too wide nor keeping your face too stern. Take a deep breath and relax before clicking the photo.
Take a few trial shots to verify if there are any shadows or dull lighting that blur your facial features. Make sure to set the room's air conditioning to optimum temperature with low fan speed.
If no one is available to take your photo, set a timer to click your photo. You can first take the photo with your front camera and check for clarity, positioning, and clean results. If you want improved resolution and depth, change to the rear camera.
If possible, get a friend or family member to help you correct your posture and facial expression while taking photos. This can save you time from taking several trial photos.
Take the photo in the normal mode without any filters or background themes.
If you have not used a tripod to place your iPhone, your image may not be perfectly straight. In such cases, you can “Straighten” or do an angular rotation to adjust the axis of your photo.
Crop your photo to meet the 2x2 requirements of a passport photo. If the background is not as expected, use the iPhone Photos background removal option.
Select the photo in the Photos App (without opening it for preview) and choose the “Remove Background” option. Then, save the image for further use and sharing.
Follow these steps on your iPhone to instantly remove backgrounds from photos using SMP -
The iPhone camera can help you save some bucks, along with time and effort, by letting you take a professional passport photo. The latest iPhone versions offer high-resolution front and back cameras for capturing professional passport photos in the comfort of your home.
Do share your thoughts after trying these steps to take your passport photos. You can also share any iPhone camera hacks that provide better picture quality in your iOS version.