By Suneha
GuideiPhones have some of the best cameras to capture high-definition and good-quality pictures. Along with amazing backgrounds, the subjects of the pictures look visually appealing and greatly defined. Sometimes, due to professional and branding reasons, we need a refreshing look on our pictures by removing the background. In this blog, we'll learn how to remove background from picture on iPhone in three easy ways.
The only prerequisite to using the background tool in-built into an iPhone is that iOS users need to have an iOS 16. Without further ado, let’s begin!
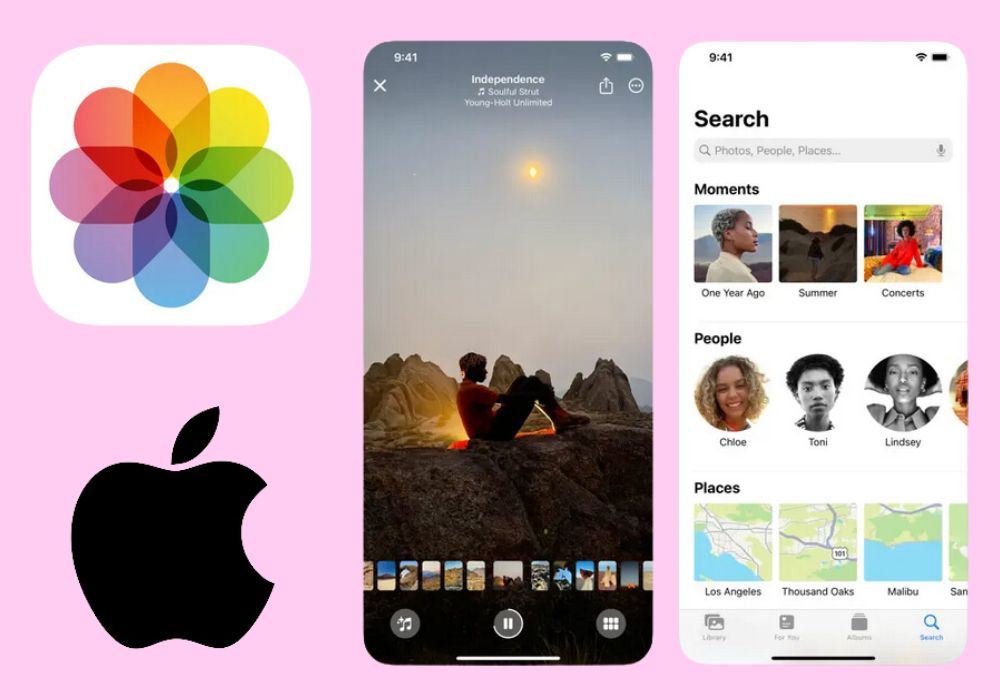
The built-in background remover tool is available from iOS 16 and onwards. Once you upgrade your iPhone or iPad to iOS 16, you can use the background remover tool from Photos. Here is a detailed step-by-step on how to remove background from picture on iPhone.
Step 1: Open Photos on your iPhone or iPad.
Step 2: Find the picture from your file that you want to remove the background from.
Step 3: To automatically separate the picture from the background on your iPhone or iPad, hold the part of the picture that you want to separate from the background. Your iPhone will automatically enclose the subject from the background.
Step 4: If the subject is enclosed properly as per your needs, that means that the background removal is ready. If not, wait for the unwanted background to get rid of it.
Step 5: Once you’re done, you do not have to press and hold on to your Picture.
Step 6: A pop-up window will appear. Click on ‘Copy and Share’ to save your Picture and use it for future purposes.
Another simple way to remove Background from Picture on iPhone is to use the Files Application. Here’s a quick guide on how to do it.
Step 1: Open Files and find the file that you want to remove the background from. No matter what the type of file, the iPhone can easily remove the background from the picture.
Step 2: If your picture does not violate the iPhone background eraser guidelines, you can use the ‘Quick actions.’
Step 3: A pop-up window will appear where you will be able to view the magic wand tool icon.
Step 4: Click on ‘Quick Actions.’ You will be able to use the Background Remover now. Wait for a couple of seconds and you will now have a brand new subject without the background in it.
Step 5: Save the image. You can use it later for other needs.
Check out: How to Make a Photo Collage on iPhone
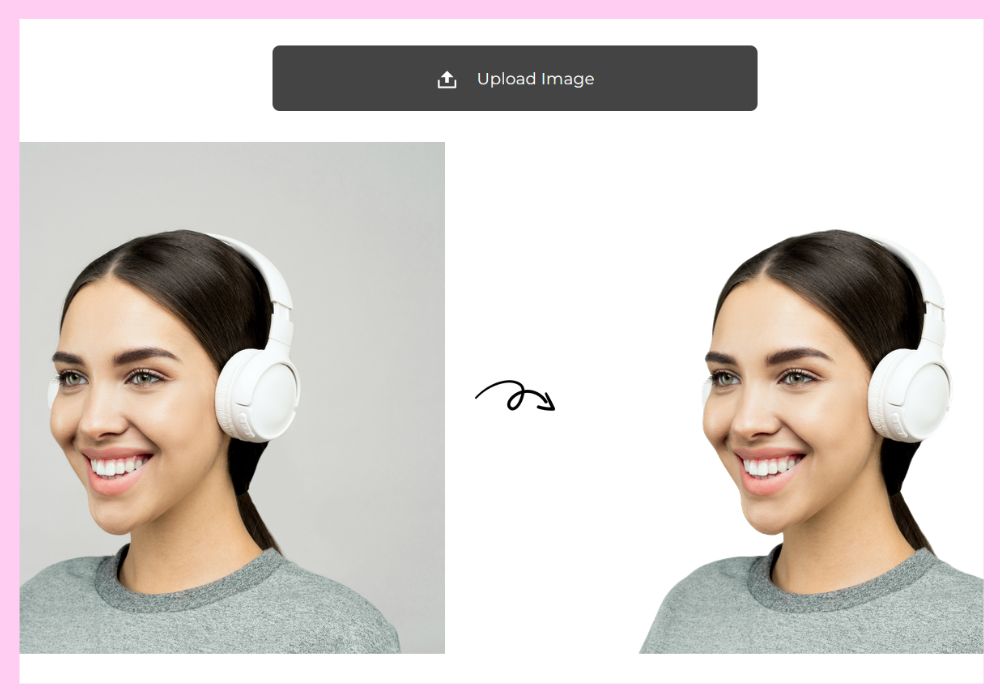
Sketch My Pic has an effective background-removing tool that is free to use and available on all devices. Using fast technology to provide accurate results, Sketch My Pic’s background removal tool is a great choice for beginner's and well as expert editors.
Step 1: Open Sketch My Pic's official website on your Mac or iPhone or simply click here.
Step 2: On the top right corner tab, select Background Remover.
Step 3: Sketch My Pic will redirect you to the background removal tool. Upload the picture from which you want to remove your background by clicking on ‘Upload Image’.
Step 4: Wait for the tool to work its wonders. Your picture will now be ready with the background removed!
Step 5: Save it to your gallery for future use.
Check out: How to Remove Color From Image
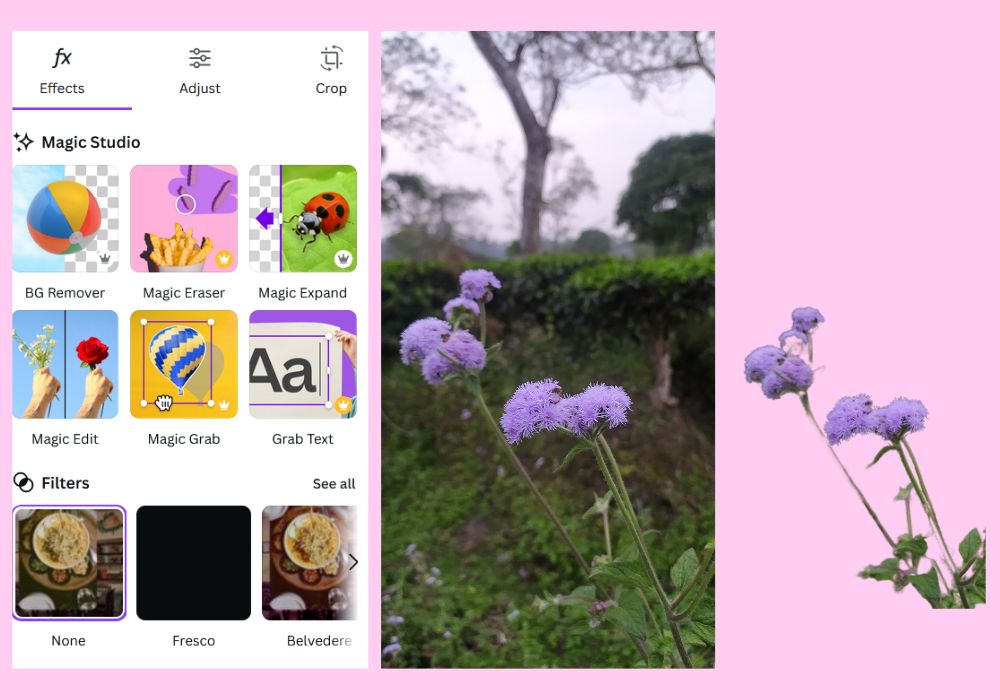
Canva is a great application for photo editing for beginners and editing experts. It offers a variety of services which are free to use. Unfortunately, the background remover option for Canva is only available for Canva Pro users. If you have a subscription, you can easily use your iPhone or Macbook to remove the background from pictures.
Step 1: Open the Canva app on your iPhone or search in a web browser if you are using a Mac device.
Step 2: Choose the dimensions of your template by clicking on ‘Create A Design’ and then upload an image.
Step 3: Click on the Picture you have just uploaded and select ‘Edit Photo’. You will be able to view a bunch of options.
Step 4: Click on the ‘BG remover’ option. Now wait for a few seconds and you will have the desired image without a background.
Step 5: Download the Image in a JPG or PNG format for easier utilization.

iPhone has one of the best quality cameras which capture moments in high definition. Sometimes, you might just need to use the main focus or subject of the photo without the background for a couple of reasons. Some of the benefits of using a background remover tool are as follows:
1. For a Professional look- A lot of companies and businesses use background tool removers to make their photos looks more polished and professional. A picture with a background can create a lot of noise and distractions. Hence, background removers are used to isolate the subject from the backgrounds to create a noise-free and distraction-less feel of professionalism.
2. Use the photo for other backgrounds- A good thing about separating the subject from the background is that it can be used for other backgrounds as well. People swap pictures for different backgrounds to increase visual appeal as well.
3. Space for more experimentation- When removing a background from an image, you have the space to play around and experiment with styles, textures, fonts, and designs. You can add special effects. Additionally, removing a background from a picture helps incorporate more items into your photos.
4. Lightweight Experience- Removing backgrounds from pictures makes the photo more subject-centric and a lot less heavy. This cuts down on heavy weights and makes the experience more lightweight and promising. It also creates a good impression on new customers.
Check out: How to Add a Background to a Photo
With this, we conclude our guide on how to remove background from picture on iPhone. We hope this blog was helpful for you in your photographic pursuits. If you liked this, go through our other blogs as well!


