By Suneha
Guide
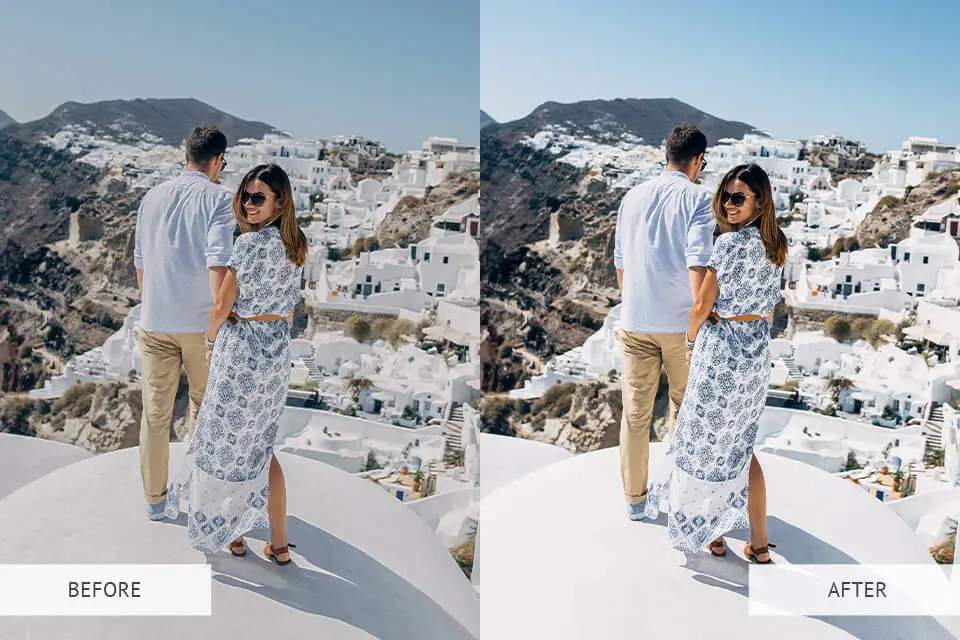
img source: travelanddestinations.com
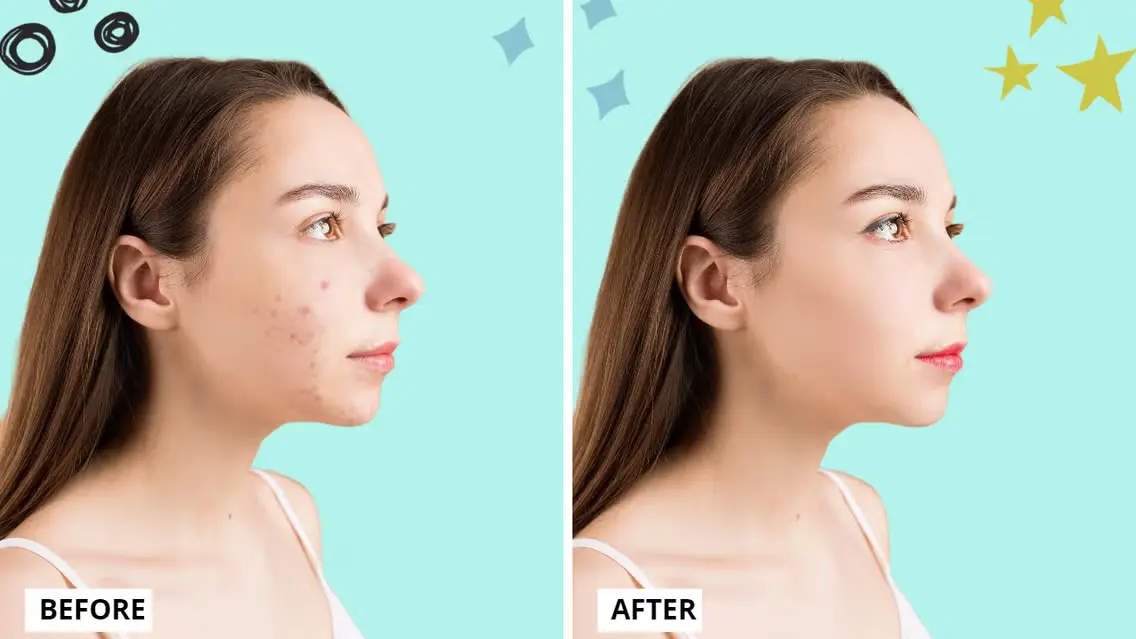
Creating before and after pictures involves capturing and showing the contrasting features of a picture after showcasing its transformation. Before and after pictures are quite helpful when blogging or understanding photographic techniques and editing as they give you an in-depth analysis of the contrasting elements in the 'before' and 'after' pictures.
Whether it is to showcase your blogs or to showcase the renovation of your house or to increase your editing knowledge, this accessible guide on how to make before and after pictures is going to be quite helpful.
Before we begin with the main content, here are a few tips you can remember to make your before and after shots better.
1. Use a Tripod or a stable surface to click pictures. This enables a consistent framing between the two photos.
2. Always be honest in your transformation. Showing unrealistic representations destroys the whole point of before and after pictures and can lead to misrepresentation. The key is to accurately represent the transformation while showing the improvements.
Canva is a web and mobile-based app that is beginner-friendly and offers many services. To make before and after pictures, you will need two pictures in a collage format to showcase the change in the pictures.
Step 1: Open Canva in your web browser or the app if it is installed on your Phone.
Step 2: Click on the '+' sign to create a new document. This opens up several options with multiple canvas sizes and dimensions. Our suggested size for dimensions is the Instagram Post option because of the bigger canvas size and the template we are going for.
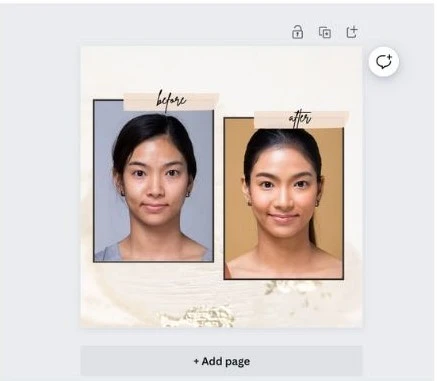
Step 3: Go to the Template gallery, search for Comparison, and select your desired free template. To find the proper before and after template, consider the layout. It should match the type of before and after Image you are trying to create. For instance, if you are making a before-and-after picture of a person, look for a template with a divider in the middle.
Also, check for suitable fonts which match the theme of your project. To showcase furniture transformation, you can use a Gothic or artsy font to showcase the change.
Step 4: After choosing your template, change your photos to the 'before' and 'after' pictures. To create the 'before' Image, upload the Image of the subject/ object. You can add text and apply filters like 'Vintage' or 'Black and White.'
For the 'after' Image, enhance the Image to make it stand out. However, please do not misrepresent the Comparison by making unnatural changes. You can adjust the brightness and contrast of the Image. Making subtle changes can make a big difference, so do not overdo it.
Step 5: Make your necessary changes. You can change the font and the color of the template.
Step 6: To save the picture, click on the download option and choose a format (JPEG or PNG preferred). Once done, your before and after pictures will be saved.
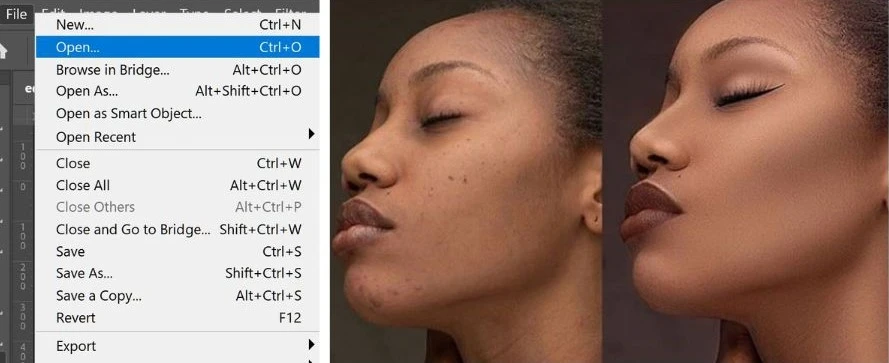
Creating before and after pictures in Photoshop is relatively easy. Photoshop is one of the best tools for photo editing. In this blog, we will show you how to make before and after pictures using Photoshop.
Step 1: Open Photoshop. Click on the File option from the top menu. Upload a photo from your files, which will be the 'before' photo.
Step 2: Repeat the same process to upload the 'after' photo. Both images will open in separate tabs within Photoshop.
Step 3: You need to increase the size of your canvas to accommodate both pictures in the same space. To do so, hover to the top menu, choose Image, and click on Canvas Size. If you wish to align the pictures horizontally, double the width size of the canvas. For vertical accommodation, double the height dimensions of the canvas.
Step 4: Use the' Anchor' section to position your 'before' picture. For vertical positioning, click on the arrow pointing upwards to position the Image on the top. Click on OK once done.
Step 5: For the 'after' Image, click on Ctrl + A (Windows Users) or Cmd + A (Mac Users) to select the entire Image. Select the Move tool from the toolbar (the icon looks like a cross with arrowheads). Drag the Image onto the tab with the 'before' image' and place it.
Step 6: Use the arrow keys to fine-tune the position of the after Image. Make subtle adjustments to the Image as per your needs to show the transformation from the before to the after Image.
Step 7: Once you are done with the editing, save the project.
In this blog, we will also use options available on Phones, which can be used to make before and after pictures.
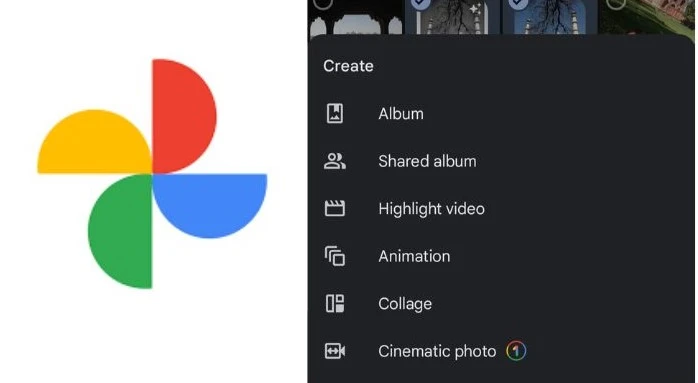
1. Google Photos: If you have an Android phone, you will find that Google Photos is pre-installed. You can use this app to make before and after pictures. You just need the collage template and two pictures. To do this, Open Google Photos on your Android Phone.
Tap and Hold on to the picture you want to show a transformation of. Once the tick mark appears above your first picture, select the second picture as well. Click on the 'Add To' button and select 'Collage'.
The pictures will be automatically aligned in a collage format in the side-by-side layout. You can edit the pictures now using the edit option to play with the brightness and contrast. Ensure the changes are not unnatural.
Once you are done, save and download the Image.
2. Using BeFunky: You can make before and after pictures in BeFunky, which is available on web browsers and can be installed for Android and iOS users. To get started, use the collage maker option in BeFunky after opening it on your Phone.
In the Collage Maker option, click on Layouts and find the side-by-side layout for Before and After Images. Add your before and after images by heading to Image Manager. Editing the Image allows you to change its size.
You can customize the Image by changing the background color or modifying the spacing. Add before and after texts to the respective pictures using a font that suits the style of the Image. Save the Image once you are done!
img: BeFunky
We hope our guide on how to make before and after pictures was helpful to you. Clearly understanding the purpose of your before and after pictures is important before you show the changes to your audience. Maintaining consistency and subtle editing is essential so that the transformation does not appear unnatural.


