By Jinee
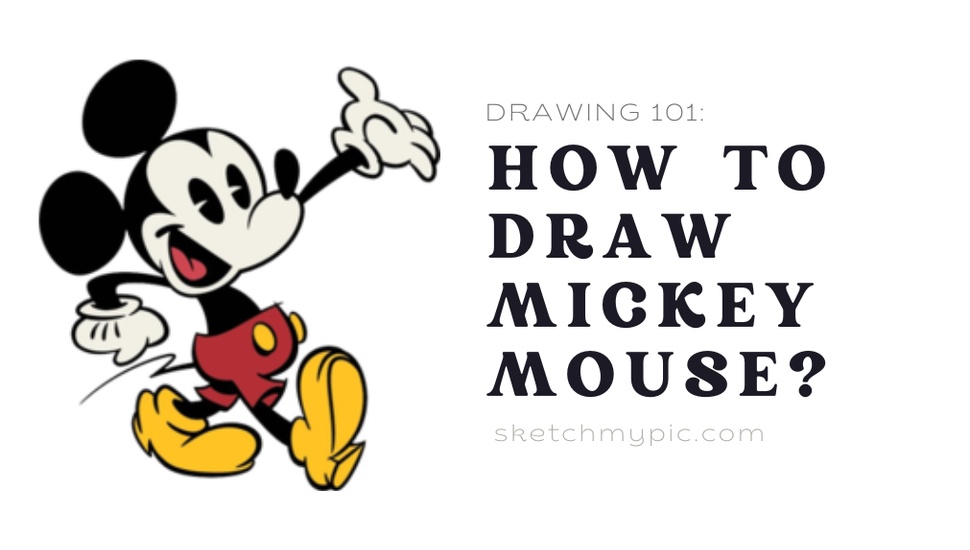
How To's GuideMickey Mouse, created by Walt Disney, is one of the most iconic and beloved cartoon characters of all time. His simple yet charming design has captured the hearts of millions around the world. If you've ever wanted to learn how to draw Mickey Mouse yourself, then you're in luck! In this blog post, we'll guide you through the process step-by-step, providing helpful tips and techniques along the way. So grab your drawing materials and let's get started!
Materials Required
Before diving into the steps, let's ensure you have all the necessary materials to draw Mickey Mouse. Here's what you'll need:
Now that you have your materials ready, let's begin!
Step 1: Start by drawing a circle for Mickey's head. Make it big enough to leave room for his ears.
To begin drawing Mickey Mouse, start by drawing a large circle in the center of your paper. This circle will serve as the foundation for Mickey's head. Make sure the circle is proportional and not too small, as you will need space to add his iconic ears later on.
Step 2: Add two curved lines extending from the bottom of the circle for Mickey's jawline.
Next, extend two curved lines downwards from the bottom of the circle, creating Mickey's jawline. These lines should be slightly curved and should meet at a point below the circle, forming the chin.
Step 3: Draw two circular shapes attached to the top left and top right of the head circle. These will be Mickey's ears.
Now, it's time to add Mickey's famous ears. Attach two circular shapes to the top left and top right sides of the head circle. These circles should be slightly smaller than the head circle and should be positioned so that they slightly overlap the upper part of the circle.
Step 4: Inside the head circle, draw two intersecting lines. These lines will help you position Mickey's facial features.
Inside the head circle, draw two intersecting lines that cross each other at the center. These guidelines will serve as a reference to help you position Mickey's facial features later on. The vertical line should bisect the circle from top to bottom, while the horizontal line should divide the circle in half from left to right.
Step 5: Use the guidelines to sketch ovals for Mickey's eyes on either side of the vertical guideline.
Using the guidelines you drew in the previous step, sketch two ovals for Mickey's eyes. Place them on either side of the vertical guideline, just above the horizontal guideline. The size of the eyes should be proportional to the size of the head circle.
Step 6: Draw a curved line beneath the eyes to create Mickey's nose.
Beneath the eyes, draw a curved line that starts and ends just outside the vertical guideline. This line will form the outline of Mickey's nose. The shape should resemble a curved, upside-down letter "U" with rounded edges.
Step 7: Now, add a big smile by drawing a curved line below the nose.
Below the nose, draw a curved line that extends from one end of the jawline to the other, creating Mickey's signature smile. The line should be slightly wider in the middle, resembling a gentle curve.
Step 8: Mickey has oval-shaped ears, so draw ovals for his ears on top of the circles you made earlier.
Now, it's time to refine Mickey's iconic ears. On top of the circles you drew earlier, sketch two slightly elongated ovals. These ovals should be positioned inside the initial circles and should follow the same curve as the circles. Pay attention to the size and shape of the ears to ensure they are consistent and proportional.
Step 9: Erase the guidelines and unnecessary lines, leaving only Mickey's recognized features.
Once you are satisfied with the positioning and proportions of Mickey's head, features, and ears, carefully erase the guidelines and unnecessary lines. Use a clean eraser and gentle strokes to avoid damaging the drawing.
Step 10: Use a black ink pen to outline Mickey's features, emphasizing his eyes, nose, and mouth. Add additional details like his pupils and eyebrows.
To complete your drawing of Mickey Mouse, use a black ink pen to carefully trace over the pencil lines, emphasizing his eyes, nose, mouth, and other facial features. You can also add additional details like his pupils and eyebrows to make the drawing more defined and recognizable. Take your time and be precise to ensure a clean and polished final result.
Coloring the Drawing: 10 Steps
Step 1: Decide on the color scheme you want for Mickey Mouse. Typically, his face is white, and his shorts are red.
Step 2: Use a light shade of red to color Mickey's shorts.
Step 3: For Mickey's face, use white or a light skin tone color. Be sure to leave the areas around his eyes, nose, mouth, and ears empty.
Step 4: Color Mickey's ears using a light shade of gray or black.
Step 5: Fill in Mickey's eyes with black or a dark shade of gray.
Step 6: Add a touch of red to Mickey's lips.
Step 7: Use a darker shade of gray to add shadow and dimension to Mickey's facial features, such as his nose and the insides of his ears.
Step 8: Fill in any remaining spaces on Mickey's face and shorts with the appropriate colors.
Step 9: Once the colors are completed, let your drawing dry, if necessary.
Step 10: Finally, take your black ink pen and reinforce the outline of Mickey's features, ensuring they stand out against the colors you've applied.
Additional Tips and Techniques
Now that you've learned the basic steps to draw Mickey Mouse, let's explore some additional tips and techniques to enhance your drawing:
Remember, drawing is a form of self-expression, so don't be afraid to infuse your own style and creativity into your artwork. Use these tips as a starting point and continue to explore and develop your artistic abilities. Happy drawing!
Conclusion
Congratulations! You've successfully learned how to draw Mickey Mouse. Remember, practice makes perfect, so don't be discouraged if your first attempt doesn't turn out exactly as expected. As you continue practicing, you'll improve your skills and develop your unique style. Have fun exploring different poses and expressions for Mickey Mouse, and feel free to add your personal touch to the character. With dedication and practice, you'll be able to draw Mickey Mouse and create your own Disney-inspired artwork in no time!


