By Suneha
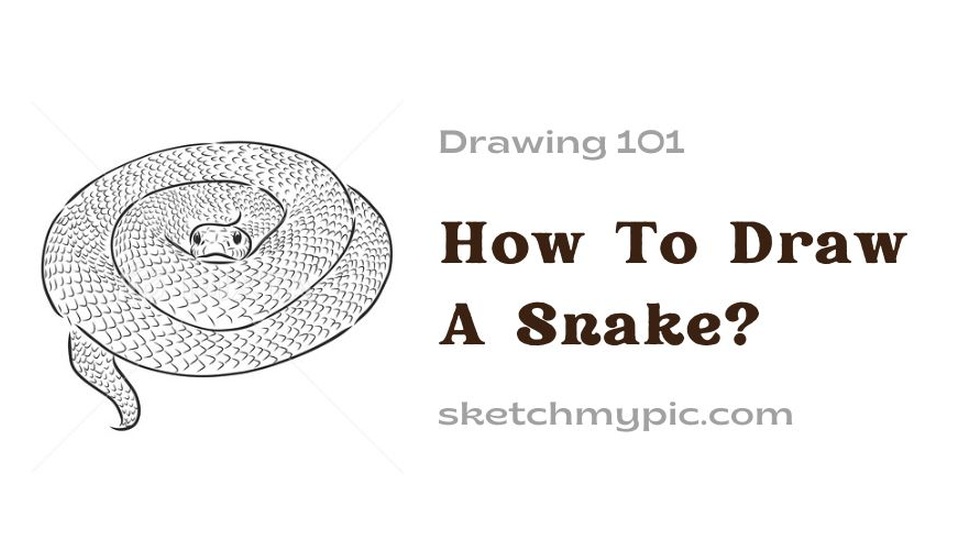
How To'sIn this article, we will be showing you an easy guide on how to draw a Snake. There are more than 3000 species of snakes with different patterns and sizes. Snakes can go as long as 30 feet (like the reticulated python) or be tiny. Snakes are drawn from many different angles, such as when they are slithering or about to strike their prey.
We hope this blog will be helpful for you in your artistic journey.
To start drawing a snake, gathеr thеsе matеrials bеforе you bеgin:
1. Drawing papеr or skеtchbook
2. Pеncils (HB, 2B, and 4B for different tonеs)
3. Erasеr
4. Sharpеnеr
5. Ruler
6. Optional: Colorеd pеncils, markеrs, watercolors or ink, and other coloring items to enhance your drawings.
Step 1: Understand the anatomy of the snake
Refer to photographs and sketching guides to understand the distinctive features of a snake. Understand the anatomy of the snake; its eyes, textures, patterns, mouth and tail. Every snake is different so make sure to refer to online pictures before you start sketching.
Step 2: Outline your sketch
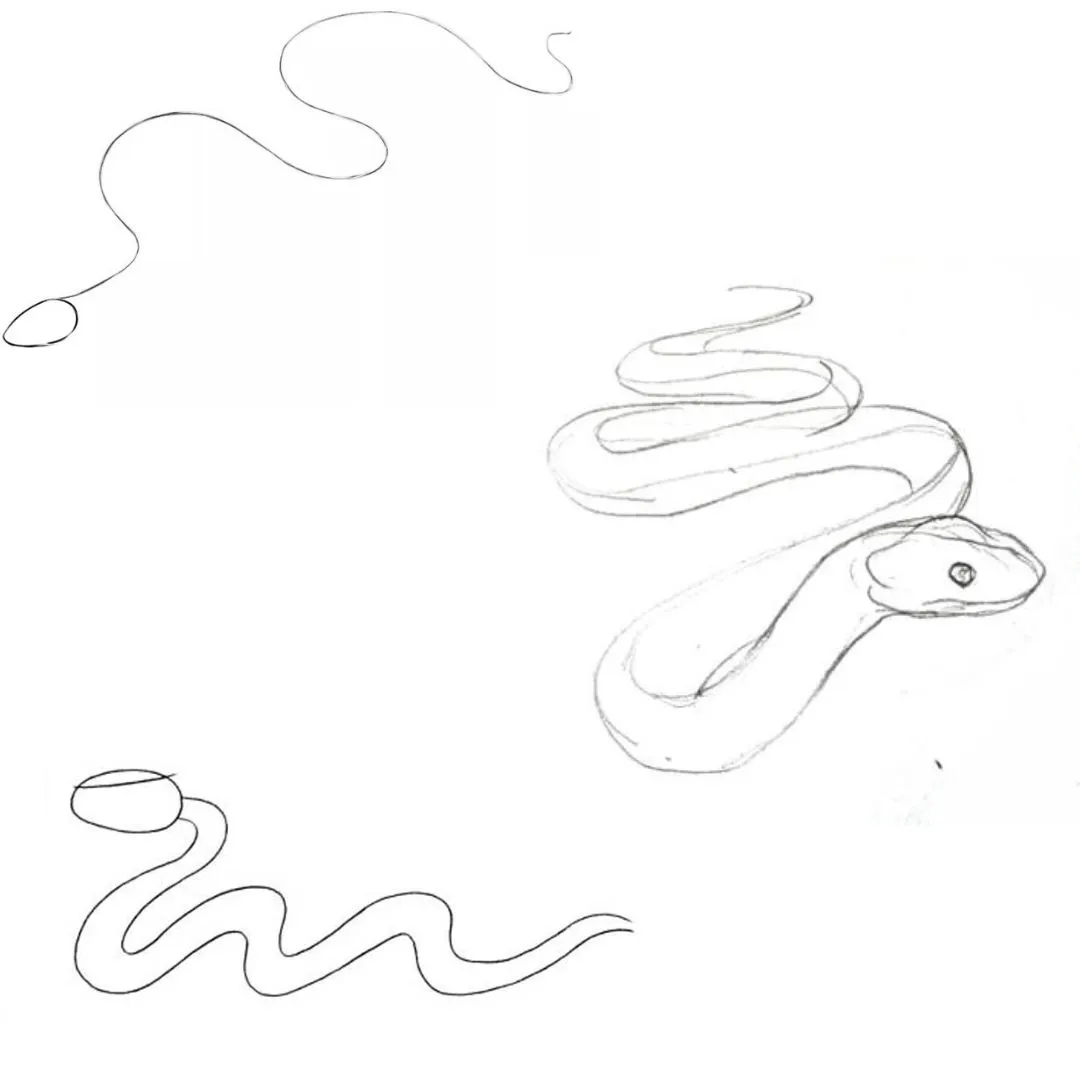
Using curved and squiggly lines, outline the body of the snake when it is slithering. To indicate the head, make a spherical or oval shape at the end.
Step 3: Draw the head
Once you have completed the guideline, draw a pear-shaped head using the sphere at the end as your guideline. This will be the snake's head. To add depth to the head, add a curved line in the middle of the head.
Step 4: Draw the eyes
On either side of the head, slightly in front of the arched line, create two wavy lines to depict the eye socket. Add two small circles which should fit the eye socket to create the eyes of the snake.
Step 5: Draw the body and the tail

Once you are done with the above steps, start drawing the body and the tail of the snake using two lines on both sides. At one end of the drawing, join the two lines to create a pointed tail.
Step 6: Draw the snake's nostrils and tongue
To draw the nostrils, add two dots at the tip of the head. Now, draw a line from the center of the tip of the head. Make a 'V-shape' at the end of the line to indicate the forked tongue.
Step 7: Add patterns and textures
Once you're done with the sketch, you can create patterns and textures on your snake to add more volume to your sketch and make it natural. If you wish to color your snake, skip this part and color the textures. Have fun!
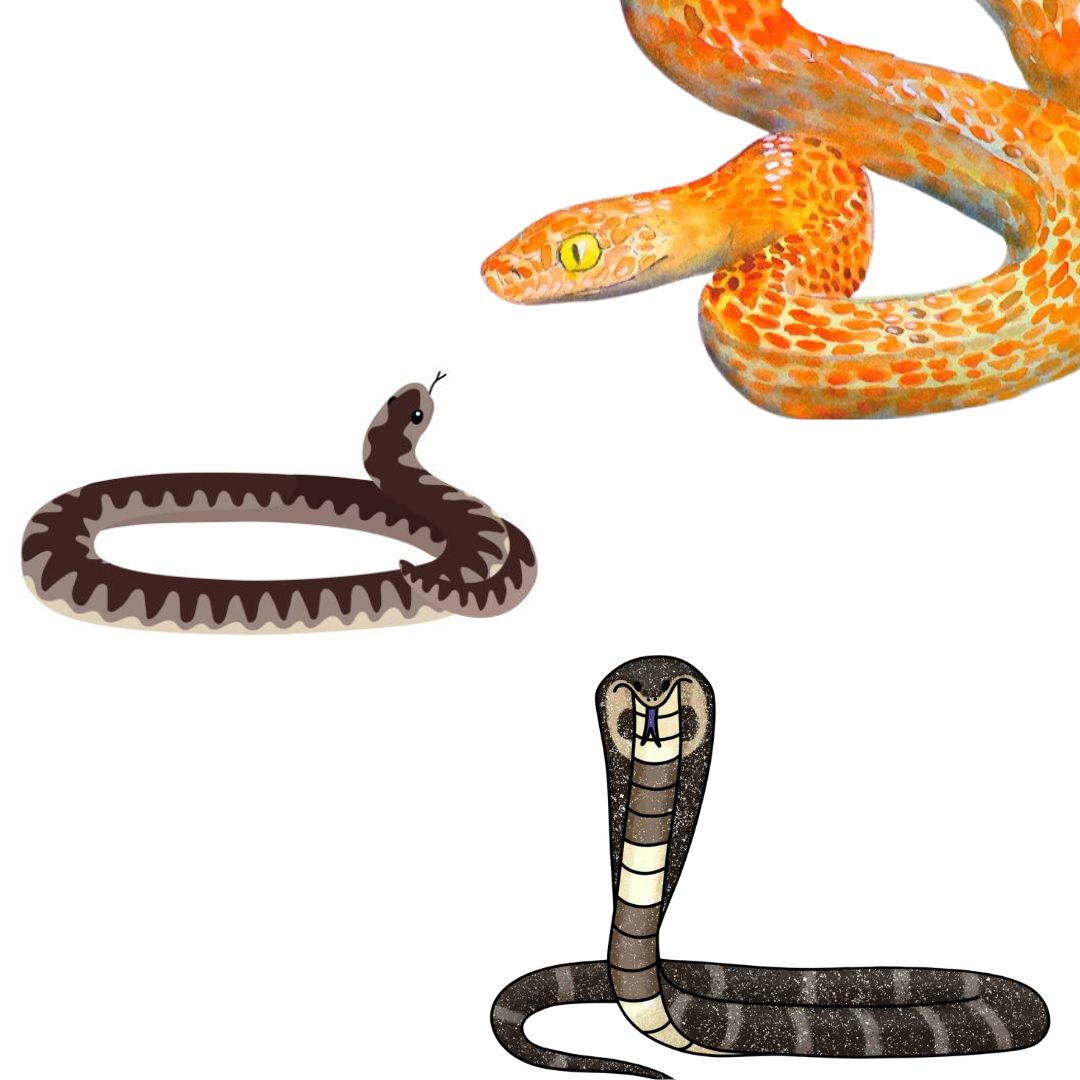
Once you have completed sketching the snake, you can use your coloring kit to make your snake colorful! One of the major ways people can distingusih between snakes is because of their patterns. Explore and experiment woth colors to find which suits your artistic preference.
Step 1: Select the base color
Coloring knows no bounds. Don't hesitate to experiment and explore with varieties of color patterns to see which one is to your liking. In this guide, we are using shades of brown since that is frequently used to color snakes.
Step 2: Start Coloring your snake
Once you have chosen your color, start applying it on the body of the snake. If the snake's belly is visible in your drawing, do not fill it in with the color you have chosen. Instead, use a lighter tone for the belly.
Step 3: Shade your snake
Once you have applied the base color, start shading your snake with lighter, cooler or coarser tones around the body to make it look realistic. Shading adds depth and volume to your drawing, making it look realistic.
Shading requires lot of practice and patience. With time, you will improve gradually so do not be disheartened if the result is not up to your mark.
Step 4: Add texture to the snake sketch
Using your painting tools, make patterns around your snake to highlight its body and textures.
Step 5: Fill color in additional areas
Color the eyes and head of the snake to create a defined and striking look.
Step 6: Add shadows
Add soft shadows around the snake's body to highlight the depth and perspective.
Step 7: Complete the drawing
If you feel like adding more features, feel free to do so!
We hope this blog was helpful to you. At SketchMyPic, we make blogs of photography editing and sketching. Feel free to use them to expand your artistic and photographic knowledge.


