By Suneha
How To'sIn today’s article, we will be showing you how to draw a fish. This is an easy guide for artists and is very beginner-friendly. So, if you are interested in learning how to draw, you have come to the perfect place.
To start drawing a fish, gathеr thеsе matеrials bеforе you bеgin:
1. Drawing papеr or skеtchbook
2. Pеncils (HB, 2B, and 4B for different tonеs)
3. Erasеr
4. Sharpеnеr
5. Ruler
6. Optional: Colorеd pеncils, markеrs, watercolors or ink, and other coloring items to enhance your drawings.
In this part of the blog, we will show you how to draw a fish for kids.
Step 1: Features of a fish
Before drawing a fish, you need to know what kind of fish you want to draw. There are over thirty thousand species of fish that have different patterns of scales over their body. A few important features of a fish are its head, body, fins, and tail.
Step 2: Draw an ellipse
Since we are drawing a fish facing its side, we need to start with the basic shape, an ellipse, which will be the foundation on which you will draw your fish. The ellipse represents the body of the fish.
Step 3: Draw the head
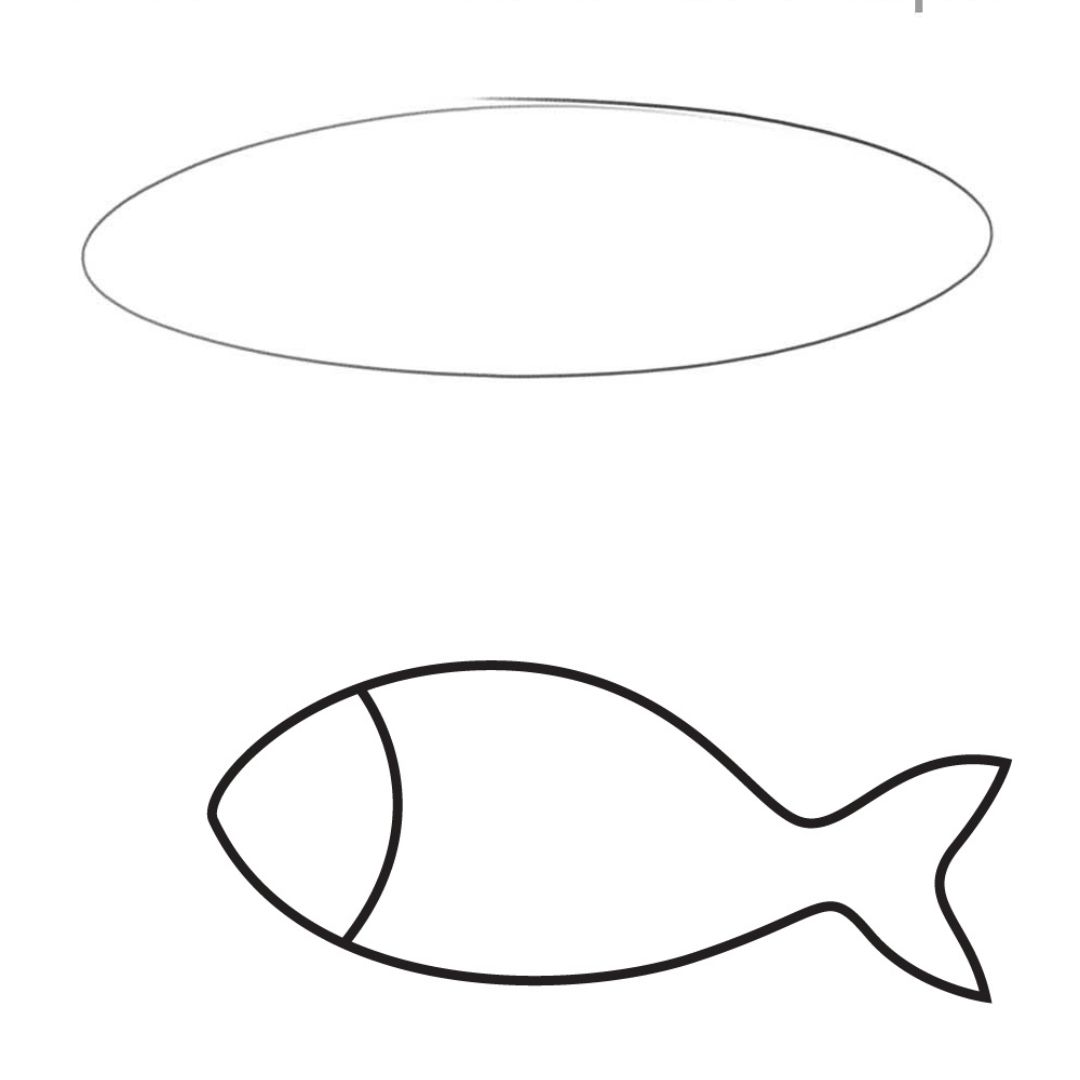
After drawing the fish's body, draw a curved line across the front third of the fish to depict the head.
Step 4: Draw the tail
Once you have drawn the head, draw the fish's tail by adding a triangular-shaped tail behind the fish’s body.
Step 5: Draw the fins
After completing the fish's head, body, and tail, draw the fish’s dorsal fin by adding a curved shape drawn slightly tilted and away from the body. Repeat the same for the bottom fin. Add a curved shape in the form of a 'D' over the body to draw the side fin.
Step 6: Draw the eye
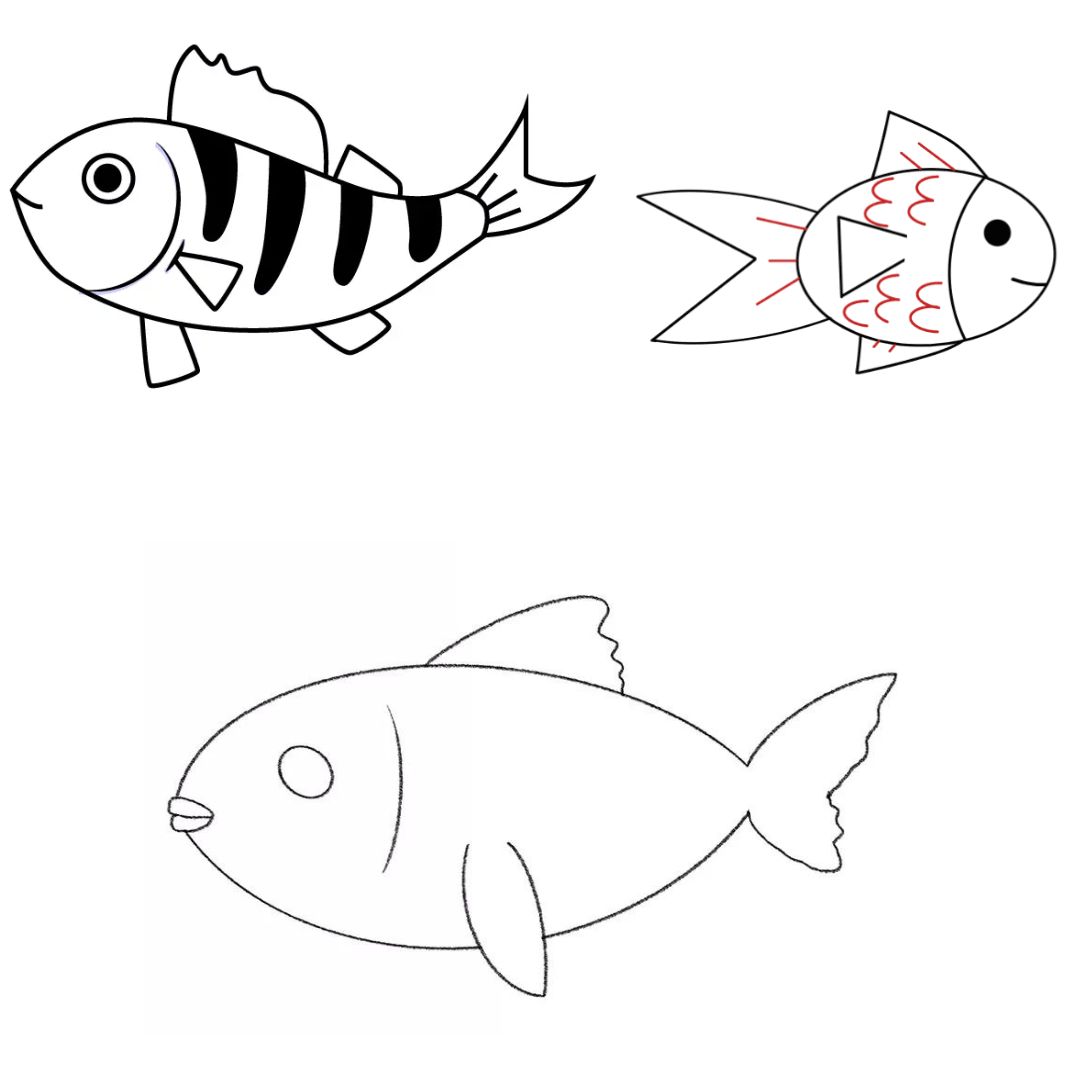
To draw the eye, draw a circle with an unshaded white dot in the top corner of the head. You can add an extra smile in the front of the fish’s face by depicting it with a curved line.
Step 7: Color your fish
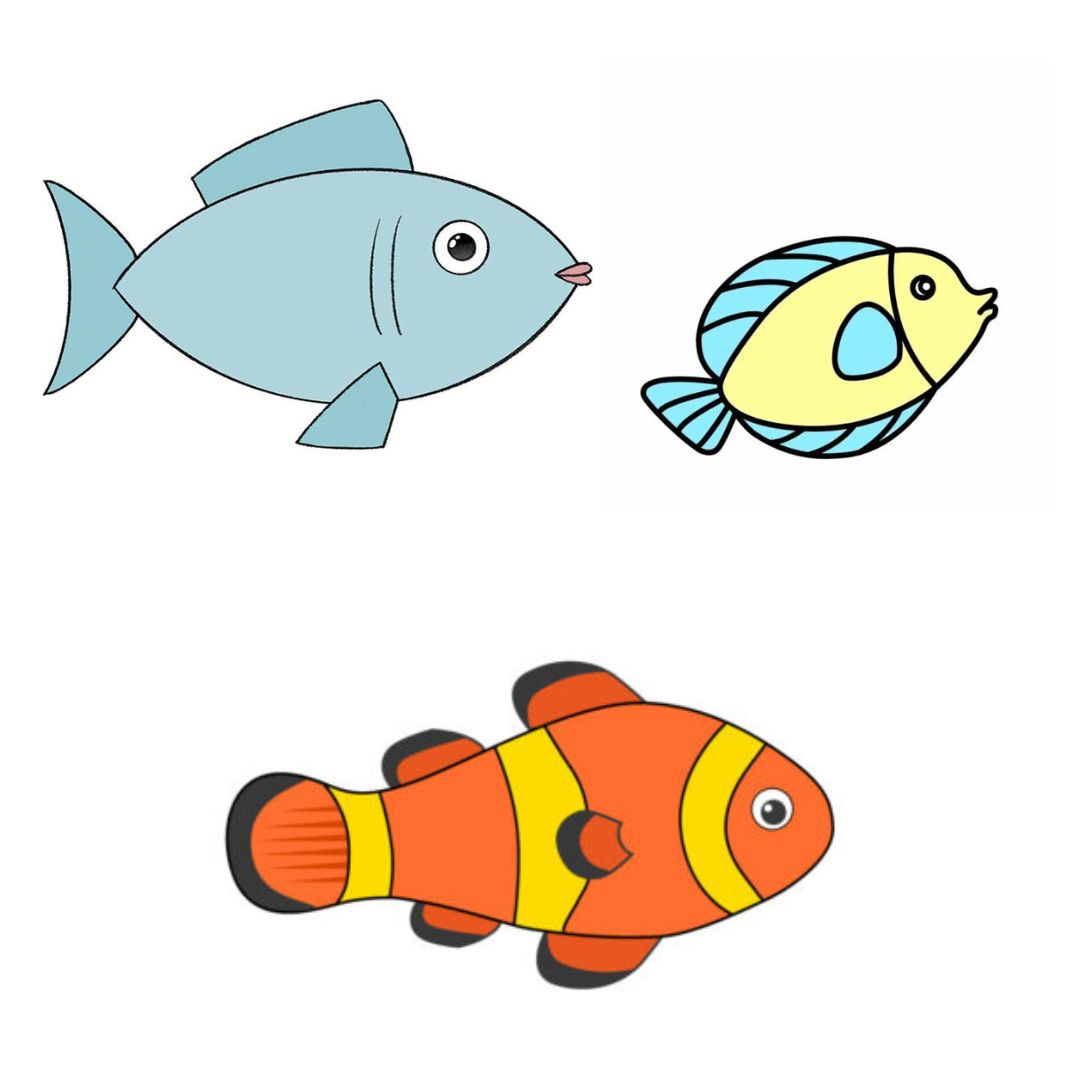
Now that your drawing is finished, feel free to color your fish by using any colors you like. Be creative!
This part of the blog shows a more advanced way on how to draw a fish.
Step 1: Draw the guideline
To start off, grab your HB pencil and draw a horizontal line of the fish, and mark the ends to show the length of the fish (head, boy, and tail included).
Step 2: Draw the body
To draw the body of the fish, draw an elongated body from the left end. Keep a quarter of the line untouched for the tail.
Step 3: Draw the head, mouth, and eye
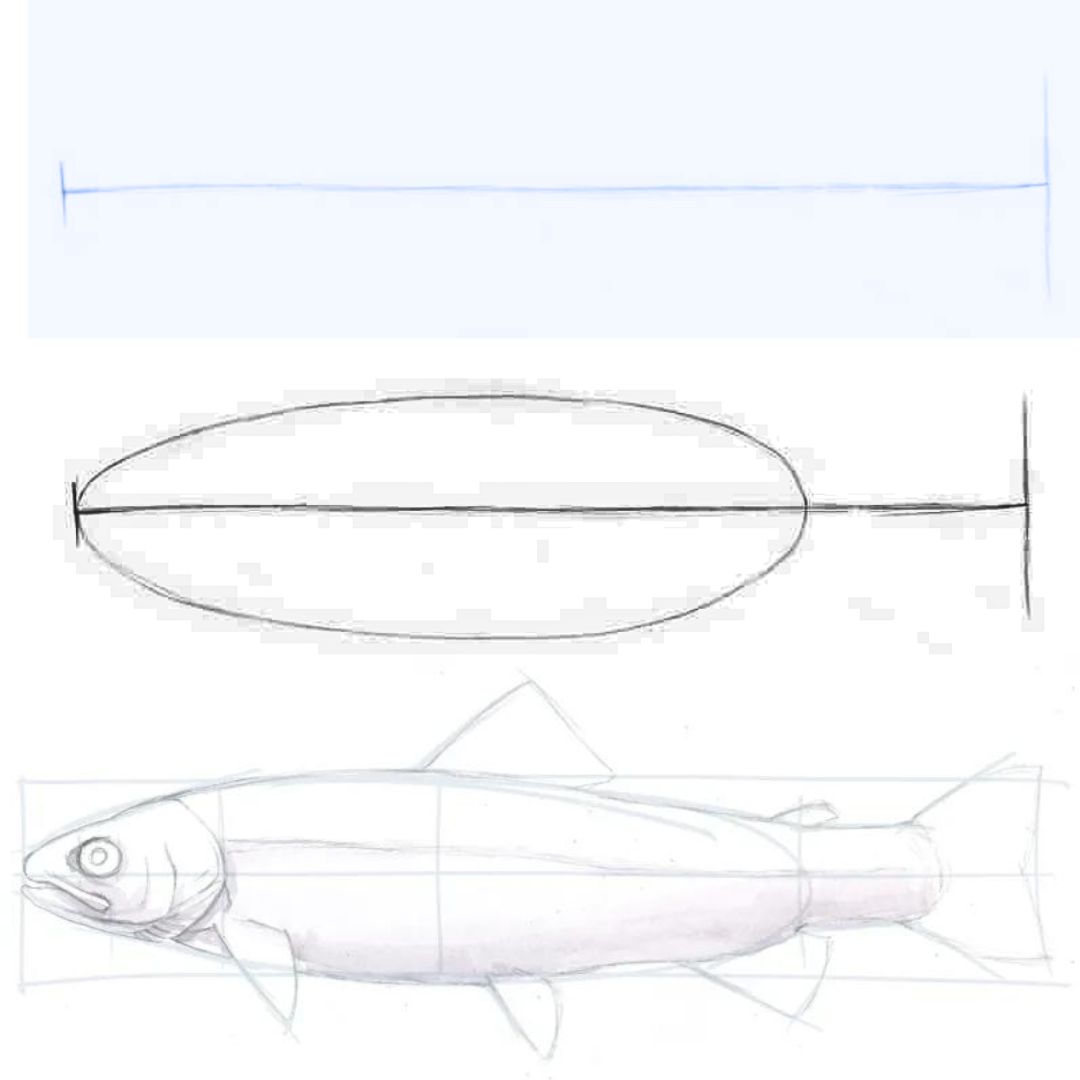
To draw the head, draw a line across the front third of the fish’s body, dividing it between the head and the body. For the cover of the gill, add a ‘>’ like shape but make it softer and less pointed.
Next, draw the eye of the fish. Make a circle at the top-right corner of the fish. Make a bigger circle, and inside that circle, make a smaller circle.
Make the mouth of the fish by erasing out a small portion from the front part of the elliptical shape you made in Step 1. Add two lines, the upper line being more angled and deeper into the head than the lower line and join them.
Step 4: Draw the Tail
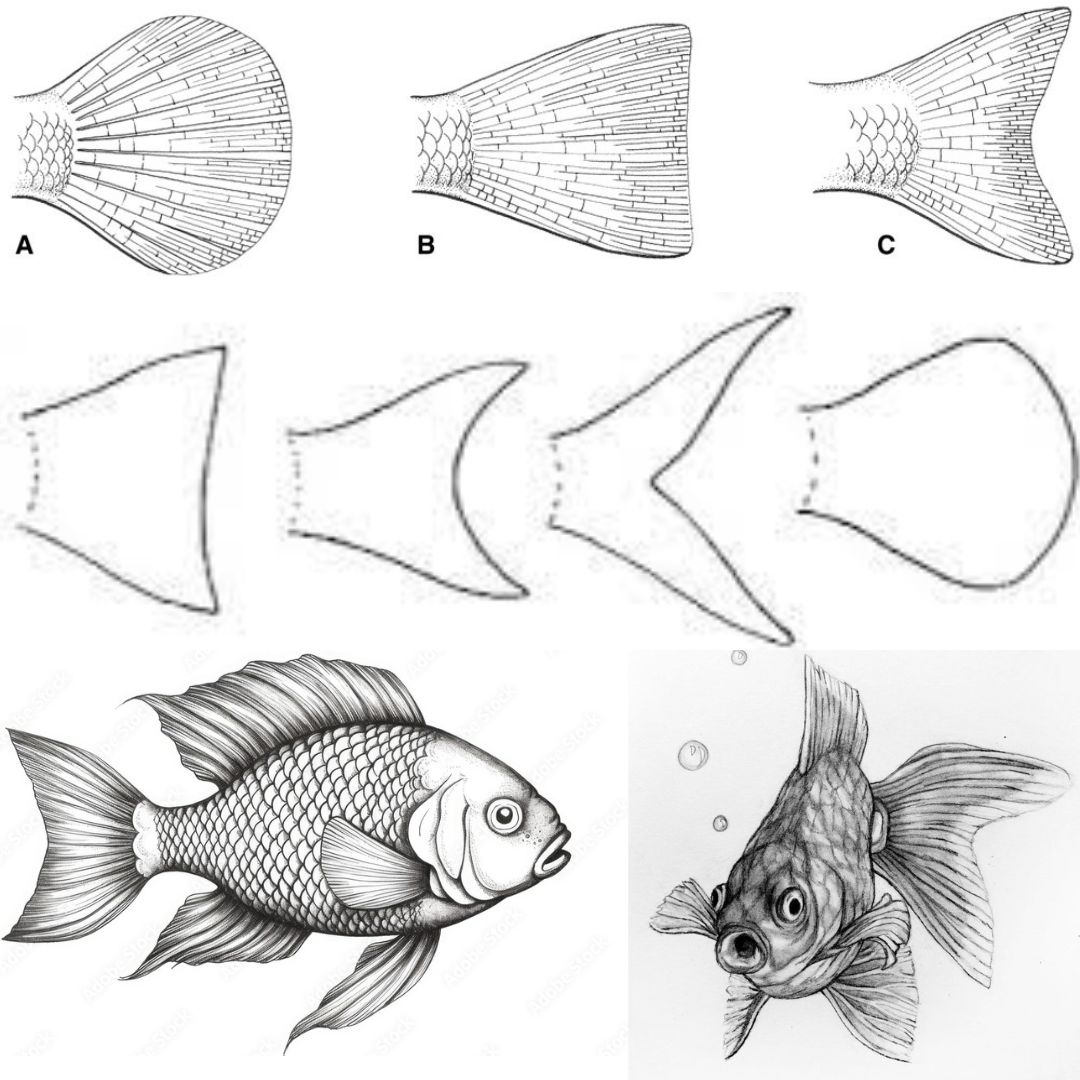
Draw the tail of the fish using a trapezoid shape. If you wish to use a different shape, refer to these examples.
Step 5: Draw the fins
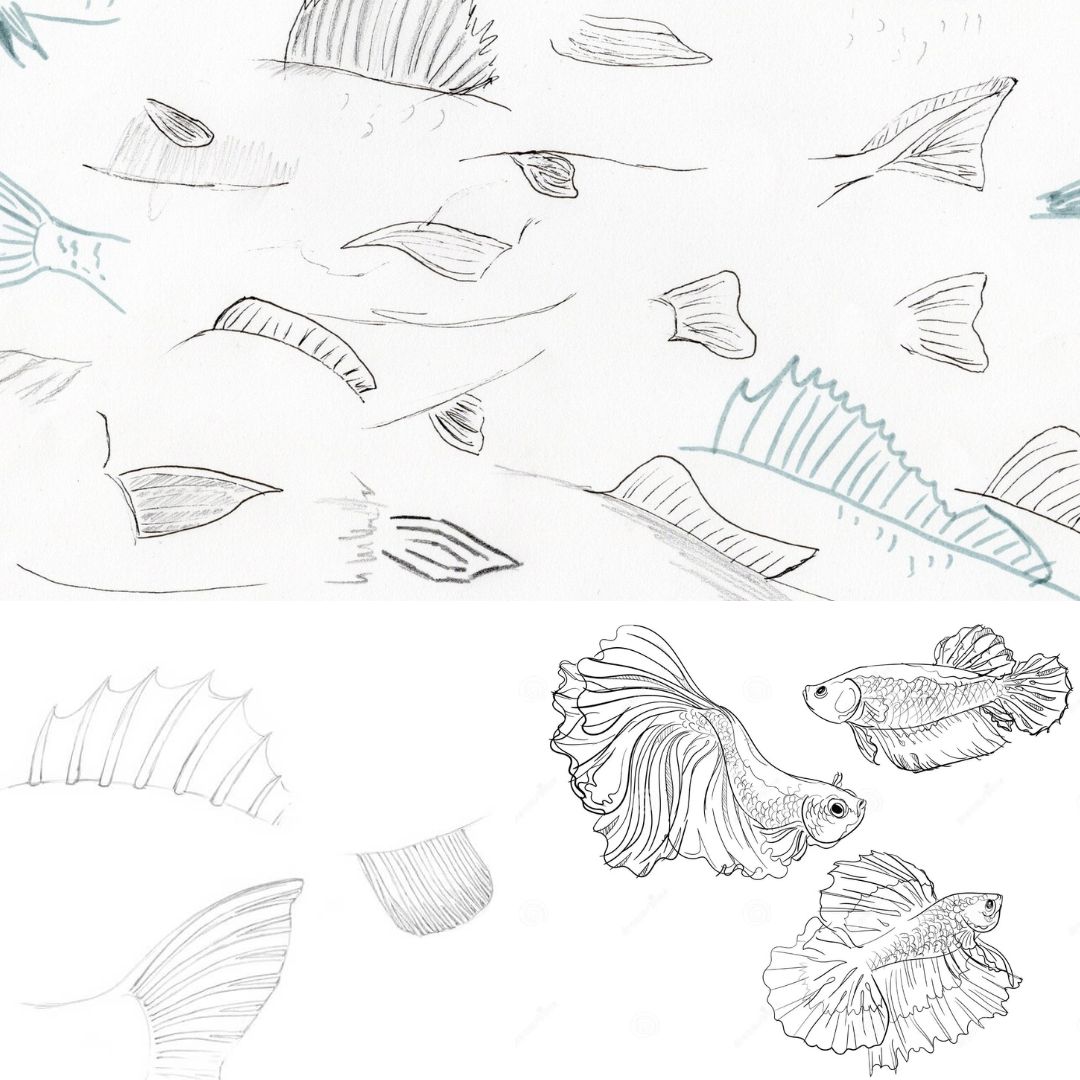
To draw the fins, add a shape that you find suitable depending on the species. Fins of fishes come in different shapes and sizes and vary according to species. Some fish might not have bottom fins as well.
Step 6: Shade the fins
Fill the fins with a pattern you deem correct. Here are a few examples.
Step 7: Draw the fish’s nostrils
Add the nostril on the front part of the head and a couple of folds near the eye. Refer to a picture online to add more individual details to unleash your creativity.
Step 8: Shade or color your fish
Once you are done with the primary and additional features of the fish, you can shade them or color your fish. You can use your Graphite and HB pencils to give the fish a textured look or color it using watercolors or color pencils.
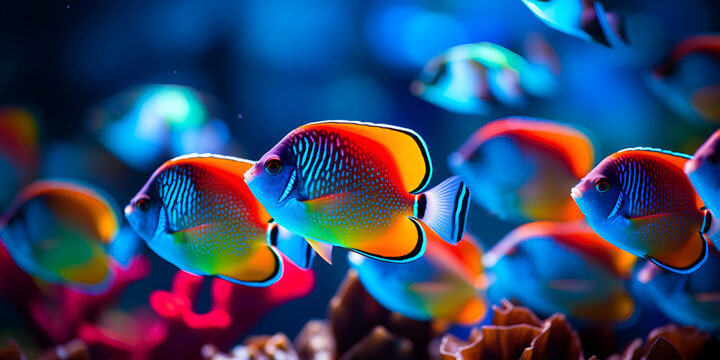
img source: Adobe Stock
We hope this guide on how to draw a fish was helpful to you in some way. Fishes come in diverse sizes, colors, features, and forms. While we tried our best to show an easy guide, you can also add your own additional features by making more textures, adding more depth, and adding more features. Make sure to experiment and explore techniques to find out which suits you the best. Happy Drawing!