By Suneha
How To's
Birds come in different shapes, sizes, and colors. They are curious creatures that are very fun to draw because of their interesting features. Their eyes, claws, feathers, and wings come in various sizes, and capturing their essence in a drawing helps enhance your sketching skills and creative expression.
In this blog, we will present an easy step-by-step guide on how to draw a bird from scratch. So, if you are an artist or someone who loves bird watching and spending your leisure time sketching birds, this is the perfect blog for you.
To start drawing a bird, gathеr thеsе matеrials bеforе you bеgin:
1. Drawing papеr or skеtchbook
2. Pеncils (HB, 2B, and 4B for different tonеs)
3. Erasеr
4. Sharpеnеr
5. Ruler
6. Optional: Colorеd pеncils, markеrs, watercolors or ink, and other coloring items to enhance your drawings.
Step 1: Understanding the anatomy
To draw a bird, we need to understand the anatomy of a bird first. Birds come in all shapes and sizes. To draw a bird, we need to draw two circles: one small circle to depict the head and one large circle to depict the body. These will be your basic foundations on which we will later trace and outline the beak, the legs, the claws, and the bird's eye.
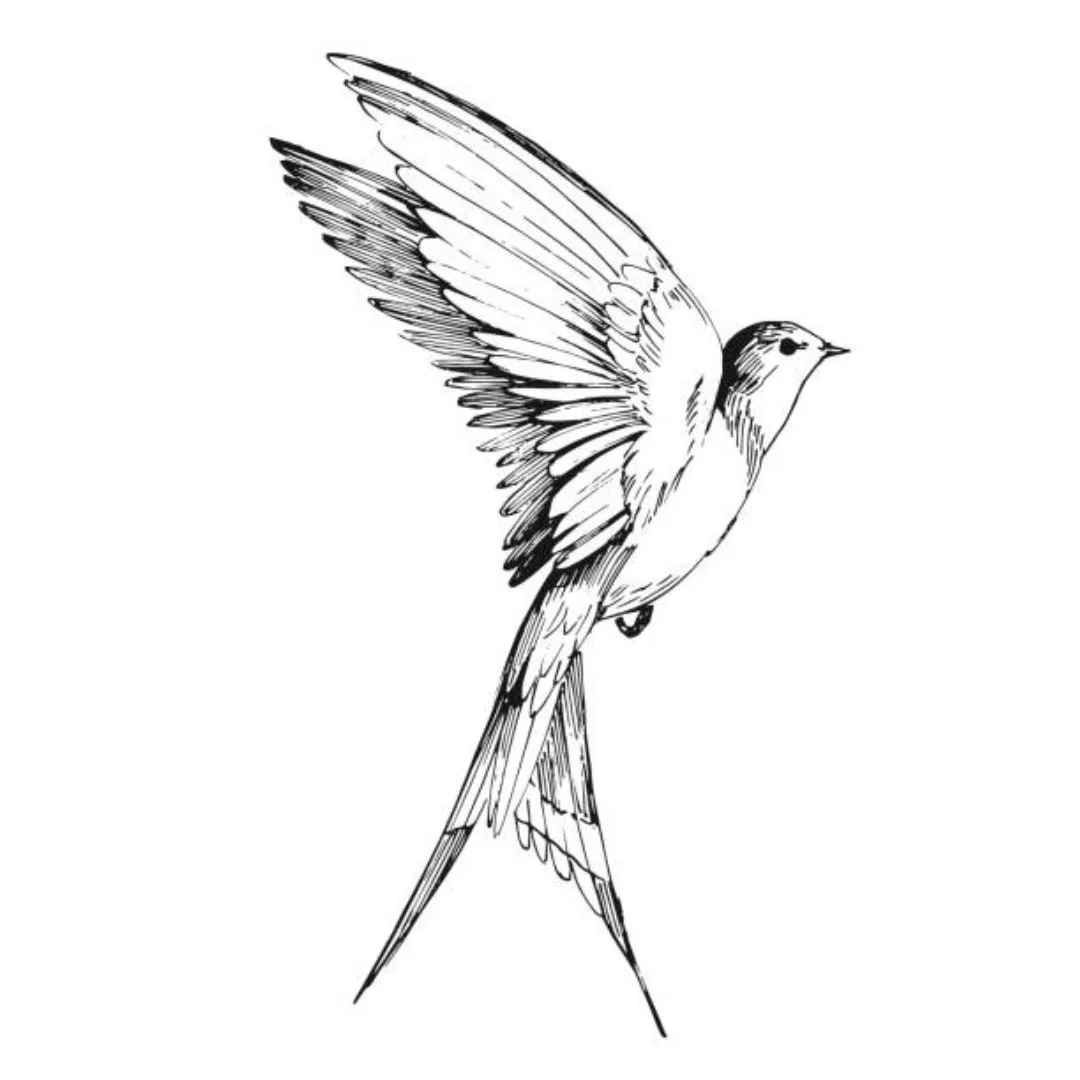
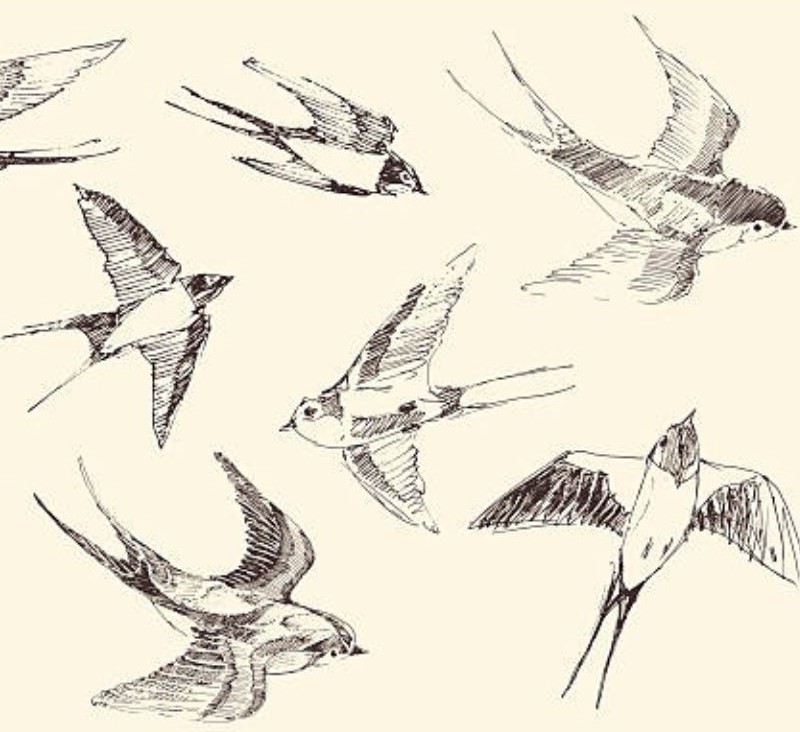
It is also essential to keep in mind the angle of the bird. You can refer to photographs available online or go bird-watching to get a grasp on this.
Step 2: Draw a branch
Before we start drawing the bird, draw a branch on which your bird will be sitting. Use straight lines with angular changes to make a realistic branch.
Step 3: Sketch your basic shapes
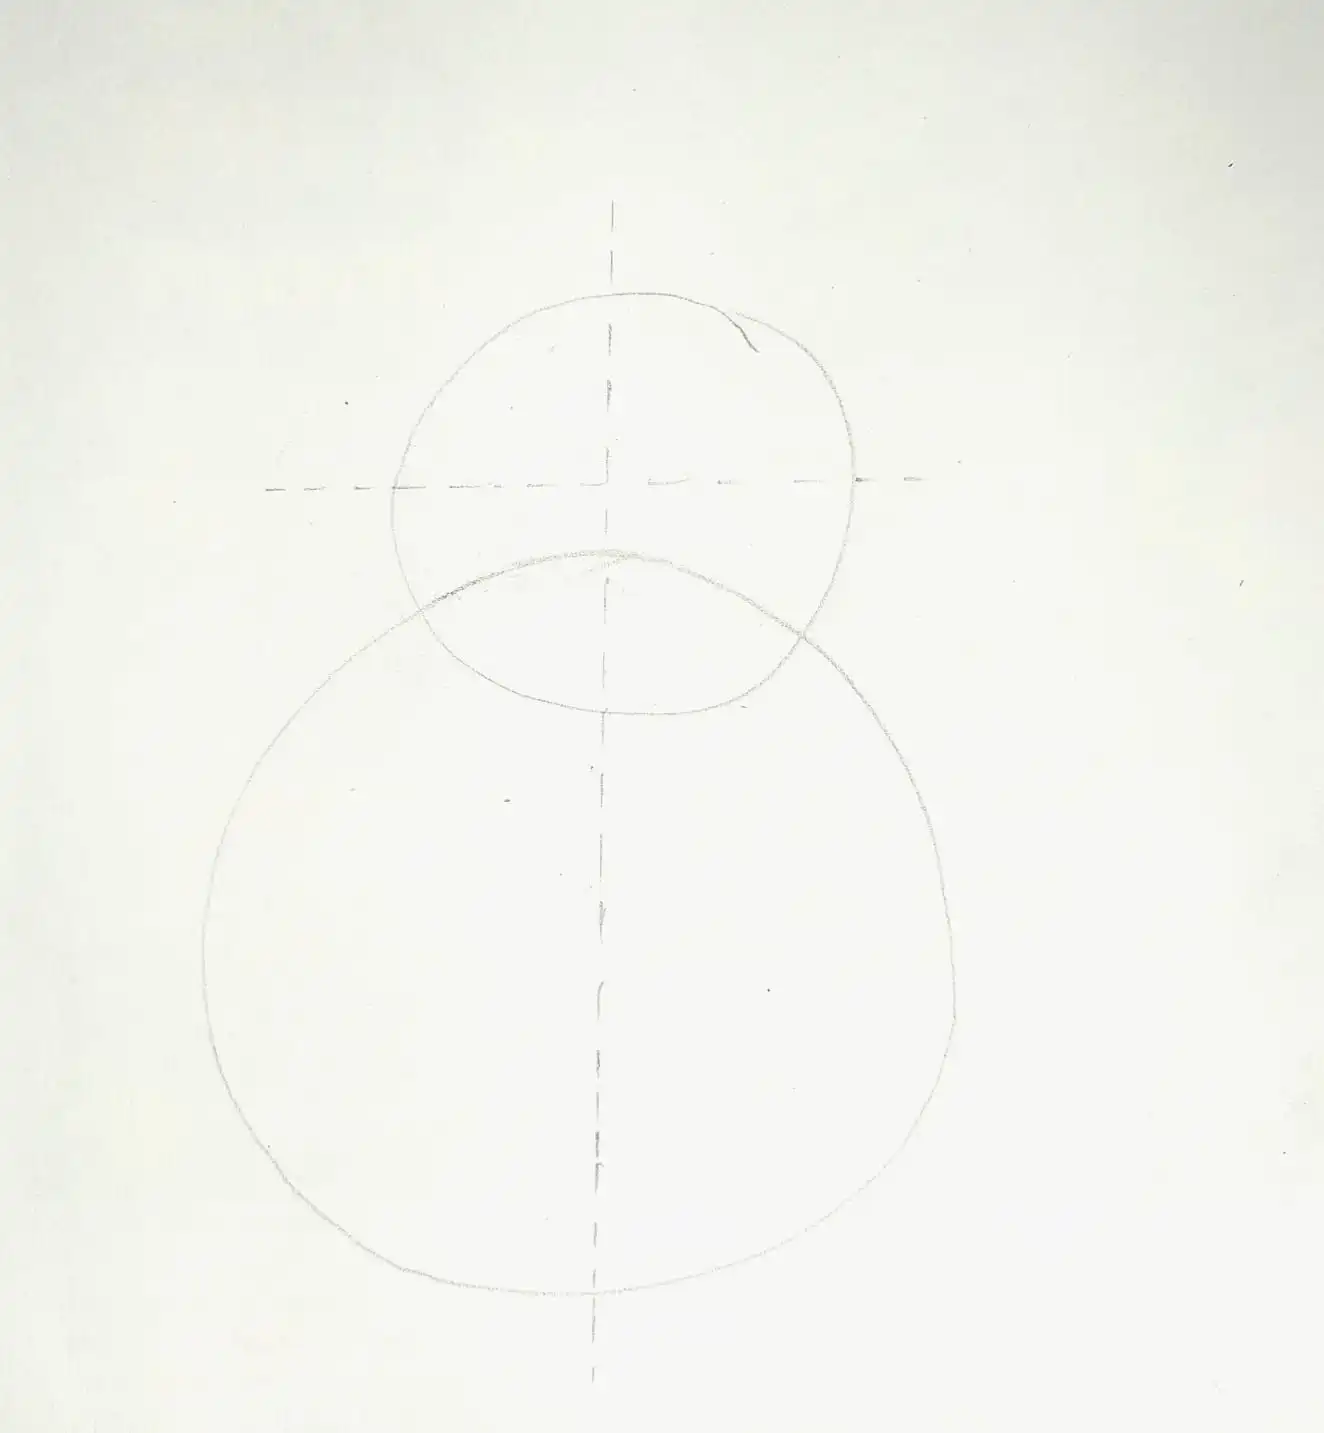
To start with your drawing, draw a large circle which is right above the branch. Keep some space for the tail later on. Now, draw a circle overlapping the larger circle. Your head and body shapes are ready.
Draw a horizontal line through the middle of the small circle depicting the head and a vertical line through the center of the larger circle. We will be using these lines to create the eye, beak, and the legs.
Step 4: Draw the eye and the legs
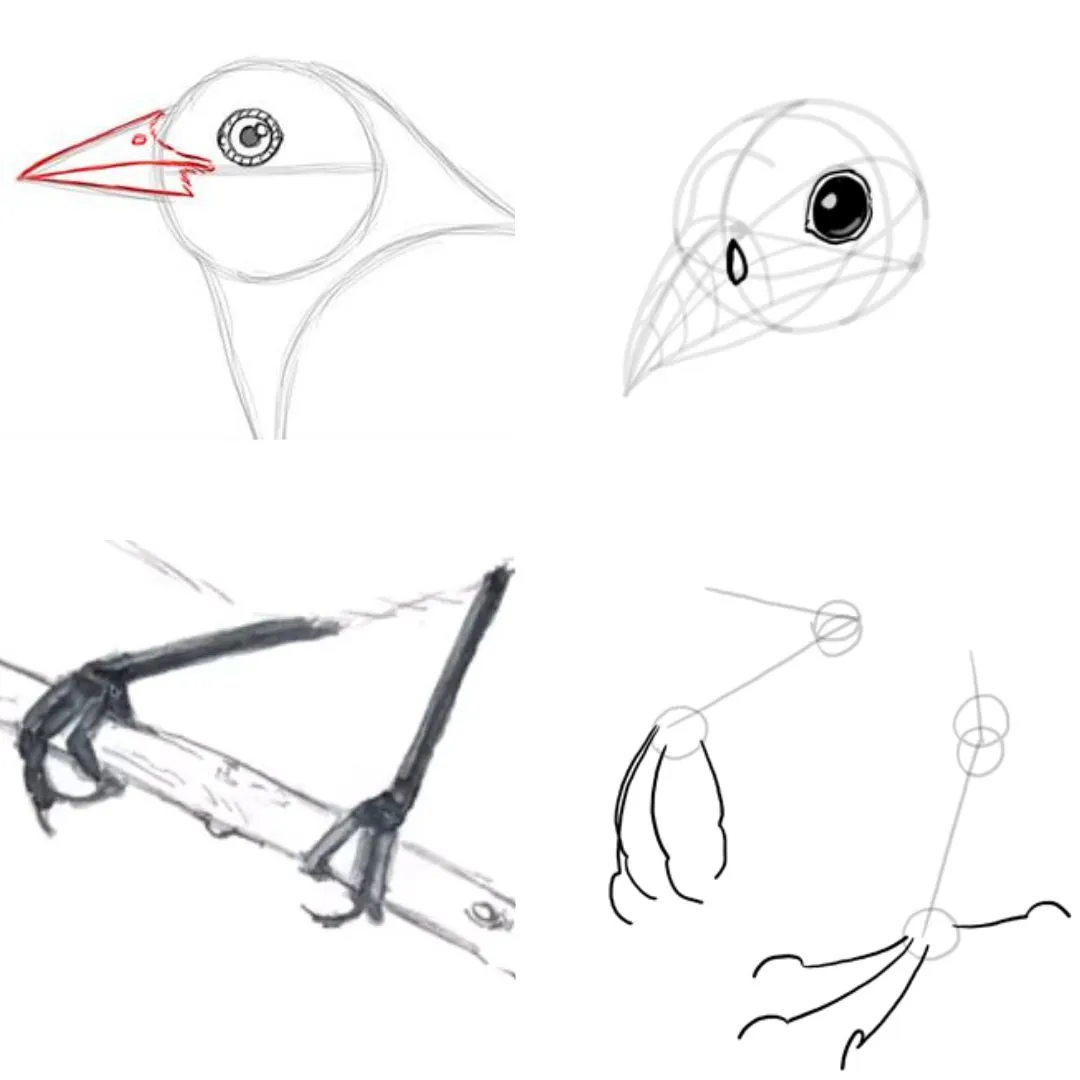
To draw the eye, draw a circle near the place where the two lines coincide. Sketch the legs by making small lines on the sides of the larger circle. Ensure that these lines remain close to the branch. Once you are done making the lines, add two spheres on the base of each leg. This will be the foundation for the claws. Add three claws to each leg, making them look curved since the bird is grabbing onto the branch.
Step 5: Draw the beak
To draw the beak, remove the lines which we made in step 3. Now, draw a line going through the top of the larger circle to the point where it crosses both ends of the small circle. Add two lines to form small triangles. This will be the lower half of the beak. Repeat the same for the top half of the beak, but make the triangles a little bigger. Make a line through the middle of the beak to show the divisions.
Step 6: Define the wings
Since we are drawing a bird from the front, the wings will look hidden behind the body. Using curved shapes, make two wings for both sides. Ensure that the shapes overlap in the middle of the body.
Step 7: Add the tail
Define the bird's tail by drawing an elliptical shape from the body.
Step 8: Outline the figure of the bird
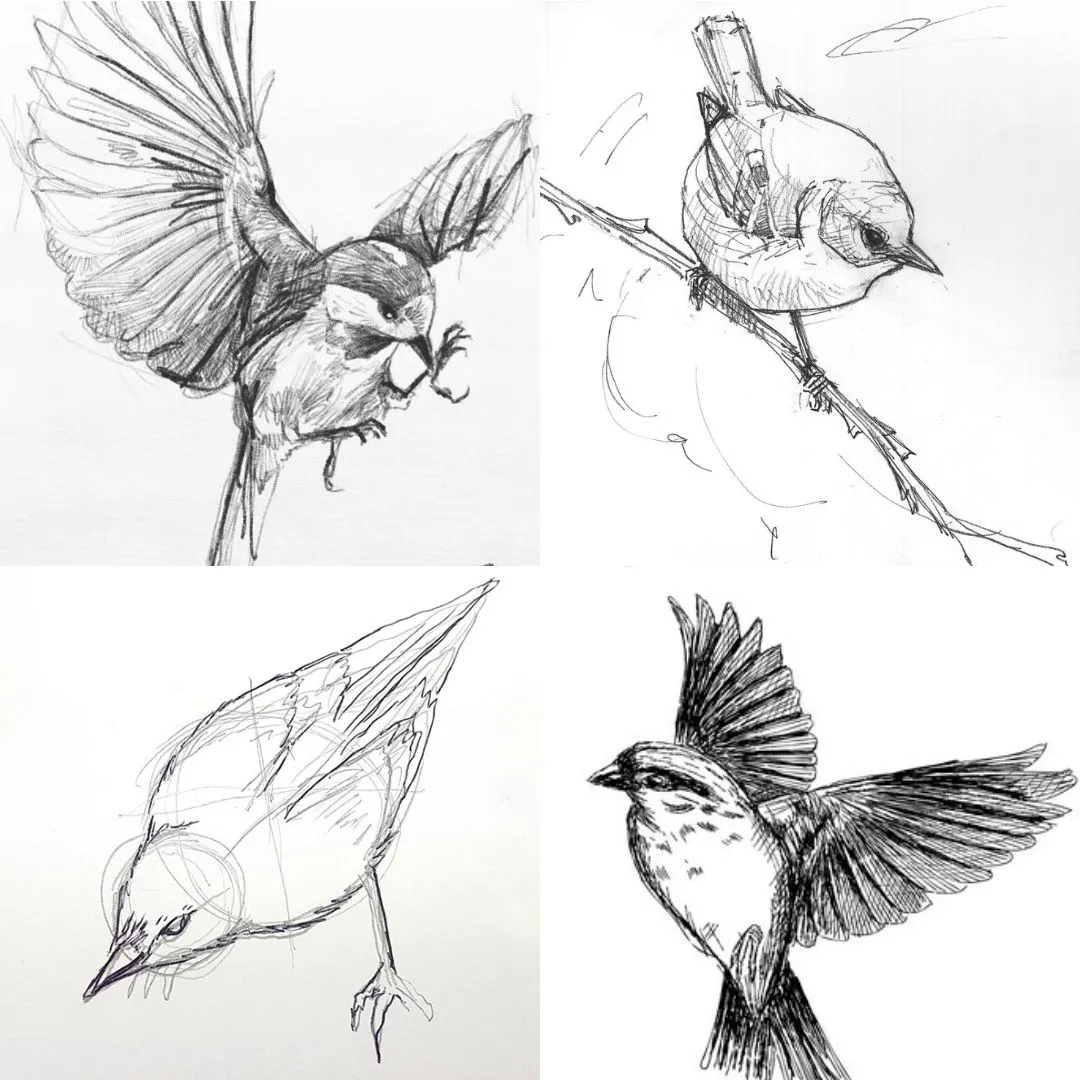
Now that the shapes depicting the bird's features are done, outline the bird's figure by making soft traces to make the bird's feathers. Trace the outer part of the beak and add a 'V' shape in the beak to highlight the nostrils of the bird.
Use cylindrical shapes to draw the legs and pointy shapes to create the claws. Make an organic and natural line to show the bird's eye.
Finally, once you have completed the above steps, separate the head and the body by tracing a line that passes through the points where the head and body intersect. Using your pencil, sketch above the traced line to indicate the neck of the bird.
Step 9: Color or shade your bird
Depending on your preferences, you can either use watercolors or pastels to color the bird and show its colorful feathers or shade the bird using your shading pencils. With this, you have drawn your bird.
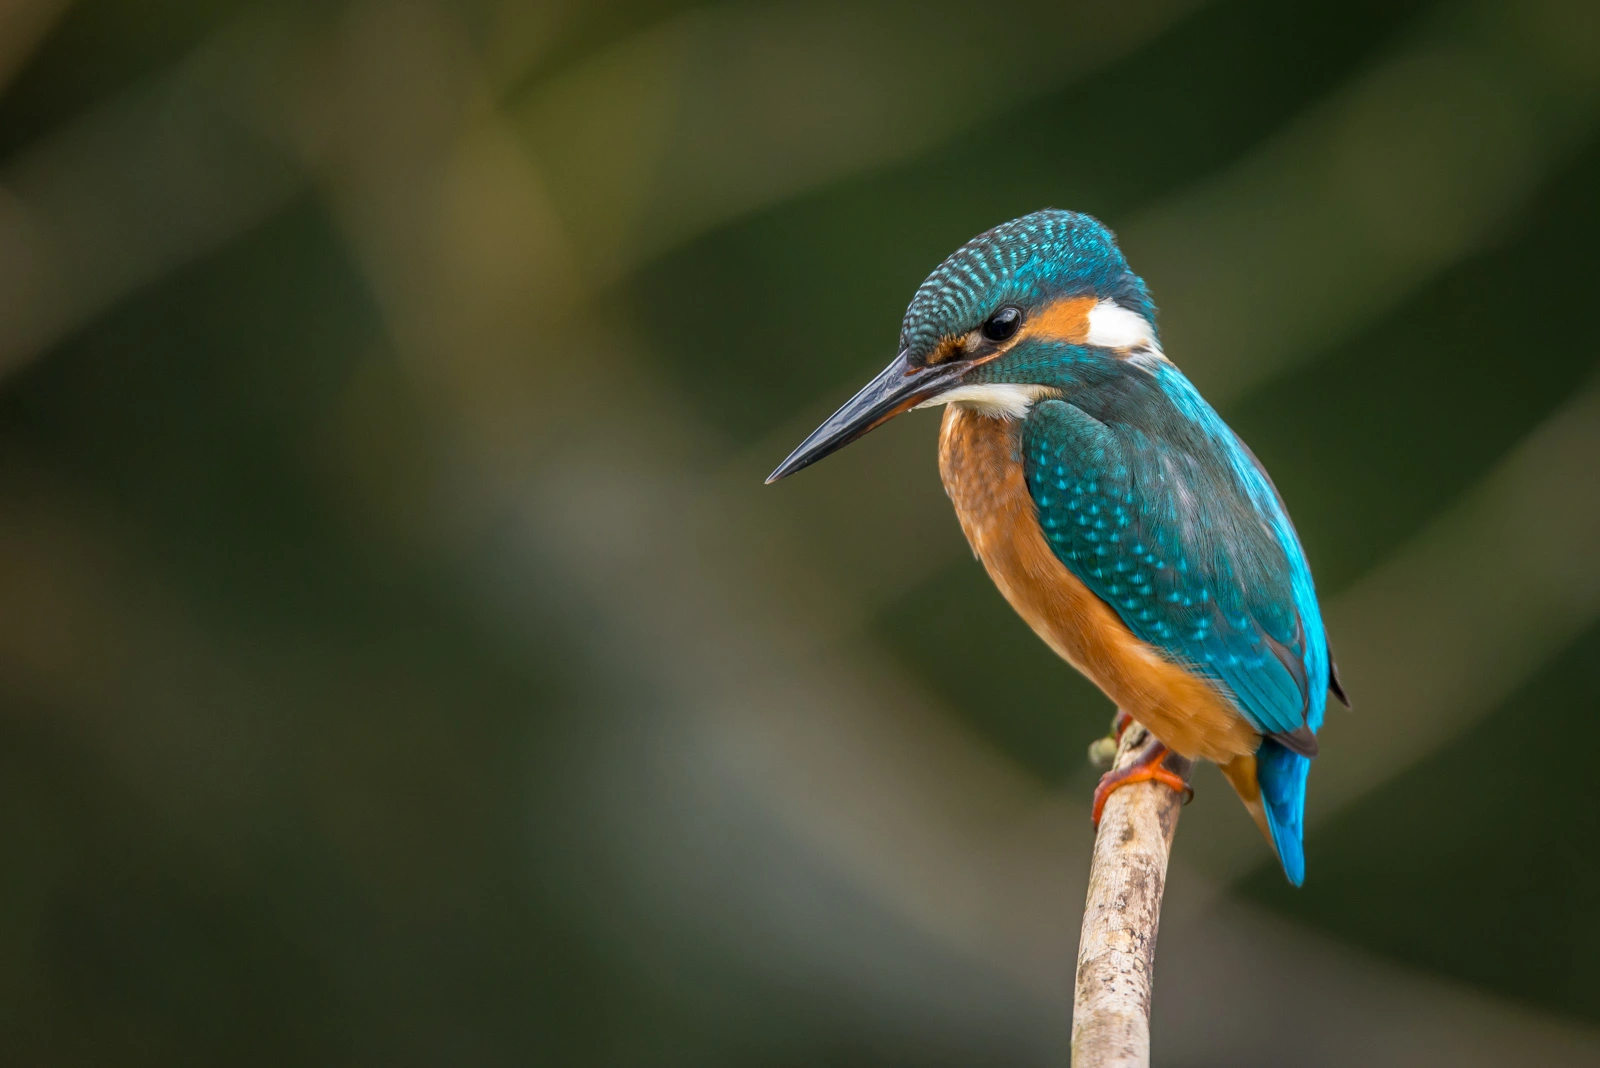
img source: United Nations article: Making nature count
We hope this guide helped you in understanding how to draw a bird. It is okay to make mistakes, but as you proceed forward, so will your artistic abilities. Happy drawing!


