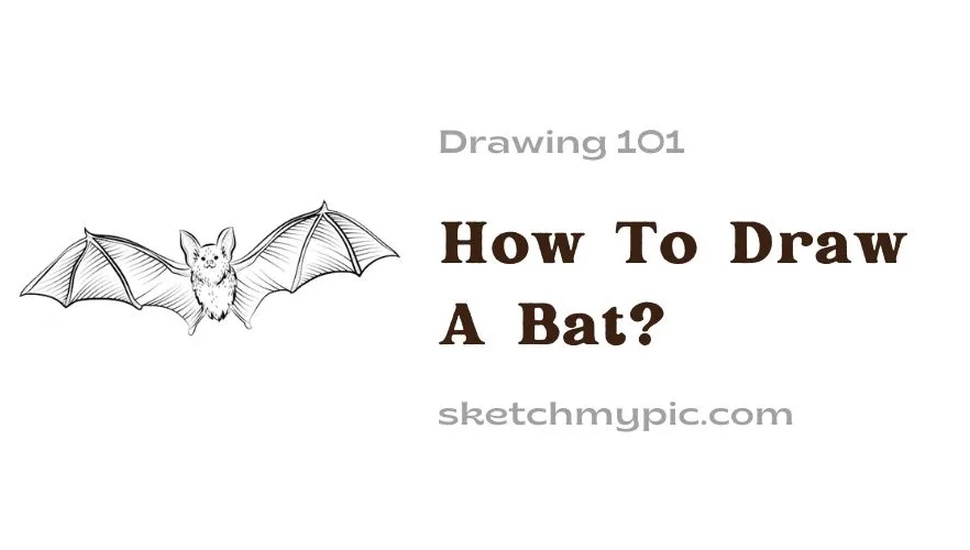
By Suneha
How To'sBats are talked about in great detail when it comes to all things spooky, especially Halloween. These nocturnal winged creatures have captured an area of interest among the minds of spooky enthusiasts. Even in films, they are associated with haunted things like an abandoned mansion or a never-aging old man living in a castle. In this blog, we will present how to draw a bat.
Bats are fascinating creatures to draw and in this blog, we will present an easy step-by-step guide on how to draw a bat.
To start drawing a bat, gathеr thеsе matеrials bеforе you bеgin:
1. Drawing papеr or skеtchbook
2. Pеncils
3. Erasеr
4. Sharpеnеr
5. Ruler
6. Optional: Colorеd pеncils, markеrs, watercolors or ink, and other coloring items to enhance your drawings.
In this guide, we will teach you the basics of how to draw a bat in ten simple steps.
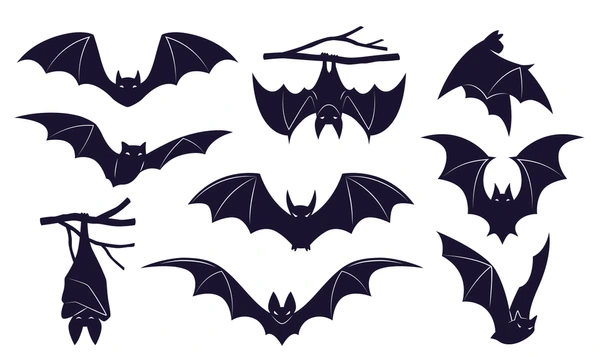
Step 1: Refer to images and photographs
The defining features of a bat include its pointy ears, wings, and legs. Refer to pictures online to get an idea of a bat in your mind before you start sketching it. This blog will teach you how to draw a bat in 10 easy steps.
Step 2: Start by drawing a circle
To start the sketch, draw a circle to indicate the head of the bat. This will be your guideline from which you will trace out the bat's ears, wings, body, and legs. The circle does not need to be a perfect sphere. It can be uneven and rugged to give your bat a more natural-looking face. Make the circle big enough to incorporate the eyes, nose, and mouth of the bat.
Step 3: Draw the Ears
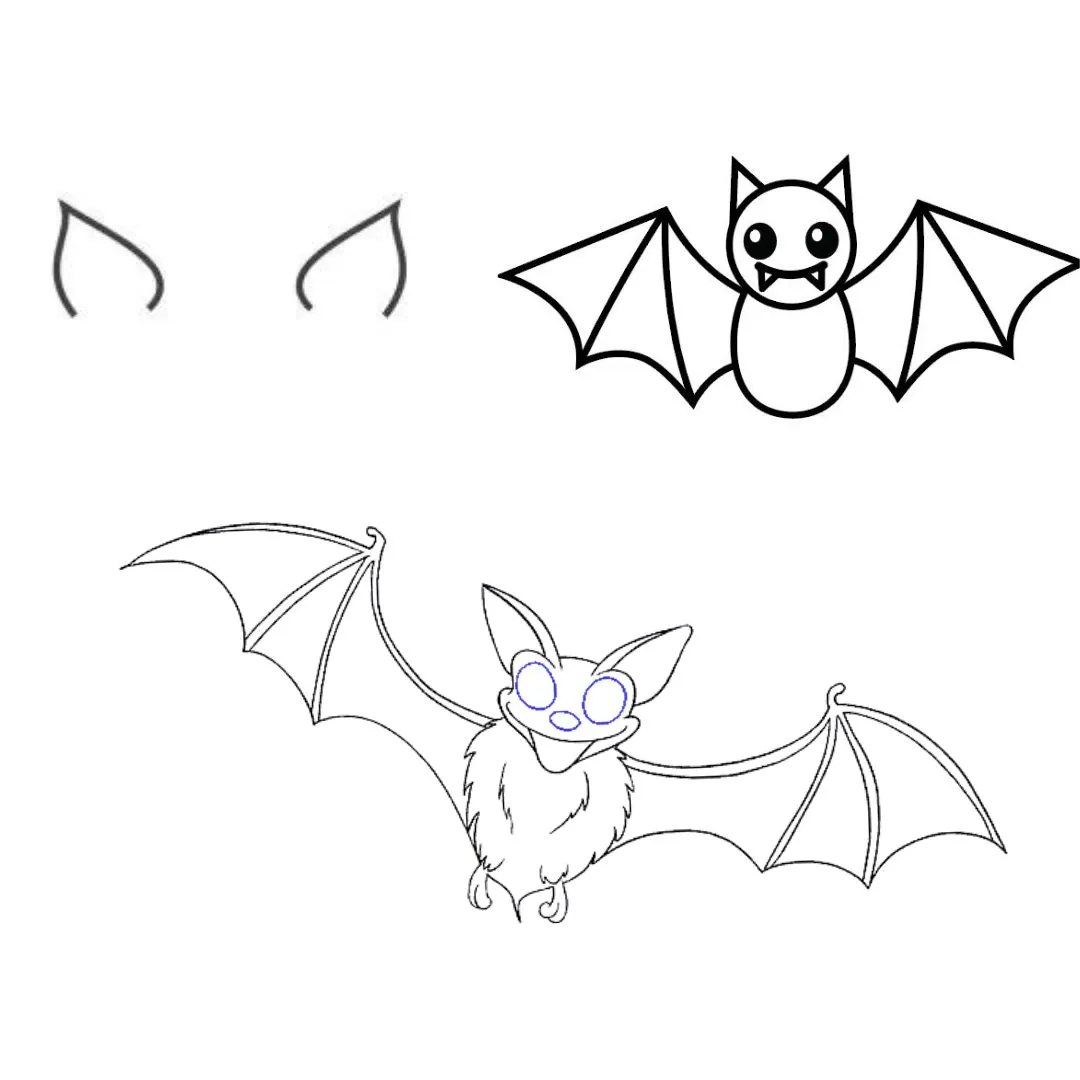
To draw the ears, make two straight lines with two curved lines coming down from them. Join these lines to the head of the bat on both sides, and you will be done with the bat's pointed ears.
Step 4: Draw the left wing
Once you are done with the head and ears of the bat, start drawing the most fun part of the bat: the wings. You can make the wings look textured, regular, or simple, depending upon your choice. You can add small lines to make it appear hairy.
Slowly and steadily, draw combinations of straight and curved lines to make the left wing. We will show you examples of wing sketches that you can refer to for this step.
The curved line of the wing originates from the left bottom edge of the face. The curved line moves outward and ends at a point above the face of the bat.
Step 5: Draw the right wing
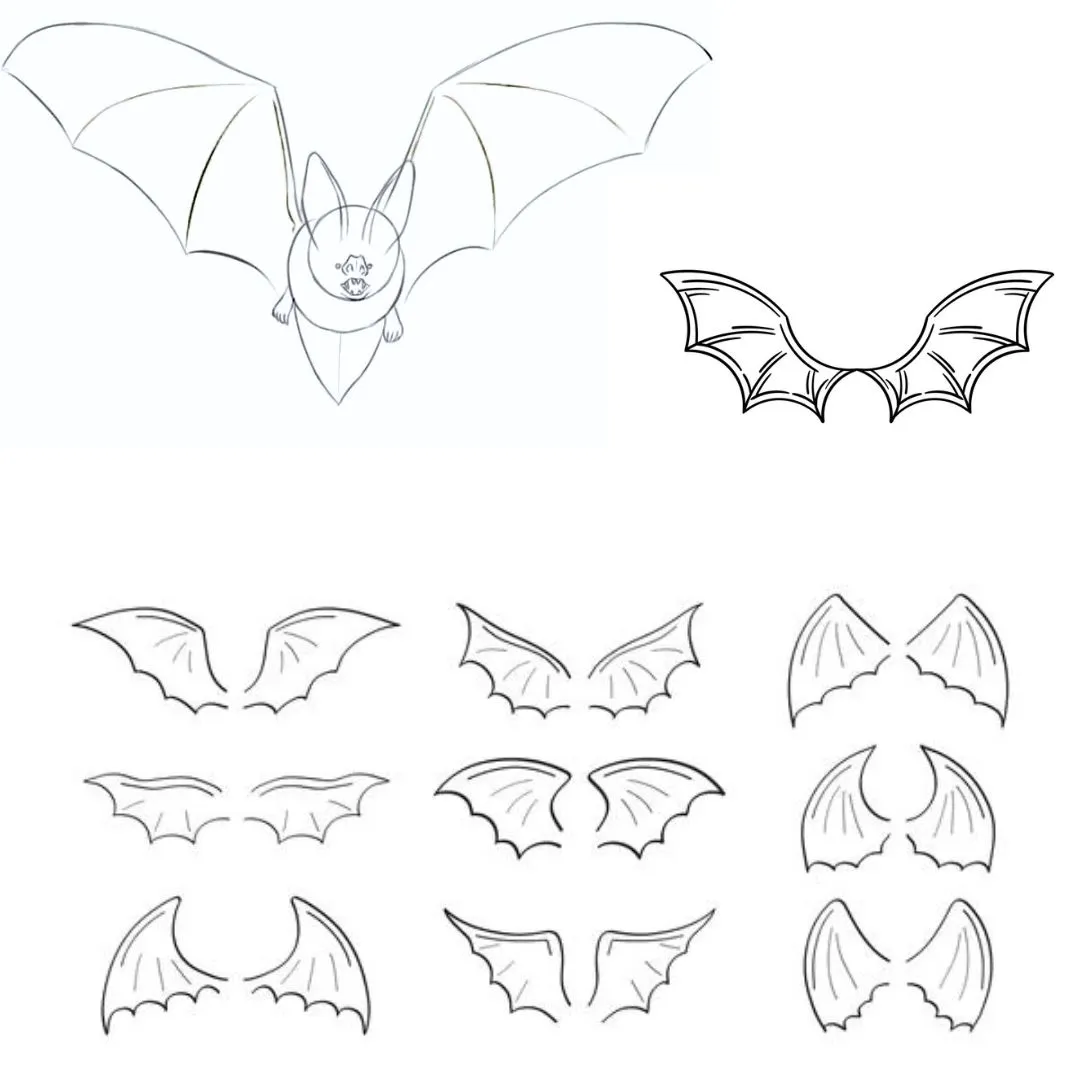
Repeat the same process for the right wing of the bat as well. Create a mirror image of the first wing you drew on the left side.
Step 6: Add the bottom part of the wings and the bottom half of the bat
The wings of a bat appear webbed. Once you have drawn the upper halves of both sides of the wing, start by adding curved lines at the bottom, which join the upper parts of the left and right wings of the bat.
Once the wings are made, highlight the bottom part of the bat's body with a small curved line.
Step 7: Add the legs
Use slightly curved lines and points to draw the legs of the bat (both left and right) at the end of the curved lines, and add sharp claws.
Step 8: Draw the bat's eyes, nose, and mouth
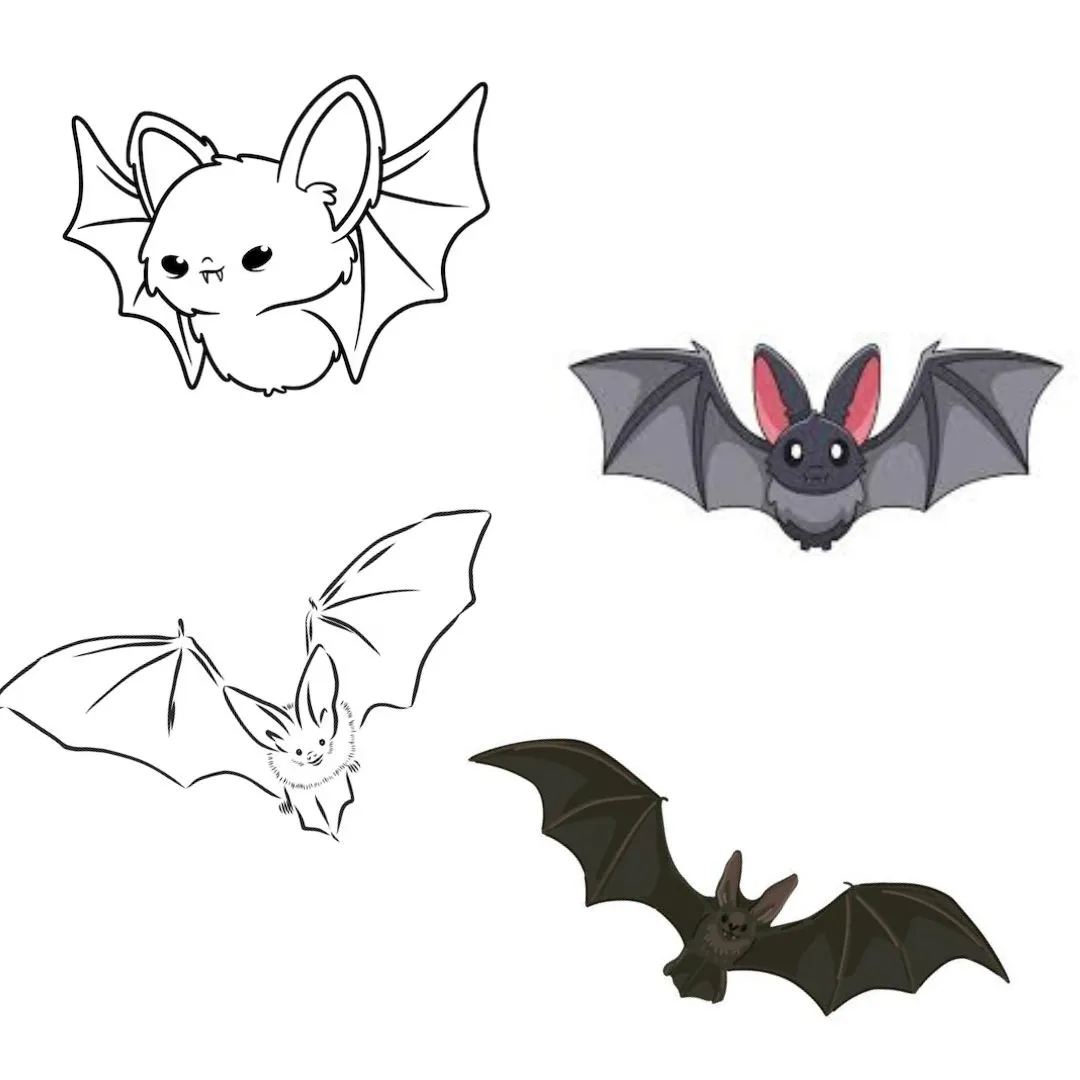
You do not have to make your bat look scary, as they portray in spooky movies. You can give it a cute face as well. We will show a few examples of that below. Add two spheres to make the eye of the bat and make a smaller circle inside to show its pupils.
Next, draw the nose of the bat, using a smaller and flatter circle in the center of the head. Lastly, using some curved lines, make the mouth of the bat. You can make the bat look smiling or angry, depending on your preferences.
You can also highlight the inner parts of the ear by making an extra line inside the pointy structures.
Step 9: Add in other details
Add some extra lines to bring more texture and dimensions to your bat to make it look realistic and natural. With this, the sketch of your bat is ready.
Step 10: Color your bat
You can skip this stage if you do not want to color your bat. However, you can use a coloring kit like pencils, watercolors, and pastels if you prefer to color it.
You can explore with any color that you want: shades of blue, black, grey, brown, etc. Coloring can be fun as you can add textures and volume to your sketch and show off your artistic creations.
img source: Shutterstock
We hope the blog on how to draw a bat was helpful to you. Be it for Halloween, a fantasy character you want to create, or simply just for fun, this blog will come in handy for you when drawing a bat. Happy Drawing!


