
By Suneha
GuideTo tackle these situations, you can change the resolution of a picture depending on your requirements. If you are new to the world of photography and wish to expand your horizons, you have come to the right place.
We hope this guide on how to change the resolution of a picture is useful.
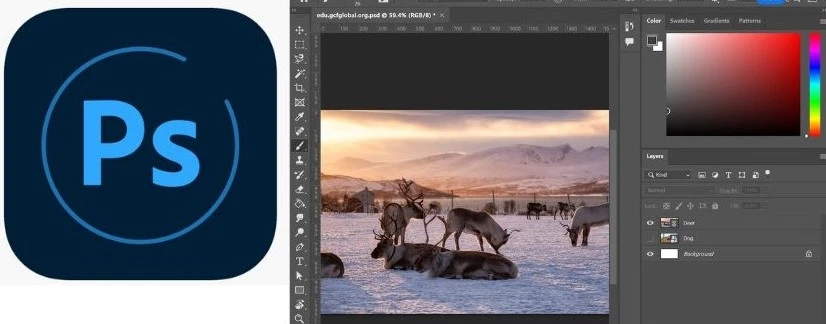
Here is a step-by-step guide on how to change the resolution of a picture using Adobe Photoshop. It is best for increasing resolution and editing. You will need a Windows 10 64-bit and later versions and macOS Big Sur (Version 11.0) and later.
Step 1- Launch Photoshop and then upload the image you wish to change the resolution of.
Step 2- At the top of Adobe Photoshop, go to the Image option and click on Image size.
Step 3- A new window will appear. Click on Dimensions and select the Pixels option.
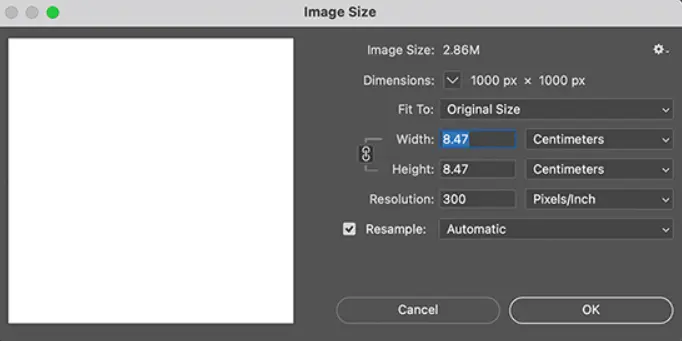
Image source- Photoshop
Step 4- You will find multiple options like Width, Height, and Resolution. Type the pixels that you desire in the Height and Width boxes.
The chain locks present next to the boxes constrain the aspect ratio. So whatever number you type into the box will affect the other to keep the aspect ratio the same as the original image.
Another way you can change the image resolution in Photoshop is by using Neural filters.
Step 1- After launching Photoshop, click on the Filter option.
Step 2- Select Neural Filters.
Step 3- Click on the option Super Zoom.
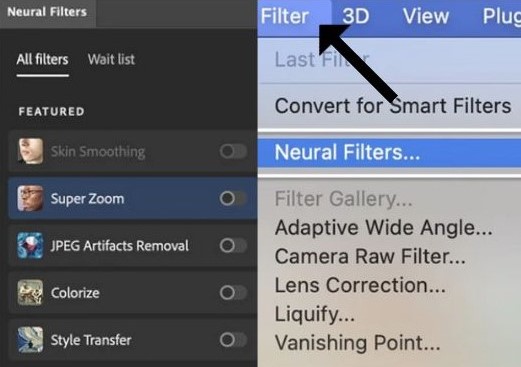
Step 4- Use the slider to adjust the image and click on OK.
This option is useful for images that require adjustments in composition but need to maintain the details.
This option is available on all macOS versions. Here is a detailed guide on how to use this pre-installed software to change the resolution of a picture.
Step 1- Right-click on an image and click on the option Open with.
Step 2- Click on Preview and then click on Tools.
Step 3- In the drop-down menu, select Adjust Size and then click on Adjust Width.
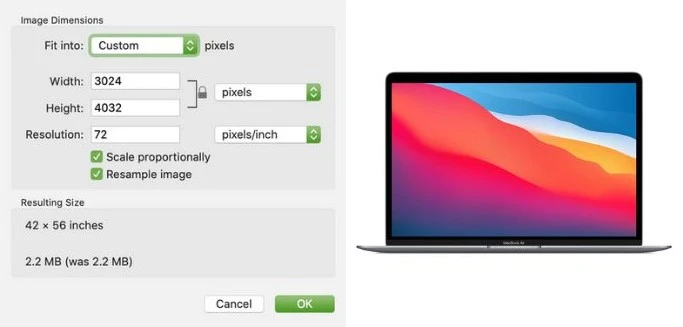
Step 4- Once you are done adjusting, click OK.
Step 5- Select the file and click on Save or Export it.
GIMP is a free-to-use software that is available on Operating Systems like Linux, macOS, Windows, etc.
Step 1- After launching GIMP, go to File and select the image you want to change the resolution of.
Step 2- Go to the Image Tab. In The drop-down menu, click on Print Size.
Step 3- A dialogue box stating Set Image Print resolution will appear.
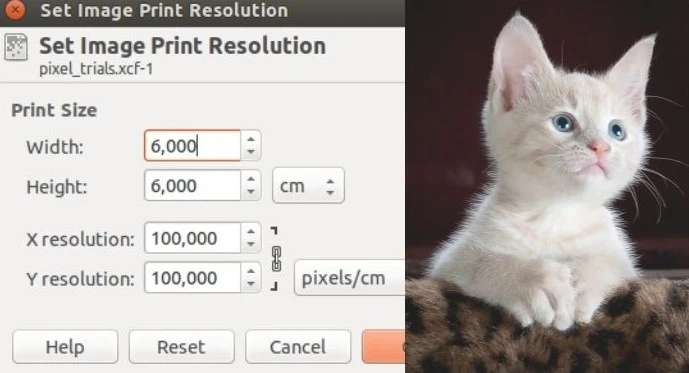
Step 4- Click on the chain link icon next to the boxes to constrain the aspect ratio. You can choose many unit measurements like pixels, inches, centimeters, etc.
Step 5- Adjust the resolution in the X and Y coordinate boxes. 72 pixels per inch is used for web uses whereas 300 pixels per inch is used for printing and publication.
Step 6- Click OK once you are done.
You can use MS Paint on your Windows laptop/PC to change the resolution of your picture.
Step 1- Open Microsoft Paint. Upload the image you want to change the resolution of.
Step 2- Click on the Resize Menu.
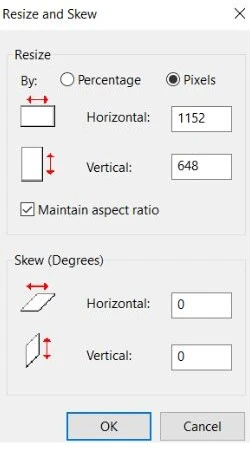
Step 3- Click on Pixels. A resize and skew drop window will open. In the Horizontal and Vertical boxes, change the value as per your needs.
Step 4- Click on OK.
Snapseed is a photo editing app that is available for Android devices. It allows you to change the resolution of a picture for free.
Step 1- Open the Snapseed App and select Settings from the top right corner.
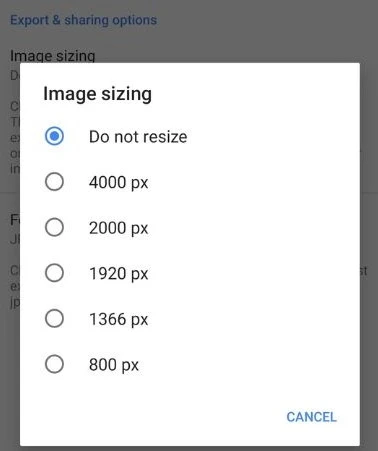
Step 2- Select the Image Sizing option and adjust it to your needs.
Step 3- Select the Format and Quality option and repeat the same.
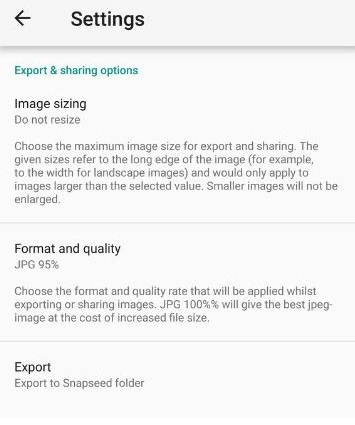
The biggest setback of using the app is that it has a limited number of options to change image resolution.
Pictures taken on your phones have a lower resolution than cameras. Image Size is a great application to change the resolution of pictures. It is available for all major Apple mobile devices.
Here’s a guide on how to change the resolution of a picture using Image Size.
Step 1- Launch the App.
Step 2- Click on the top-left Picture icon and upload an image from your gallery. You can also enable permissions for the app to click a picture for immediate resizing.
Step 3- The image is initially locked in a 1:1 aspect ratio. To remove this, click on the chain link in the middle of the Width and Height Boxes.
Step 4- Type the value that you desire to resize the image in pixels. You can also use other units of measurement.
Step 5- You can avail the use of preset sizes present next to the options for mm, cm, and inches. It has two hamburger-shaped buttons.
Step 6- Save the image to your phone once you are done.

Image Source- ImageUpscaler
You can use ImageUpscaler for quick online resizing of pictures. It is available for all devices with compatible browsers.
The site uses Artificial Intelligence to automatically increase image resolution. Click on the Resize Image Now! button where you can browse and select your image.
Click on Upscale Image. The only issue is that the pictures need to be below 1000 pixels on both sides for the site to work.
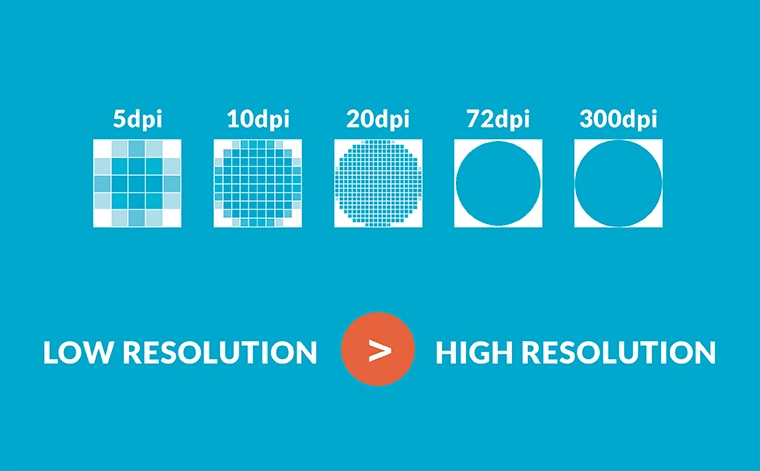
Image Source- Insight 180
The resolution of an image is its details. It is usually measured in pixels and determines the quality and clarity of an image. Higher-resolution pictures are sharper.
Resolution is measured in Pixel Per Inch (PPI) or Dots Per Inch (DPI) which refers to the number of pixels or dots packed in an inch of the picture respectively. Digital Cameras generate images in Pixels whereas a printer converts the pixels to ink dots.
We hope that through this article, you were able to get a better understanding of how to change the resolution of a picture. We hope we could expand your photography knowledge.