
By Suneha
GuideBackgrounds are an integral part of photos. They complete the composition of a picture, making it meaningful and visually appealing to the viewers. In this guide, we present to you how to add a background to a photo.
Backgrounds signify the completion of a photo. They complete the composition of an image. Photos with distracting backgrounds make the images look clunky and cluttered, reducing the depth and meaning of the photo.
Backgrounds are an effective way to add meaning - Adding a background to your image is a great way to show the depth and meaning of your background. It is important to pay attention to the background as much as the subject as a picture feels empty without its background.
Under usual circumstances, an image should be used to highlight the subject and the content of the photo. You can keep your backgrounds simple to convey a powerful message.

Before, we move on to a detailed guide on how to add a background to a photo, here are a few types of backgrounds that you can get familiar with.
1. Solid background - Commonly used for headshots and portraits, solid backgrounds are a seamless and monochromatic type of background where the main task of the photographer is to document the appearance of the main subject.
2. Blurred background - Blurred backgrounds are commonly used for close-up macro portraits and product shooting. It helps in creating a distance between the object of attention and the blurry background.
3. Textured backgrounds - Textured backgrounds are used in artistic portraits and product photography. These are somewhat in-between images with slid backgrounds and ones where you can see the details in the backgrounds.
There are more types of backgrounds as well.

Photoshop is a great tool to learn and explore more about photography, design, and photo editing.
Here's how to add a background to a photo using Photoshop.
Learning how to add a background to a photo is integral because you need it for product designs, brand awareness, and many more reasons.
Step 1 - Launch Photoshop and upload your image.
Step 2 - After uploading your image, convert the image to a layer by clicking on the layer panel. If the layer is in the form of 'Background', then click on Layer in the toolbar, select New, and click New Layer from Background.
Step 3 - Adjust the canvas size to make room for the background. To resize the window, click on Ctrl+ Alt+ C (windows) or Option+ Cmd+ C (MacOS) to resize the canvas.
Step 4 - Enter the size of your canvas. Also, tick on the Relative box to expand your canvas from its current size to a set point. After entering the desired amounts in the width and height boxes.
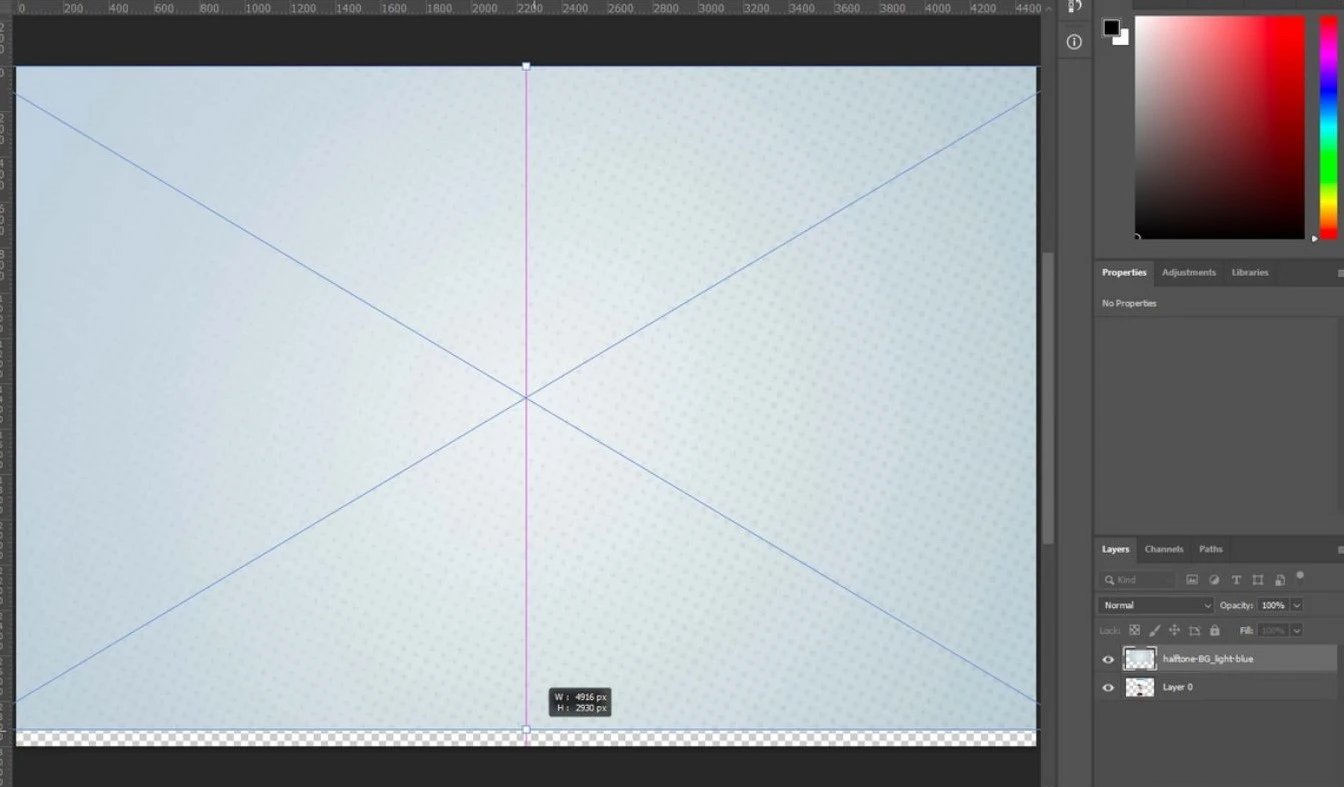
image source: Tom's Guide
Step 5 - The canvas would have expanded denoted by grey and white squares. To fill that with a background, drag and drop an image into the space.
Step 6 - Apply a solid color as your background by selecting the Layer panel in the tool bar> New Fill Layer> Solid Color.
For an image that you want to use as a background, drag the anchor points to fit the image (sometimes, the image does not fit inside the canvas). Ensure that the ratio lock is depressed to maintain the correct ratio. Once done, click on the tick button of the image toolbar.
Step 7 - Your background will be above your image. To move it behind your image, click and hold the image’s layer and drag the image layer above the background layer.
Step 8 - Your background is added and ready.

Here’s how to add a background to a photo using Canva.
Step 1 - For a solid color background, click on Background from the editor side panel.
Step 2 - Click on the color tile below the search bar and pick a new color from the color tile. You can also use gradient.
Step 3 - To add an image to your background, click on the background tab from the editor panel.
Step 4 - Click on an image from the tab and use it as your background. Click on the search bar to look for specific ones.
Step 5 - You can also use an uploaded image by right-clicking on it and selecting Set Image as Background or Replace Background.
Canva also has the option to use a video background. To do so, add a video through the Videos Tab or from Uploads. Right-click on the video and select Set Video As Background. Setting the video as your background will surface all other elements.

Fotor offers a wide variety of services when it comes to adding, changing, or editing backgrounds. It is a free-to-use online app available for Android and iOS which can be used to give your photos a new look.
You can change backgrounds to white ones for product images or brand awareness.
Here is how you can add and change a background using Fotor.
To add an image:
Step 1 - Launch Fotor and select a background for the photo from Fotor’s library or upload your own.
Step 2 - Give the background your personal touches and edits and adjustments as per your needs.
Step 3 - Save the background in JPG, PNG, or PDF format.
Step 4 - Fotor uses AI technology to change backgrounds. After launching Fotor, click on the Change Background Now button. It will open the eCommerce Pic Maker editing page.
Step 5 - Click on the option Select a Photo button to upload the image that you want to change the background. The tool removes the original image and applies a new background.
You can explore the backgrounds and once done, click on the Download button to save your product pictures in JPG, PNG, or PDF formats.
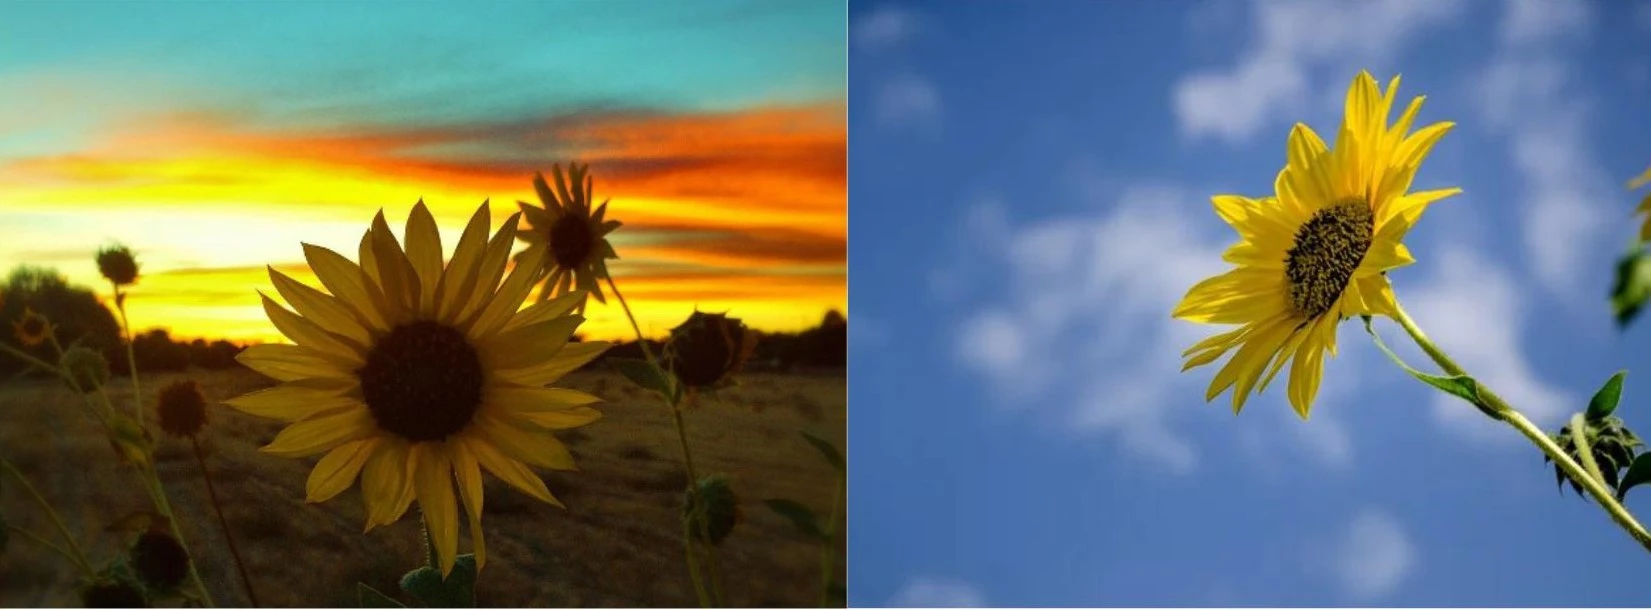
1. Keeping it simple - Keeping the background simple helps in conveying a powerful message with less clutter. This makes it less distracting for the audience to focus on the subject.
2. Blur the Background - Blurring backgrounds helps in creating distance between the subject and the background. In ideal cases, it is advised to keep the subject at a slight distance away from the background.
3. Add contrast - Adding contrast to your background helps to draw the focus to your subject. Choosing the right color palette would help in separating the subject from the background and keeping focus on your images.

We hope that we were able to expand your photographic knowledge and photo editing skills on how to add a background to your photo through this guide.