By Jinee
How To'sDrawing lips is a captivating and intricate skill that brings a new level of realism and emotion to your artwork. Lips are a defining feature of the human face, and capturing their shape, texture, and expression is essential for achieving lifelike portraits and character drawings. Whether you're a budding artist looking to learn the basics or an experienced illustrator aiming to refine your lip-drawing technique, this comprehensive step-by-step guide will lead you through the process of mastering the art of drawing lips. From understanding lip anatomy to replicating their nuanced details and adding color, let's embark on a creative journey to create stunning and expressive lip drawings.
Materials Needed
Before you start drawing lips, gather the following materials:
1. Drawing paper or sketchbook
2. Pencils (HB, 2B, and 4B are recommended for different tones)
3. Eraser
4. Sharpener
5. Blending tool or tissue (optional for shading)
6. Colored pencils or markers (for coloring, if desired)
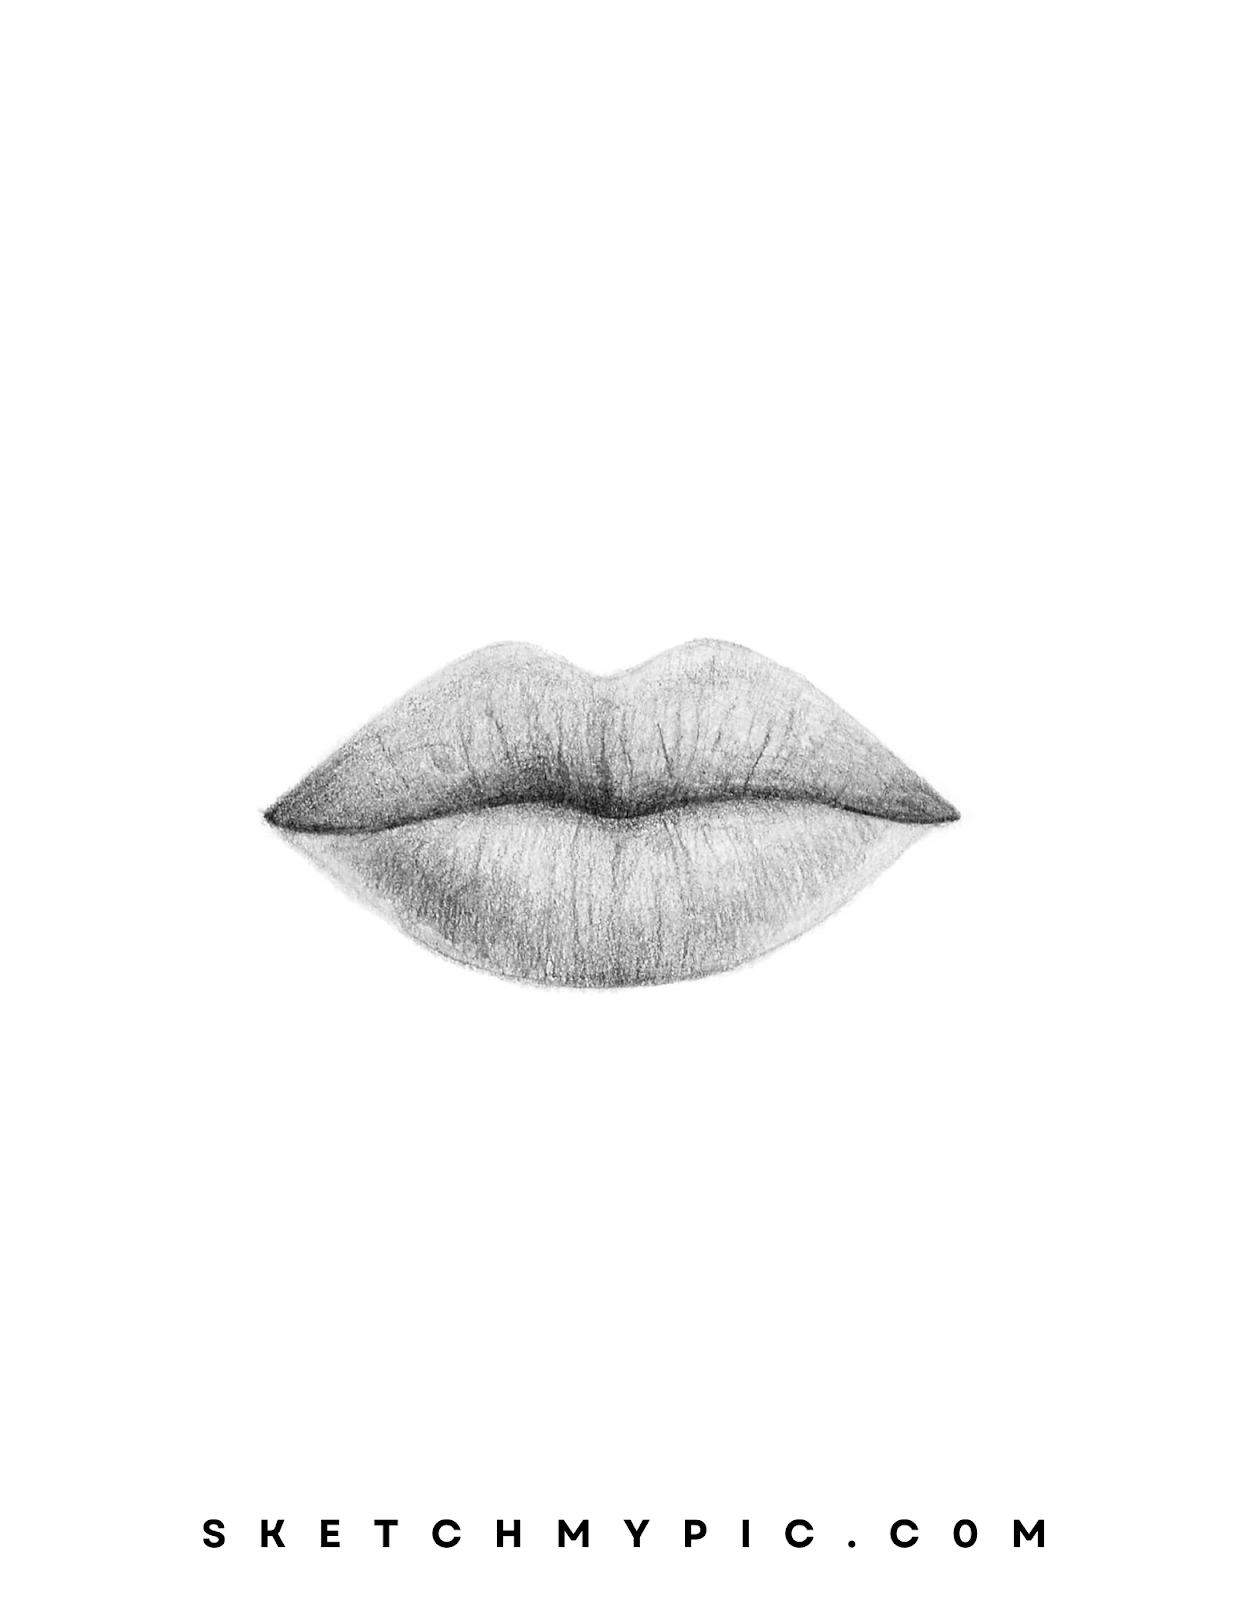
Step 1: Understanding Lip Anatomy
Lips are complex structures with various components that contribute to their appearance. Before you start drawing, familiarize yourself with lip anatomy. Study reference images to understand the different parts of the lips, including the cupid's bow, the upper and lower lip, and the corners of the mouth. Pay attention to how the lips interact with the surrounding facial features.
Step 2: Outlining the Basic Shape
Begin by outlining the basic shape of the lips. Use light, flowing lines to sketch the general contour of the upper and lower lip. Focus on capturing the overall symmetry and proportions of the lips, ensuring that they match the reference or the desired expression.
Step 3: Defining the Cupid's Bow
The cupid's bow is a distinctive feature of the upper lip. Sketch the curves that form the peaks and valleys of the cupid's bow. Pay close attention to its shape and proportions, as it varies from person to person.
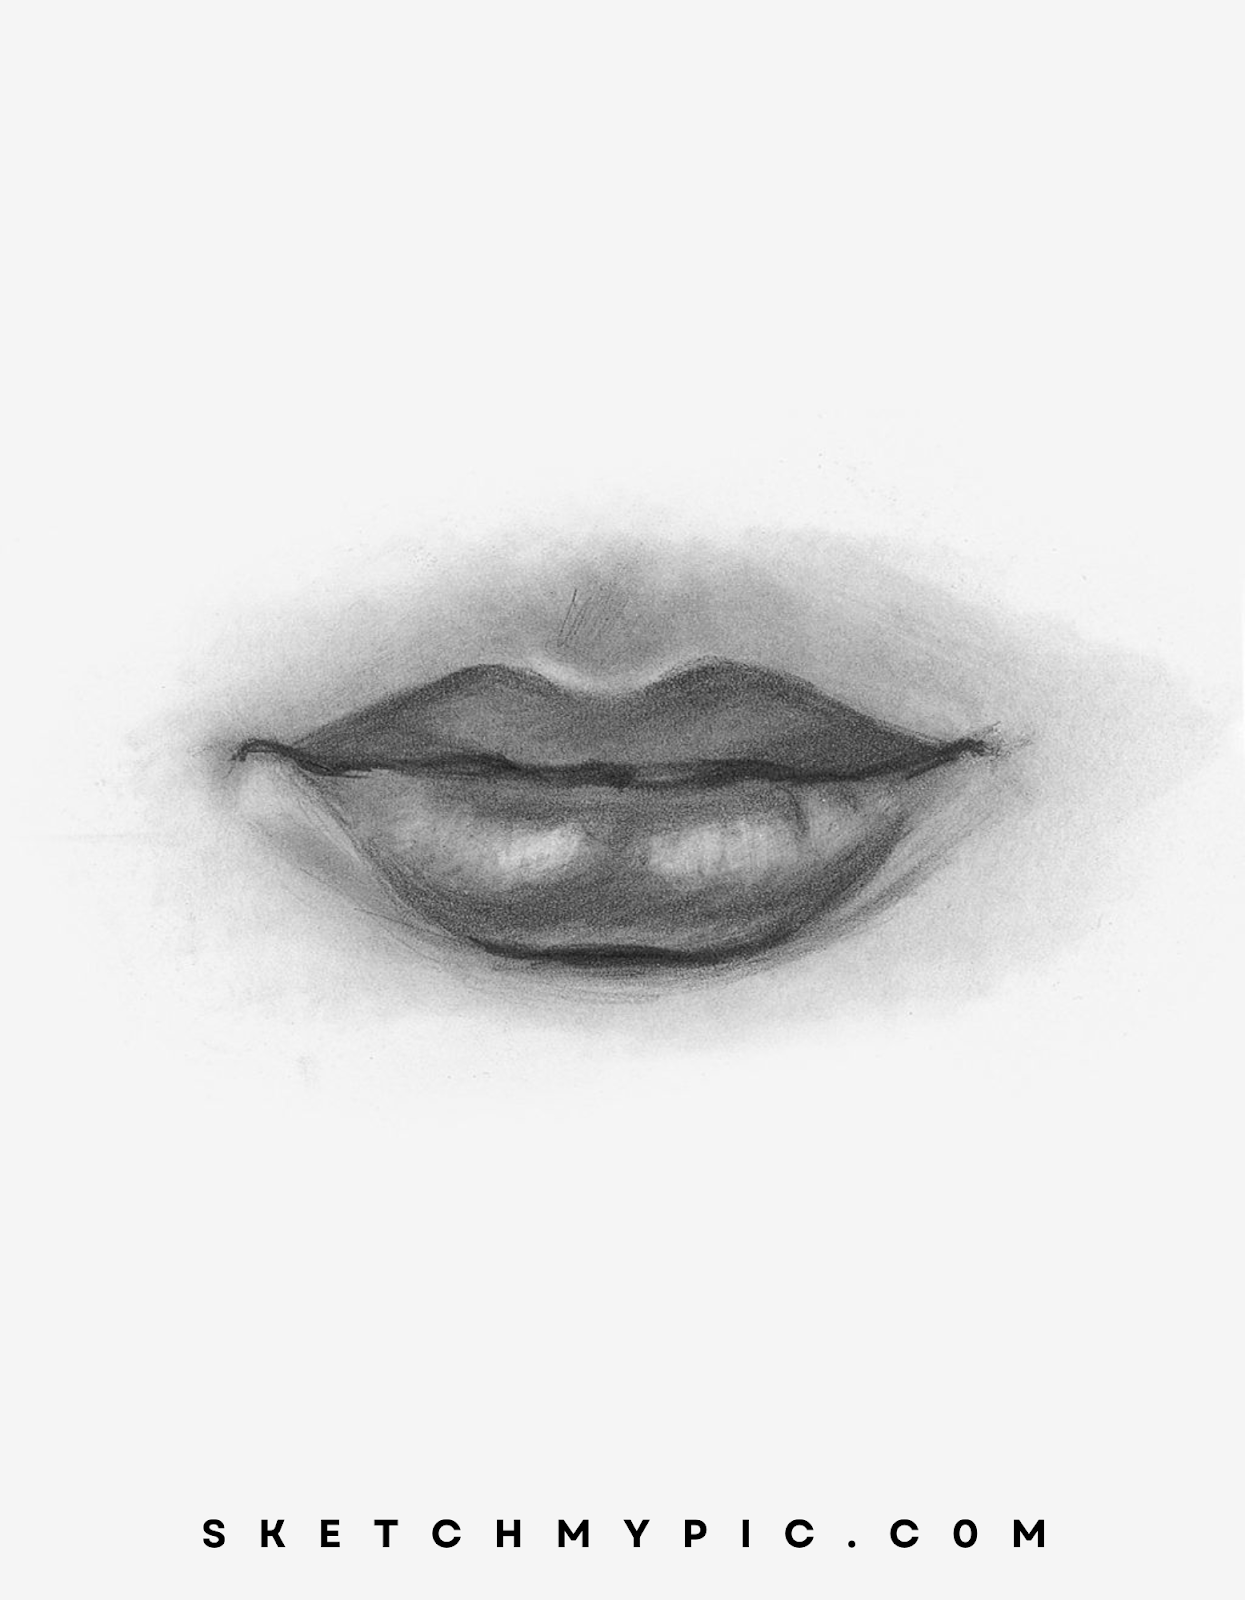
Step 4: Shading for Volume and Depth
Shading is crucial for adding volume and depth to your lip drawing. Determine the direction of the light source and visualize where the shadows would naturally fall on the lips. Use your 2B or 4B pencil to add shading to areas that would be darker due to shadow or overlap.
Step 5: Creating Highlights
Highlights add realism and dimension to your lip drawing. Identify the areas where the light source hits the lips, such as the central areas of the lower lip and the peaks of the cupid's bow. Use a lighter shade or even a touch of white to add highlights that mimic the reflection of light.
Step 6: Adding Texture
To make your lip drawing more realistic, add texture using short, light strokes or dots. This technique mimics the natural texture of the lips and enhances their three-dimensional quality. Apply these strokes following the curvature of the lips, and focus on areas that have fine lines or wrinkles.
Step 7: Capturing Details
Lips have intricate details such as fine lines, wrinkles, and subtle color variations. Pay attention to these details and use a fine-tip pencil to add them to your drawing. These details contribute to the authenticity and lifelike quality of the lips.
Step 8: Blending and Smudging
To achieve a smooth transition between shades and highlights, consider blending and smudging your pencil marks. Use a blending tool, tissue, or your fingertip to gently blend the colors together. This technique softens harsh lines and creates a seamless look.
Step 9: Adding Color(Optional)
If you choose to add color to your lip drawing, select colors that match the natural skin tone of your subject or the character you're drawing. Use colored pencils or markers to add a subtle tint to the lips. Apply the color gently, building up layers to achieve the desired shade.
We have included a detailed section underneath about coloring your lip drawing. If you want to learn how to correctly color the lips, keep reading!
Step 10: Final Touches
As you approach the final stages of your lip drawing, step back and assess the overall composition. Ensure that the shading is well-balanced, the proportions are accurate, and the lips look realistic and visually captivating. Make any necessary refinements to enhance the details and achieve a polished result.
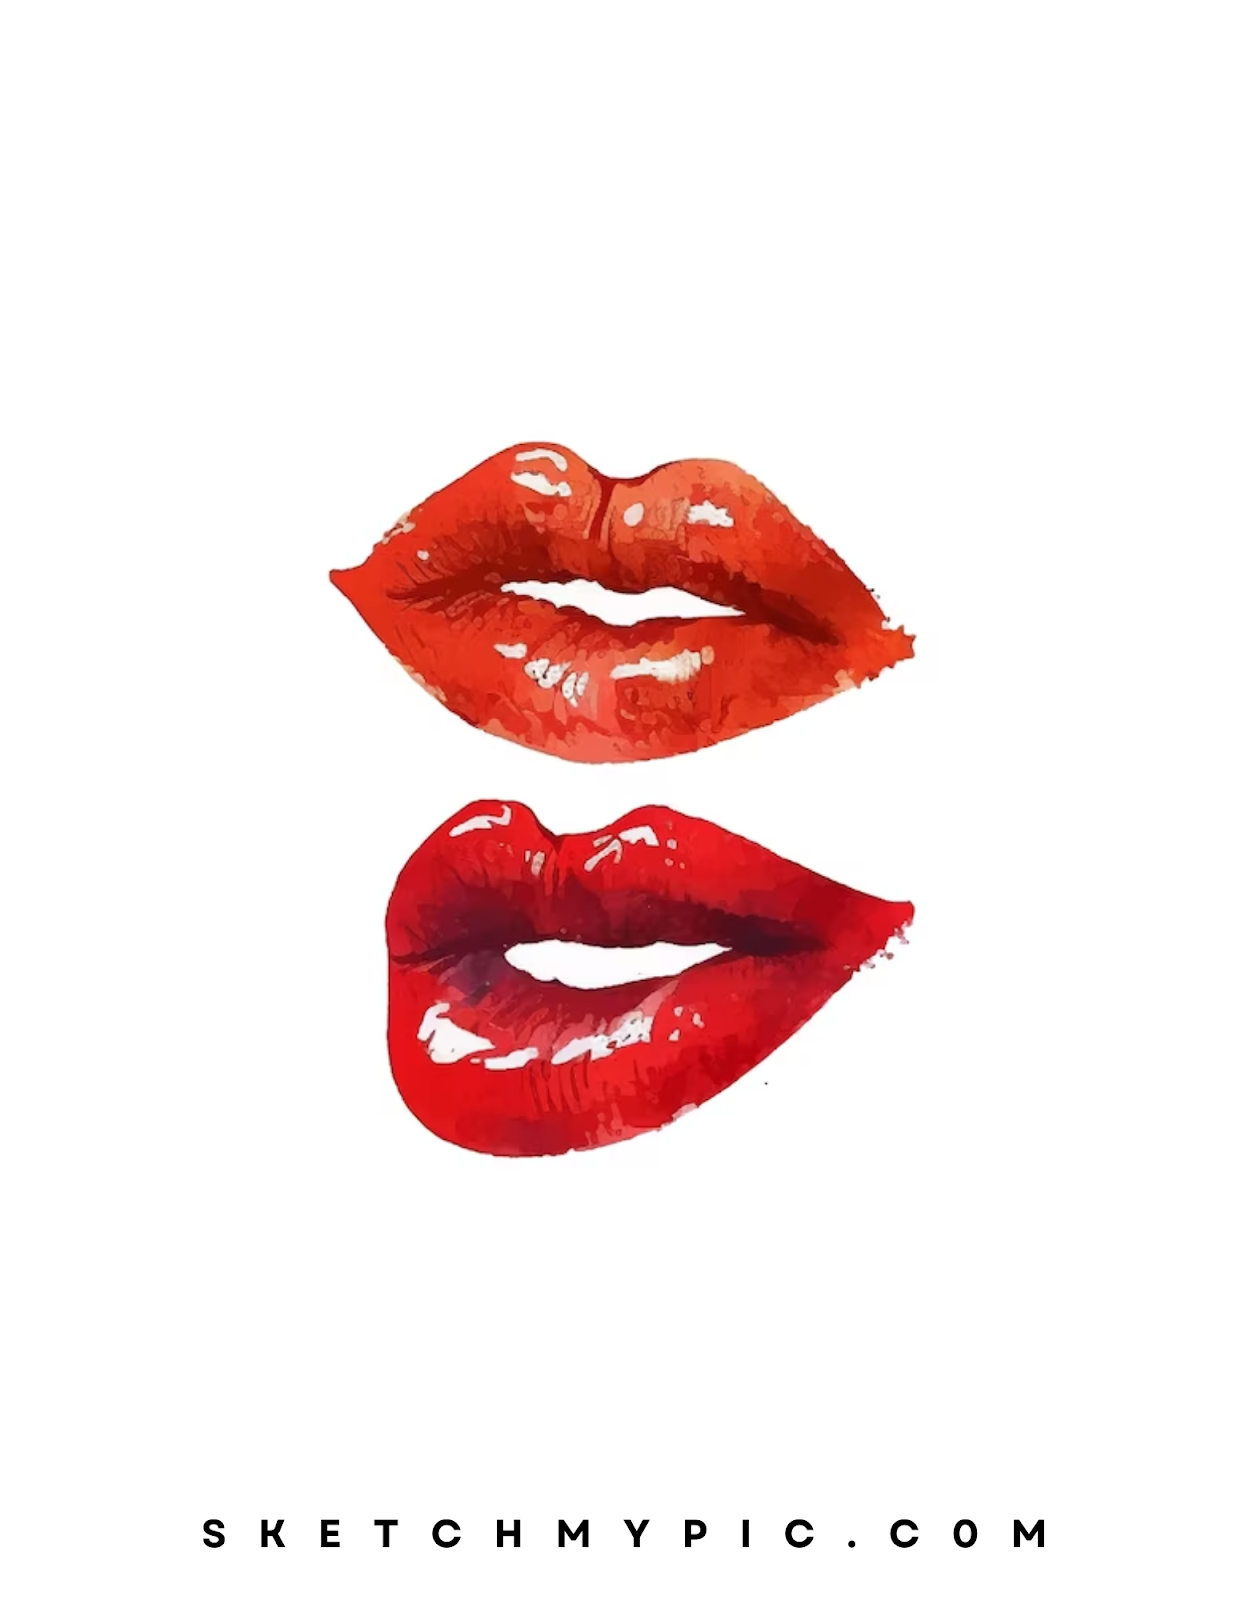
Detailed Step-by-Step Guide on Coloring Lips:
Coloring lips is a transformative step that adds vibrancy, warmth, and personality to your artwork. Lips come in a range of colors and shades, reflecting the diversity of individuals and characters you might depict. Whether you're aiming for natural lip colors or experimenting with creative shades, follow these steps to infuse your lip drawing with captivating hues and textures:
Step 1: Selecting Your Color Palette
Before you begin coloring, decide on the lip color or color palette that matches your artistic vision. If you're aiming for natural lip colors, observe reference images to accurately match the hues of lips under different lighting conditions. For imaginative color schemes, consider using colored pencils, markers, watercolor paints, or digital coloring tools based on your preferred medium.
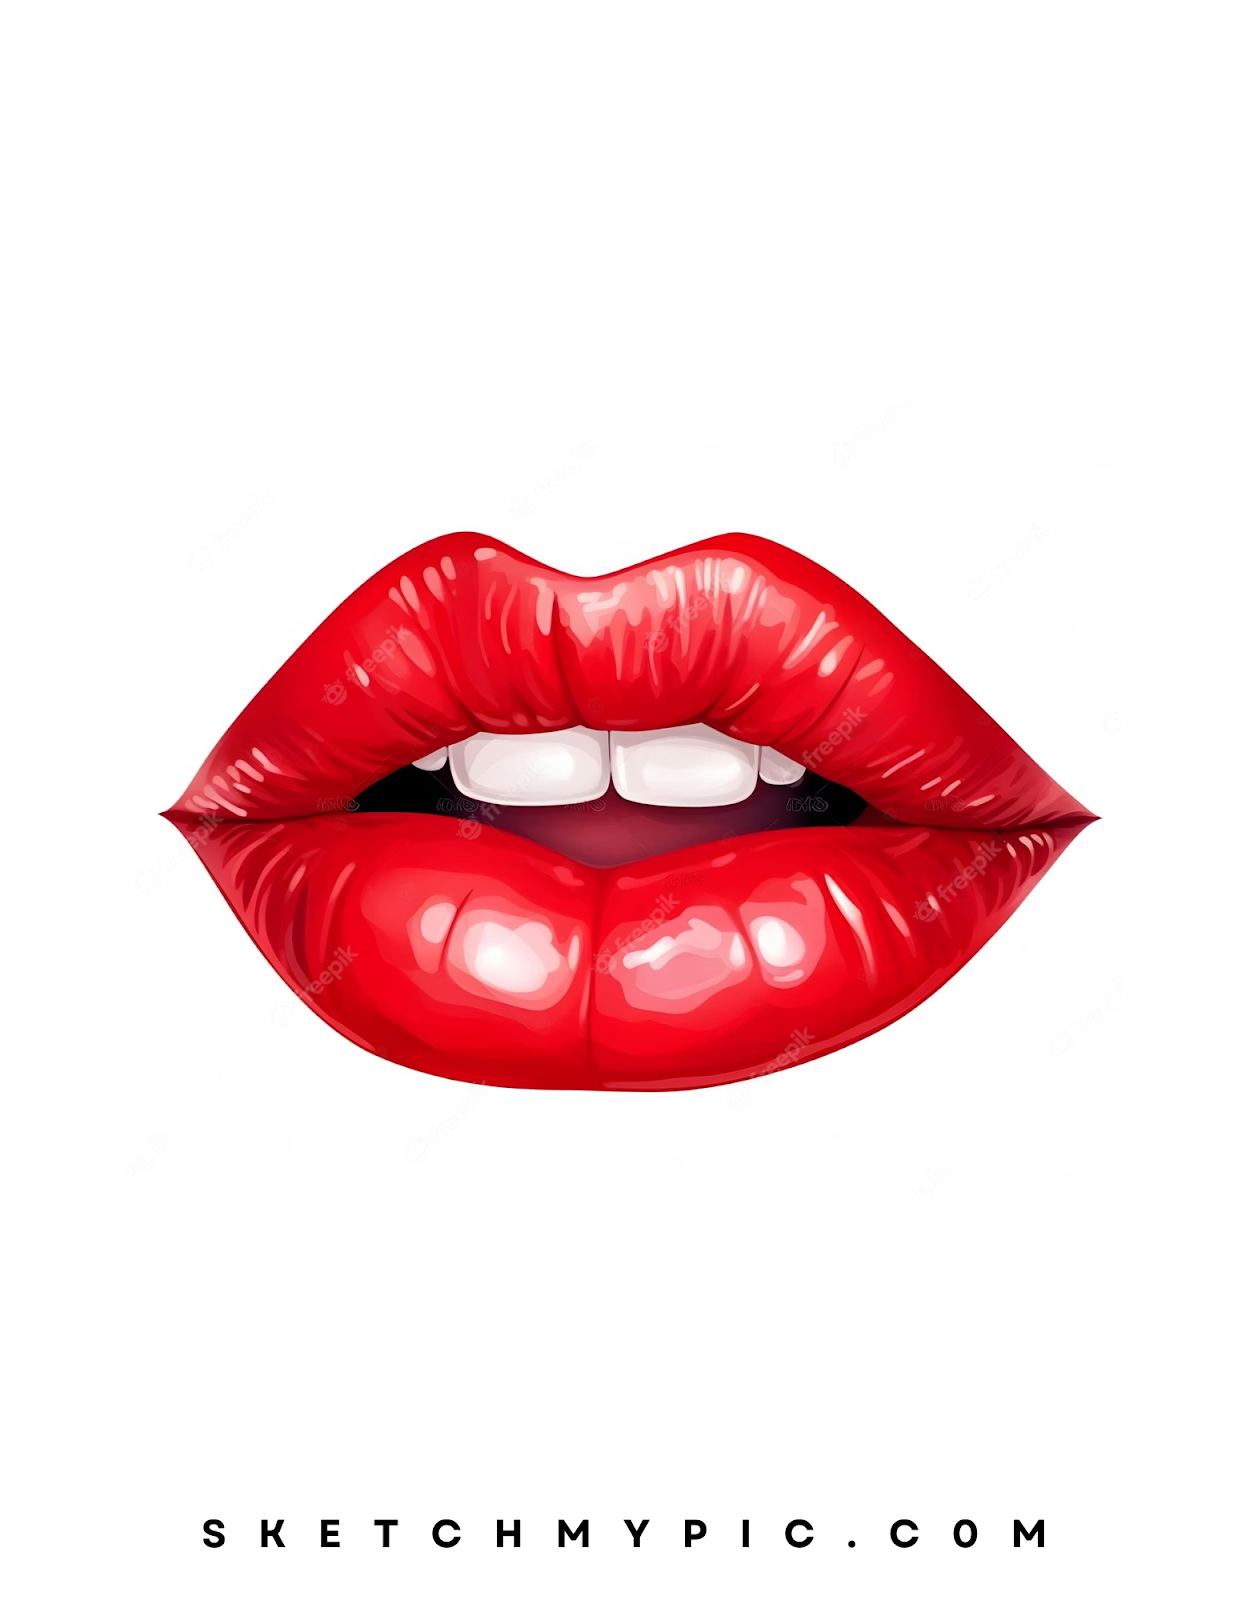
Step 2: Applying the Base Color
Start by applying the base lip color. Use light, even strokes to cover the entire lip area with the chosen color. If you're using colored pencils or markers, layering multiple shades of the same color can help create realistic variations within the lips.
Step 3: Adding Shadows for Depth
Shading is essential for giving your lip drawing depth and dimension. Visualize the light source and imagine where shadows would naturally fall on the lips. Use a slightly darker shade of your base color to add shading to areas that would be darker due to shadow or the shape of the lips.
Step 4: Creating Highlights
Highlights contribute to the realism and fullness of the lips. Identify the areas where the light source hits the lips, such as the center of the lower lip and the upper edge of the cupid's bow. Use a lighter shade of your base color or even a touch of white to add highlights that mimic the reflection of light.
Step 5: Emphasizing Texture
To make your lip drawing more authentic, add texture using short, gentle strokes. This technique mimics the texture of the lips' surface and enhances their three-dimensional quality. Apply these strokes following the natural curvature of the lips.
Step 6: Experimenting with Lip Variations
Lips vary in color and texture, even within natural tones. Experiment with applying different shades within the chosen color palette to create subtle variations. This technique adds depth and realism to your lip drawing.
Step 7: Blending for Seamless Transitions
To achieve a smooth transition between colors and shades, consider blending and smudging your coloring. Use a blending tool, tissue, or your fingertip to gently blend the colors together. This technique softens harsh lines and creates a cohesive and realistic appearance.
Step 8: Capturing Details
Lips have intricate details such as fine lines, wrinkles, and small creases. Pay attention to these details and use a fine-tip pencil or marker to add them to your drawing. These subtle features contribute to the authenticity and character of the lips.
Step 9: Final Touches and Refinement
As you approach the final stages of coloring your lips, step back and evaluate the overall composition. Ensure that the colors are well-blended, the shading is coherent, and the lips look vibrant and visually captivating. Fine-tune any areas that require adjustment.
Step 10: Consider Skin Tone
When coloring lips, take into account the skin tone of your subject or character. Different skin tones can influence the color and shade of the lips. Experiment with subtle color adjustments to ensure that the lips harmonize with the overall complexion.
Conclusion
Drawing lips is a skill that adds depth, emotion, and realism to your artistic repertoire. By understanding lip anatomy and following this step-by-step guide, you can create lip drawings that capture the delicate features and expressions that make each set of lips unique. Embrace the opportunity to experiment with shading, highlights, and texture to create lips that resonate with authenticity. Drawing lips empowers you to convey mood, personality, and the intricacies of human expression. So, gather your drawing tools, immerse yourself in the world of lips, and delight in the art of creating stunning and expressive lip drawings!