By Jinee
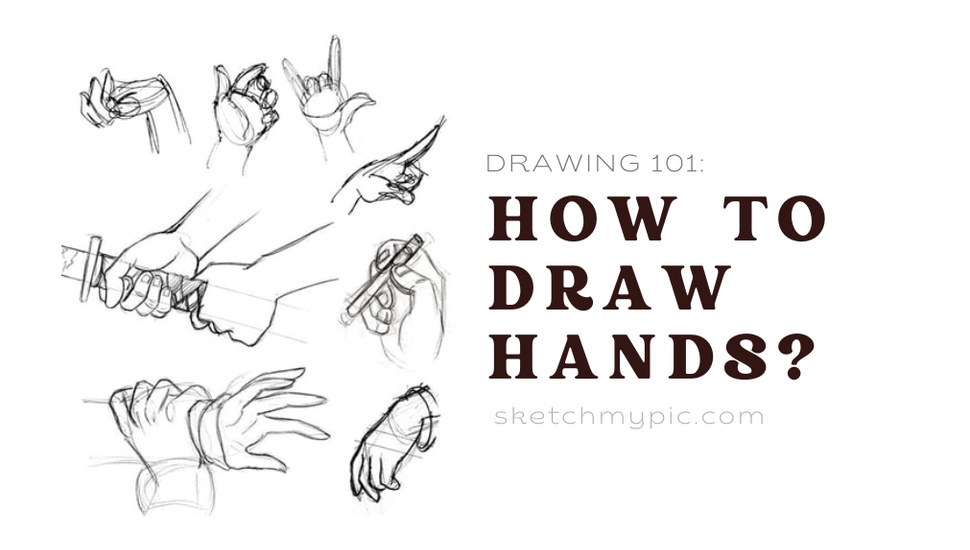
How To'sDrawing hands can be both exciting and challenging! Hands are amazing tools that help us express ourselves and interact with the world. Learning to draw them can make your artwork more realistic and full of emotion. Whether you're just starting or want to get better at drawing hands, this guide is here to help you!
In this blog, we'll explore step-by-step techniques to draw hands with confidence. We'll break down the process into easy parts, so you can understand how hands work and look more natural in your drawings.
Hands can tell stories too! You can show different feelings and actions in your art by changing their position and shape. We'll learn how to add emotions and movement to make your characters come to life!
Remember, practice is the key. Drawing hands might seem tricky at first, but don't worry if it's not perfect right away. Keep trying, and you'll improve with each attempt.
So, grab your sketchbook and pencils, and let's dive into the exciting world of drawing hands! With some practice and determination, you'll be drawing excellent hands quickly. Let's get started!
Hands are unique because they can show a lot of feelings and actions. They help us express ourselves and interact with the world. That's why learning to draw hands is crucial for artists who want to make their art look real and meaningful.
Drawing hands might seem complicated, especially at the beginning, but you can improve with practice and some simple tricks. When you draw hands well, your artwork becomes more exciting and emotional, and people will connect with it more.
Also, hands can tell stories by themselves! You can show different emotions and actions in your drawings by changing their shape and position. A fist can show strength or anger, while open hands can be welcoming or show vulnerability.
So, don't be afraid to learn how to draw hands. It's an essential skill to make your art look better and tell powerful stories. With practice and determination, you'll improve and create fantastic art that everyone will love. Let's get drawing!
The first step in learning how to draw hands is understanding the hand's anatomy. A hand consists of bones, muscles, tendons, and cartilage. Knowing these components' basic structure and function can enhance your ability to draw hands more accurately.
The human hand has 27 bones divided into three parts: the carpus (wrist), metacarpus, and phalanges (fingers). The wrist contains eight carpal bones that are arranged in two rows. The metacarpus (palm) contains five metacarpal bones that connect the fingers to the wrist. The fingers contain 14 phalanges bones in total: three in each finger (except for the thumb, which has two) arranged in three parts: the distal phalanx (tip), middle phalanx, and proximal phalanx (near the palm).
The muscles of the hand include those that originate in the forearm and wrist and attach to the bones of the hand through tendons. There are two main groups of muscles: the extrinsic muscles and the intrinsic muscles. Extrinsic muscles are those that originate in the forearm and insert into the bones of the hand, they are responsible for opening and closing the fingers and wrist movements. Intrinsic muscles are small muscles located within the hand responsible for the fine movements and dexterity required to manipulate objects.
The joints of the hand are complex and involve many connections between the various bones. The joints in the hand include the wrist joint between the forearm and hand, the carpometacarpal joint between the wrist and base of the fingers, the metacarpophalangeal joint between the base of the fingers and the fingers themselves, and the interphalangeal joint between the fingers themselves.
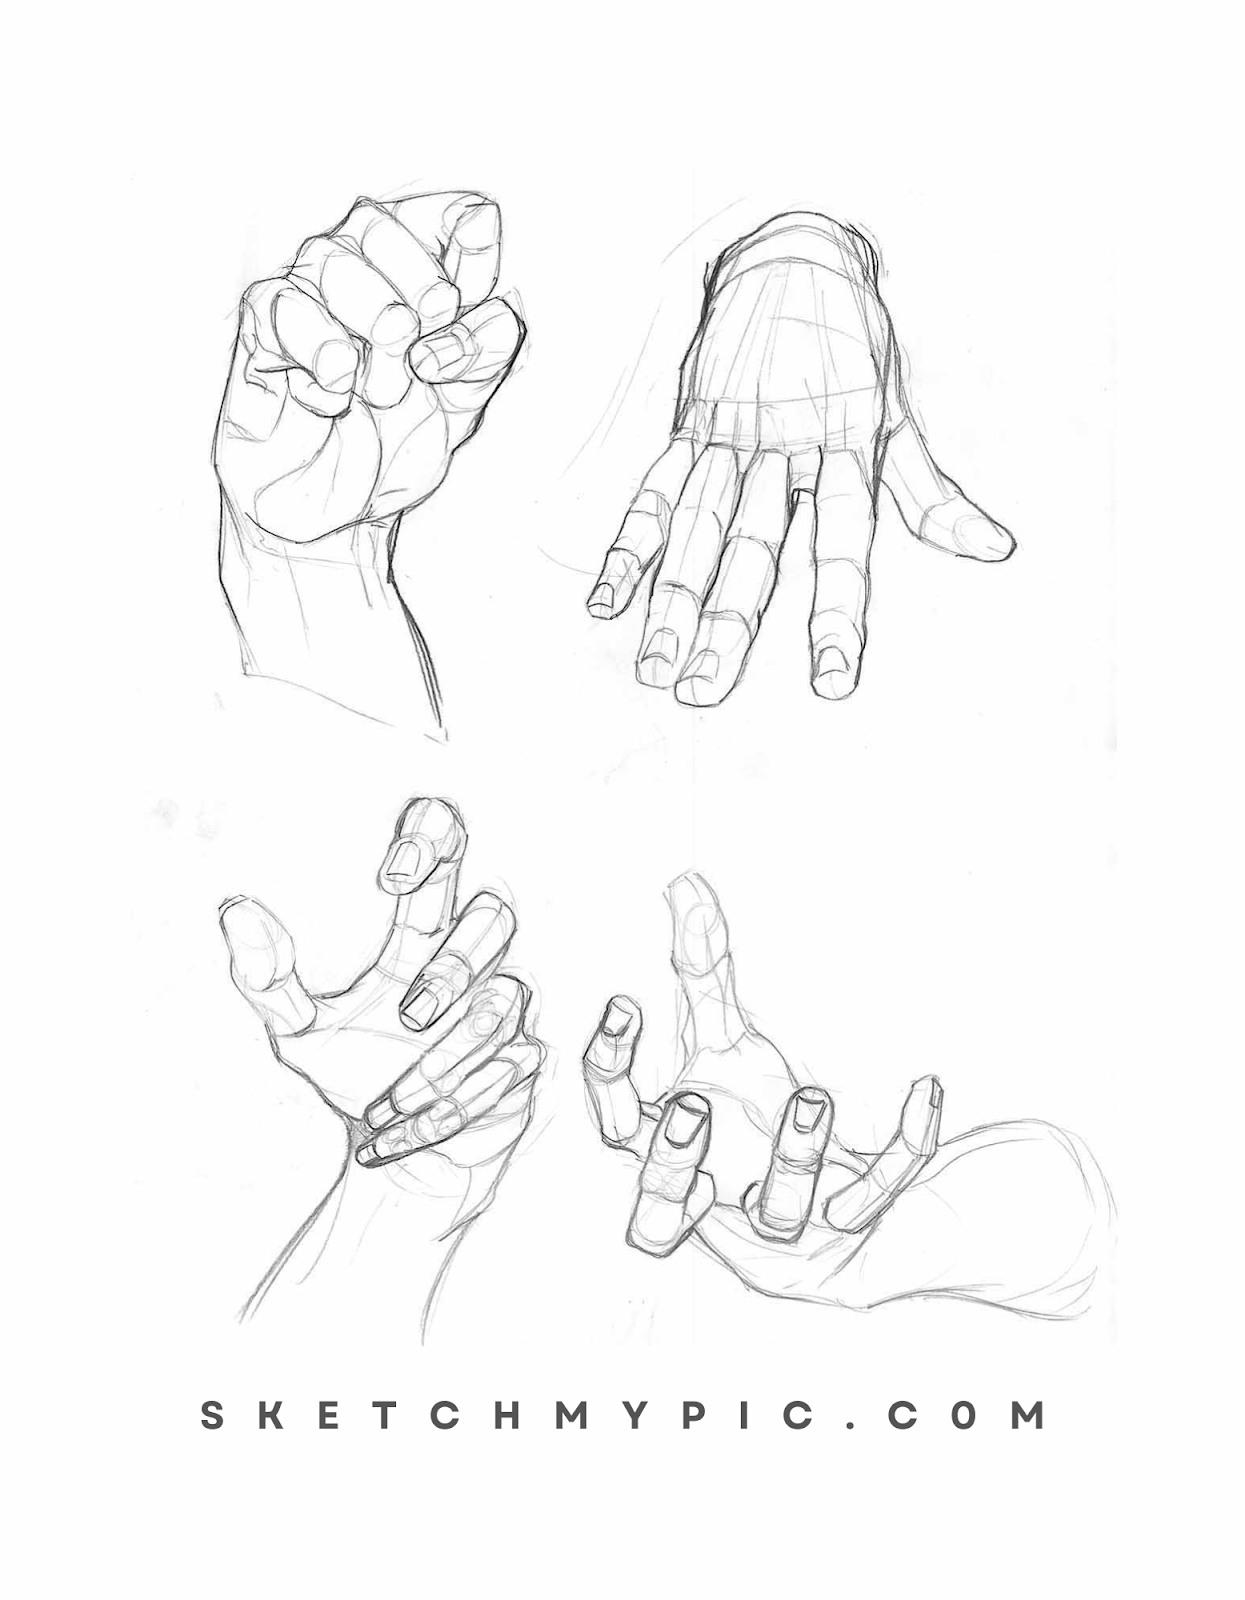
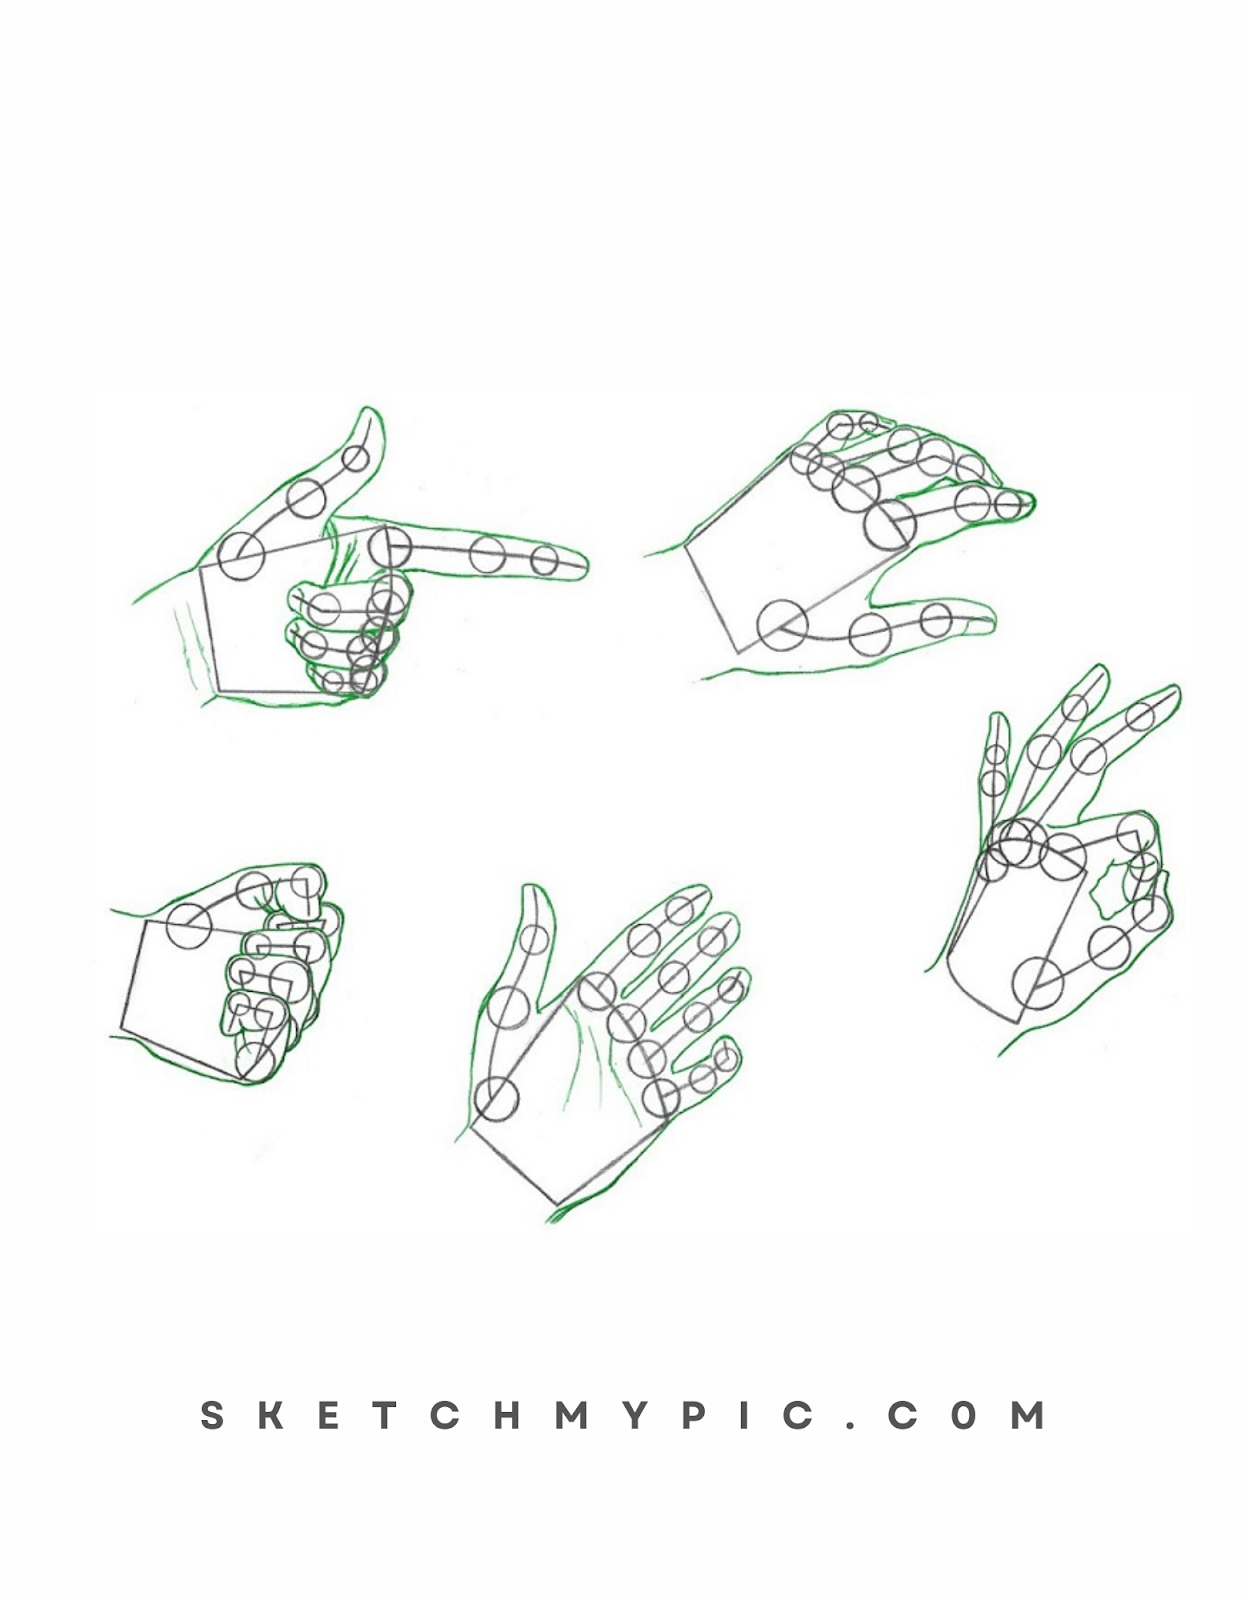
Once you understand the anatomy of the hand, it's time to start sketching. Start by making the basic shape of the hand. For the purposes of this tutorial, we will draw the right hand. Sketch a square for the palm, as wide as you'd like, and connect it to a rectangle that will become the thumb. The next rectangle from the palm to the fingers will represent the back of the hand. Draw three circles for the fingers and the fourth circle for the thumb.
After sketching, it is time to draw the fingers' outlines. Make sure your lines follow the finger's shape accurately. Remember, fingers are not straight lines; the curves and angles of the knuckles make them more complex. Since fingers rest on the hand palm at different angles, they won't be of the same size.
The next step is to get the perspective right. Adding the proper perspective is essential to avoid making the hand drawing look flat and lifeless. Perspective in art refers to creating an impression of three-dimensional space on a two-dimensional surface. To draw a hand in perspective, you need to determine the hand's point of view. Usually, this point of view is your own. Determine your finger direction, and it will help you draw them from an accurate perspective. You can draw a vertical centerline of the hand between the palm and the fingers.
Once you have the basic shape and perspective of the hand, it's time to draw some details. Begin by adding the creases in the joints of the fingers. Add the curved outline of the knuckles under the skin and observe the patterns formed by the tendons in the back of your hand. Also, remember to keep the fingers’ thickness in mind and represent the joints’ curves’ angles and depth. Continue shading the hand and add depth, texture, and volume.

The final step is the shading and tone. Shading brings the picture to life, giving it realism, volume, and depth. Use your pencil to create shading lines and shade the part of the hand that would be more substantial. Use an eraser to remove highlights.
The hand is probably the most versatile and expressive part of the human body. Because of this, it can be tough to draw accurately. However, with patience, practice, and an understanding of basic anatomy, anyone can learn how to draw hands. Always practice your strokes, learn the hand's structure, and analyze how it looks from different angles. With these simple tips, you can master this vital skill and take your art to the next level.