By Jinee
How To'sEyes are often considered the windows to the soul, and drawing them is a captivating art form that allows artists to convey emotions, tell stories, and create striking portraits. Whether you're a beginner or an experienced artist looking to improve your eye-drawing skills, this comprehensive step-by-step guide will help you master the art of drawing eyes. From understanding the basic anatomy to capturing intricate details and expressions, we'll take you through the process of creating realistic and expressive eyes. So, grab your sketchbook and pencils, and let's embark on an artistic journey to draw mesmerizing eyes!
Materials Needed
Before you start drawing, gather the following materials:
1. Drawing paper or sketchbook
2. Pencils (HB, 2B, and 4B are recommended for different tones)
3. Eraser
4. Sharpener
5. Blending tool or tissue (optional for shading)
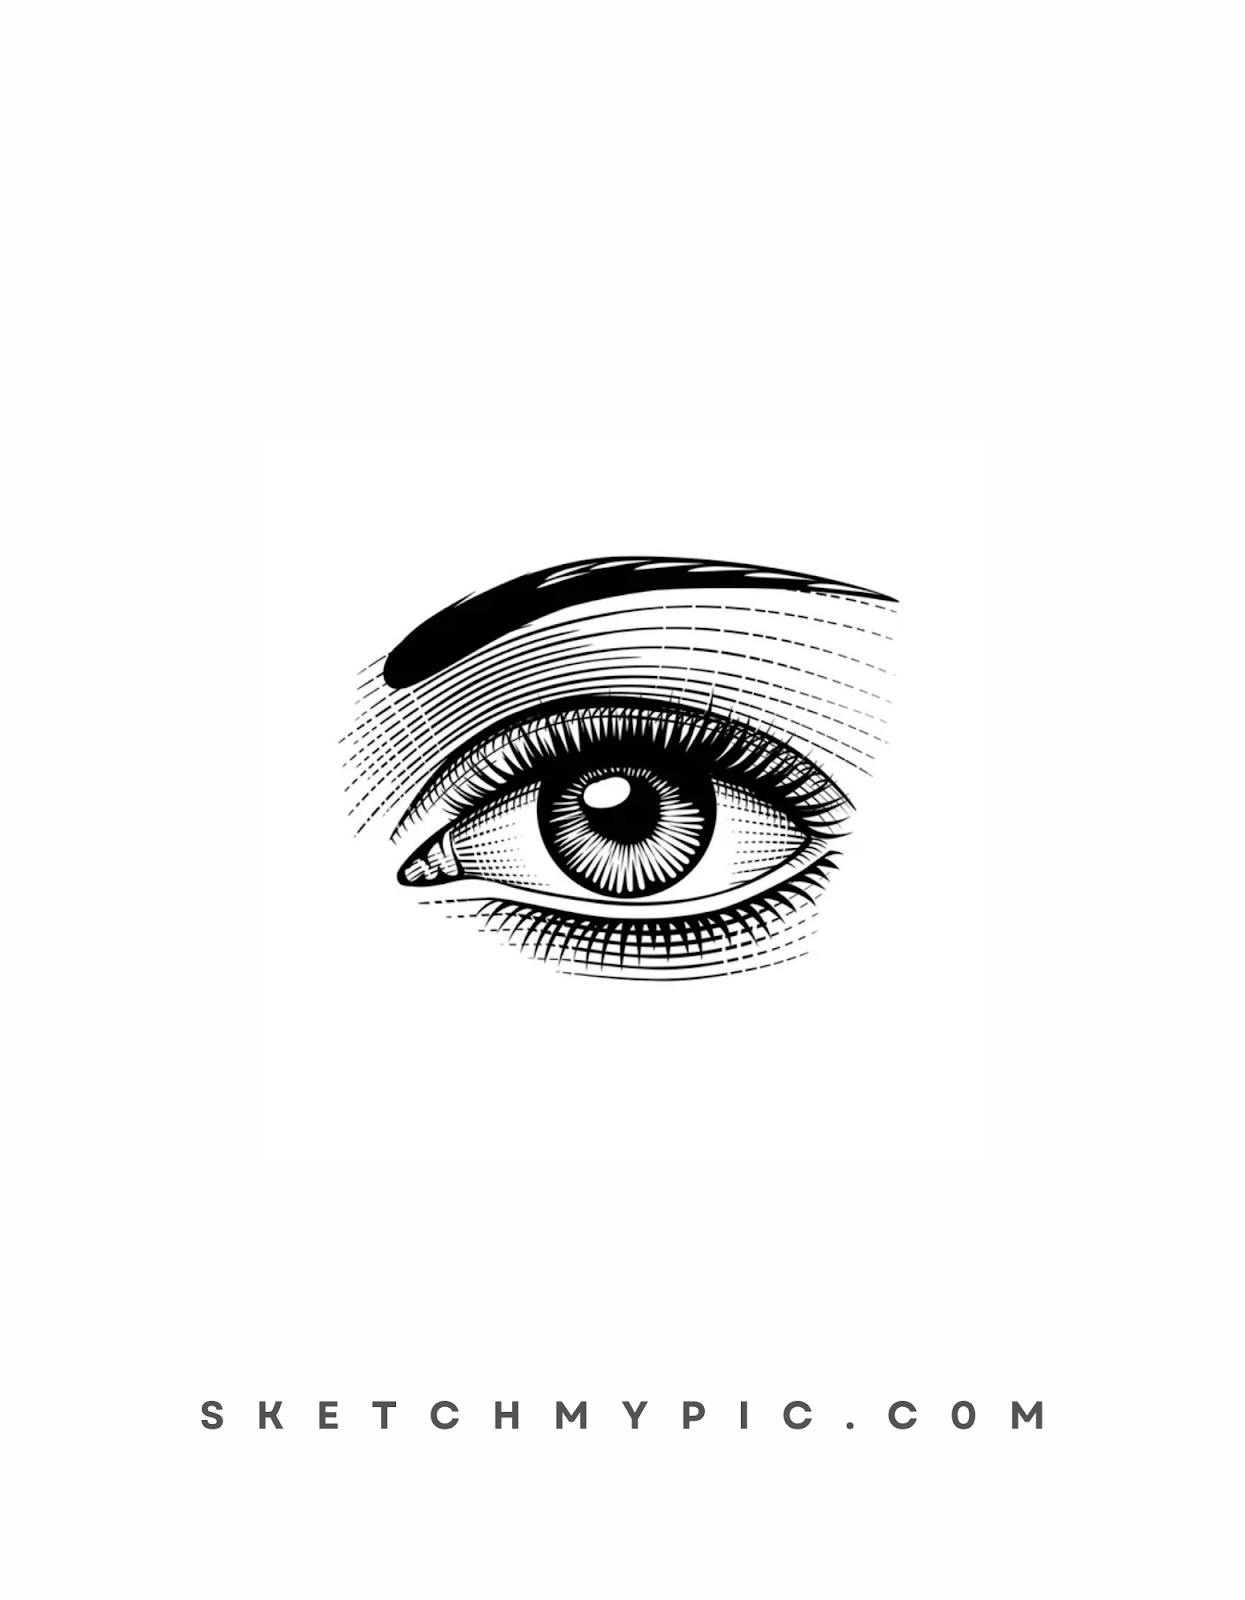
Step 1: Understanding the Eye's Anatomy
Before diving into drawing, it's essential to understand the basic anatomy of the eye. The human eye consists of several key components, including the iris (colored part), pupil (dark center), sclera (white part), eyelids, eyelashes, and tear ducts. Take a moment to study reference images of eyes and familiarize yourself with these elements to create realistic and accurate eye drawings.
Step 2: Basic Eye Outline
Begin by drawing a simple guideline for the eye. Start with an oval shape, representing the eye's overall structure. The size of the oval will determine the size of the eye in your drawing. Next, add a smaller circle within the oval to represent the iris. The position and size of the circle will determine the direction and focus of the eye.
Step 3: Drawing the Iris and Pupil
Within the circle, draw the iris and pupil. The iris is usually colored and can have various patterns, while the pupil is the black center. Observe reference images to accurately depict the iris's texture and the size of the pupil, which changes based on lighting conditions and emotions.
Step 4: Adding Depth with Shading
Shading is crucial to give your eye drawing depth and dimension. Determine the direction of the light source, and imagine where the shadows would fall. Use your 2B or 4B pencil to shade the areas away from the light source, such as the top and sides of the eye. This will create a three-dimensional appearance and make your eye drawing more realistic.
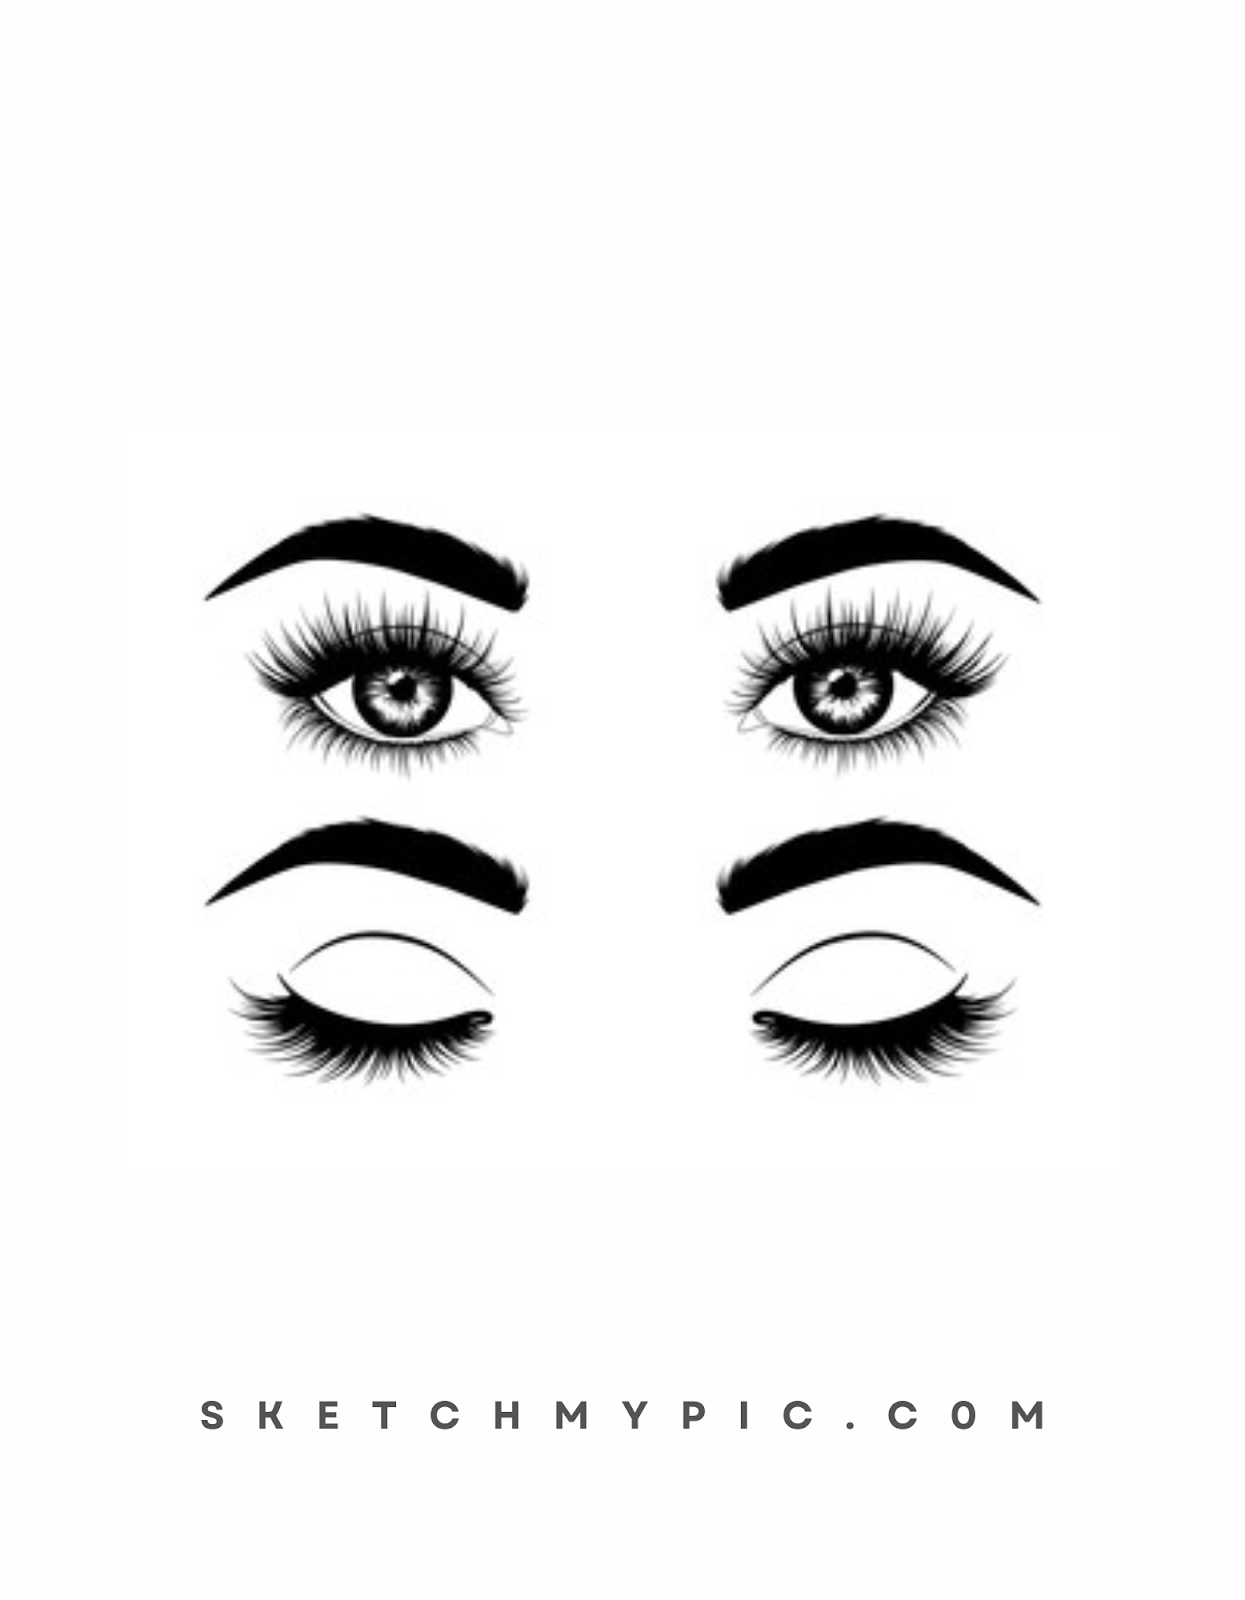
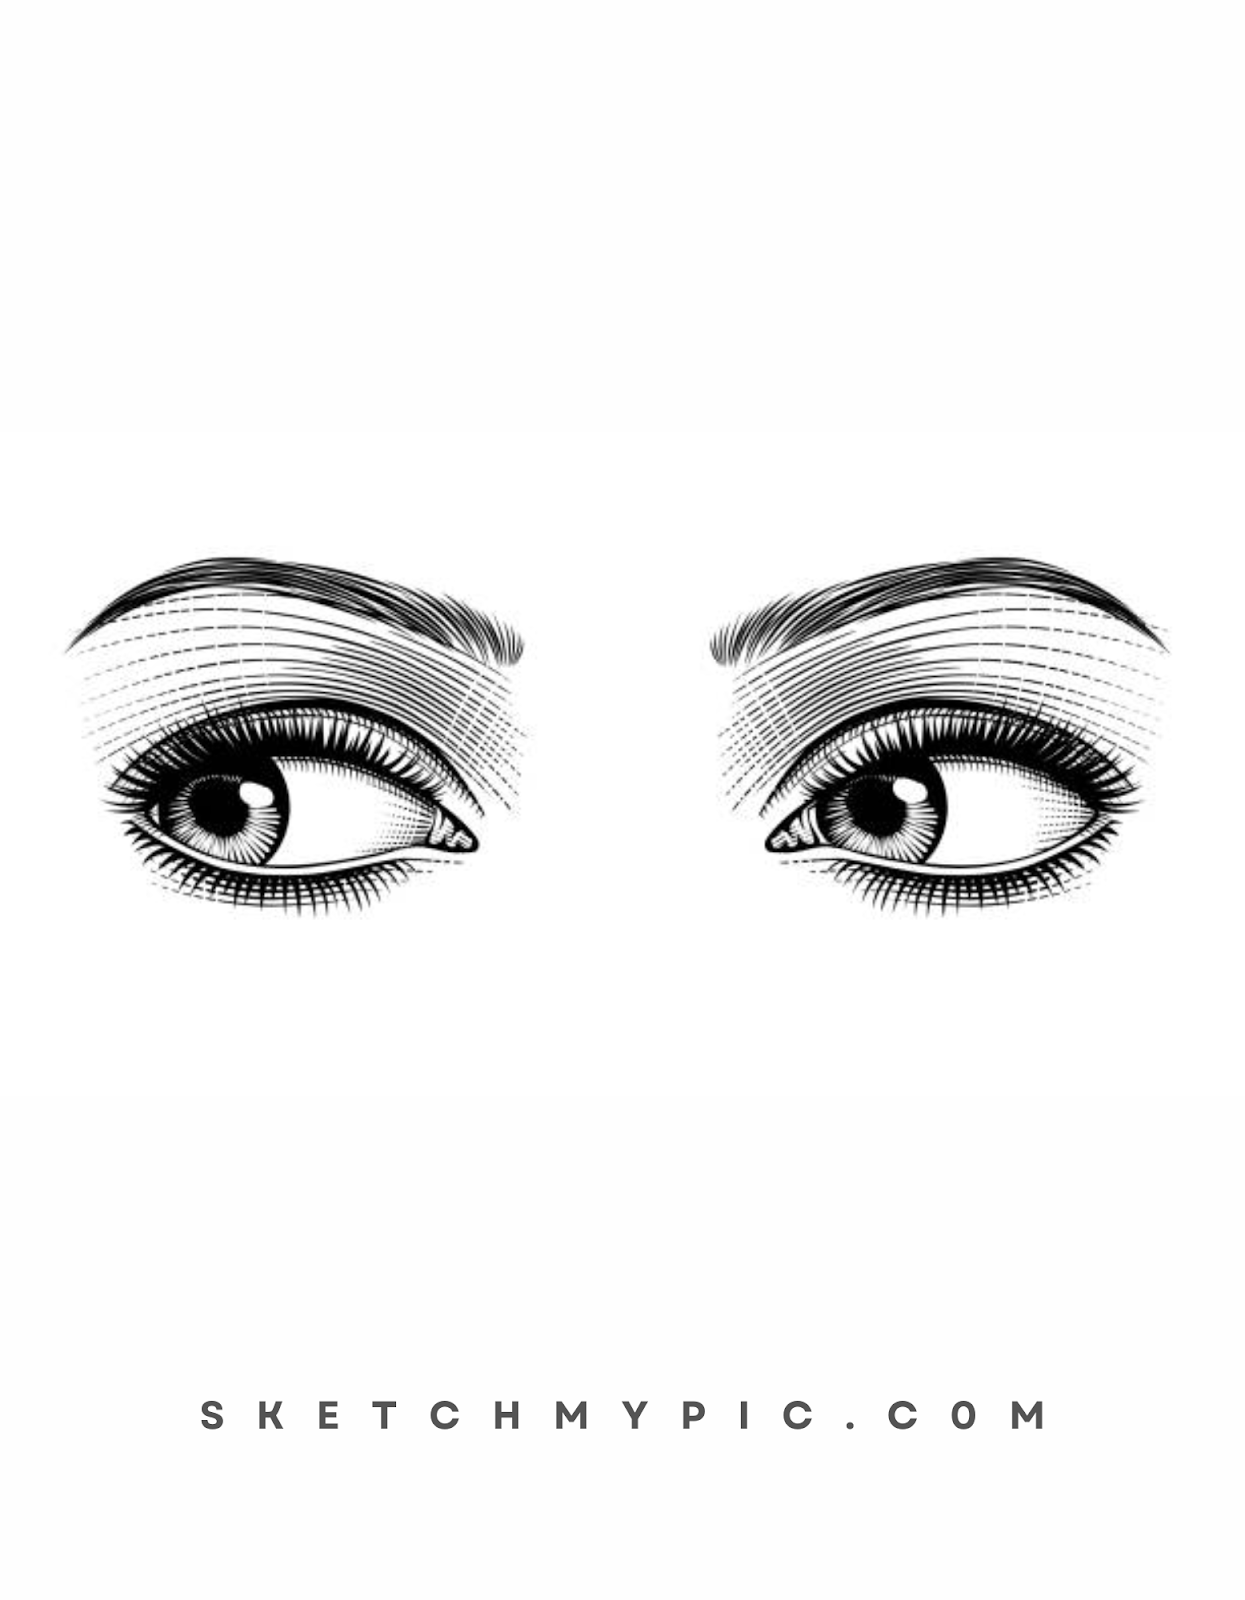
Step 5: Detailing the Eyelids and Eyelashes
Moving on to the eyelids, carefully draw their shapes, following the contours of the eye. The upper eyelid is usually more prominent than the lower one. Pay attention to the creases and folds to add depth to the eye. Next, add the eyelashes, starting from the upper and lower eyelids. Use short, fine lines to create a natural and feathery look.
Step 6: Capturing the Expression
Eyes are expressive and reflect emotions. To capture a specific expression, focus on the eyebrows and the area around the eye. Arched eyebrows may convey surprise or curiosity, while downturned eyebrows may indicate sadness. Also, pay attention to wrinkles and creases, as they contribute to the overall expression.
Step 7: Adding Highlights
To bring your eye to life, add highlights to the iris and the reflection in the eye. Identify the areas that would catch the most light, such as the upper part of the iris and the wetness of the eye. Use your eraser to gently remove some graphite to create these highlights.
Step 8: Texturing the Iris
To make the iris appear more realistic, add texture. Use your pencil to add fine lines or dots radiating from the pupil towards the outer edge of the iris. These details mimic the natural appearance of the iris and add depth to your eye drawing.
Step 9: Final Touches
As you near completion, take a moment to review your eye drawing and make any final adjustments. Check if the proportions are correct, the shading is well-balanced, and the overall eye looks visually appealing. Take your time to refine any areas that need improvement.
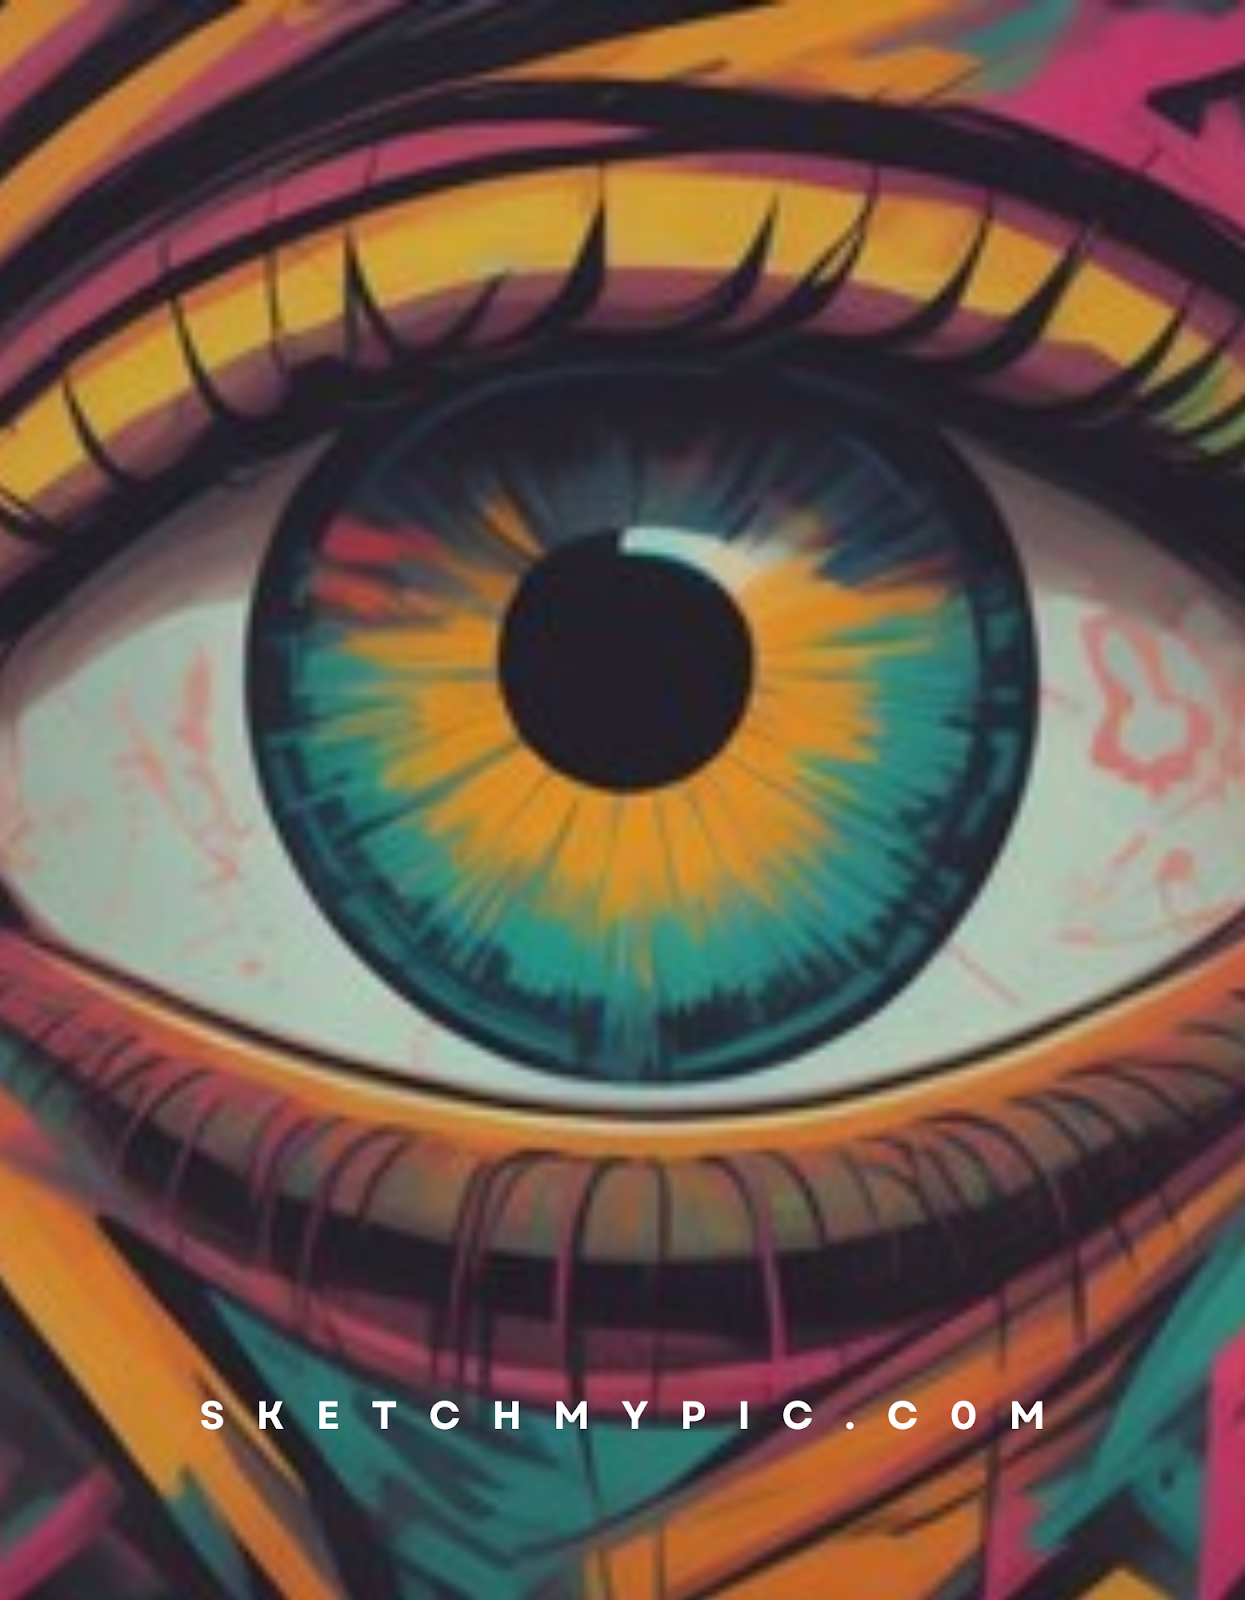
Coloring Your Eye Drawing
Coloring your eye drawing is a pivotal step that brings depth, realism, and emotion to your artwork. Adding color to the eyes allows you to convey unique personalities and evoke different moods, making your eye drawings truly captivating. Whether you choose to depict realistic eye colors or explore imaginative and fantastical hues, follow these steps to color your eye drawing:
Step 1: Selecting Your Color Palette
Before you begin coloring, decide on the eye color you want to portray. If you're aiming for a realistic representation, refer to reference images to match the eye color of your subject accurately. For fantasy or creative eye drawings, the sky's the limit! Colored pencils, markers, watercolor paints, or digital coloring tools are all excellent options, depending on your preferred medium.
Step 2: Coloring the Iris
Start by adding the base color to the iris. Use gentle, even strokes to apply the color smoothly and consistently across the entire iris. If you're drawing realistic eyes, consider the color variations and patterns often seen in the iris, such as specks or gradients. For fantasy eyes, let your imagination run wild with vibrant and unique color choices.
Step 3: Enhancing with Details
To make your colored iris more realistic, add subtle details. For realistic eyes, use a slightly darker or lighter shade of the base color to create depth and dimension within the iris. For fantasy eyes, consider adding subtle glows or light effects to give the eyes a magical or otherworldly appearance.
Step 4: Coloring the Pupil
The pupil is the dark center of the eye and is often black in realistic drawings. Carefully color the pupil to create a sharp and defined contrast with the iris. For fantasy eyes, you can experiment with different colors for the pupil to match the overall eye color theme.
Step 5: Shading and Blending
Use your coloring tools to shade the areas around the iris and pupil to create a three-dimensional look. Determine the direction of the light source and add shading accordingly, making sure to blend the colors smoothly for a realistic effect. Proper shading will add depth to the eye and make it appear more lifelike.
Step 6: Adding Highlights
To make your eye drawing pop, add highlights to the iris and the wetness of the eye. Identify the areas that would catch the most light, such as the upper part of the iris and the reflection within the eye. Use a white or lighter shade of your chosen color to create these highlights. This step will make the eye appear more realistic and add a touch of life to your artwork.
Step 7: Detailing the Eyelids and Eyelashes
When coloring the eyelids, pay attention to the shading and use a darker shade to create depth and dimension. Add a subtle gradient to the area where the eyelids meet the eye to create a natural transition. For the eyelashes, use a fine-tip pen or pencil to add individual lashes with varying lengths for a realistic effect.
Step 8: Final Touches
As you near completion, take a moment to review your colored eye drawing and make any final adjustments. Ensure that the colors are well-blended, the shading is coherent, and the overall eye looks visually appealing. Take your time to refine any areas that need improvement.
Conclusion
Drawing eyes is an art that requires patience, practice, and attention to detail. By understanding the eye's anatomy and following the step-by-step guide, you can create realistic and expressive eyes that captivate the viewer. Embrace the opportunity to experiment with different expressions, lighting conditions, and textures to showcase your creativity and artistic flair. Drawing eyes allows you to convey emotions, tell stories, and explore the depth of human expression. So, pick up your pencils, immerse yourself in the world of eyes, and delight in the mesmerizing process of drawing captivating eyes!