By Jinee
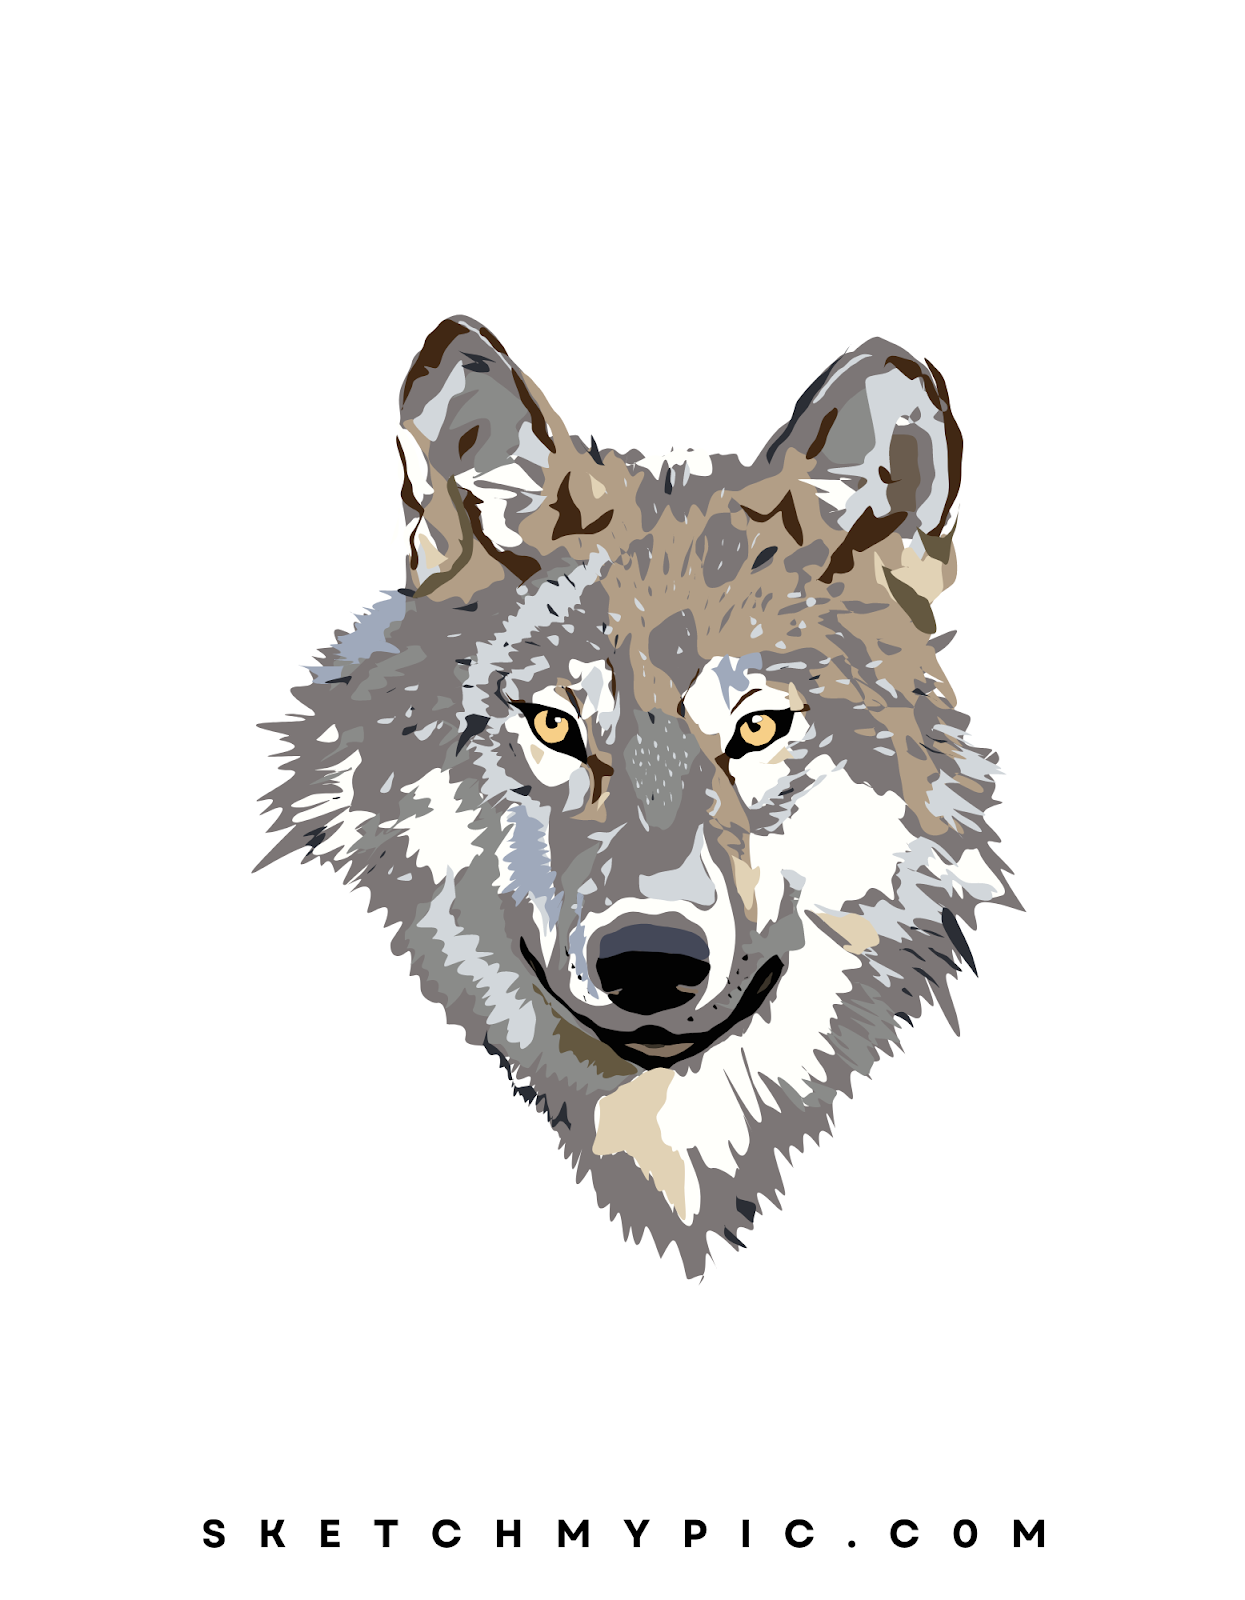
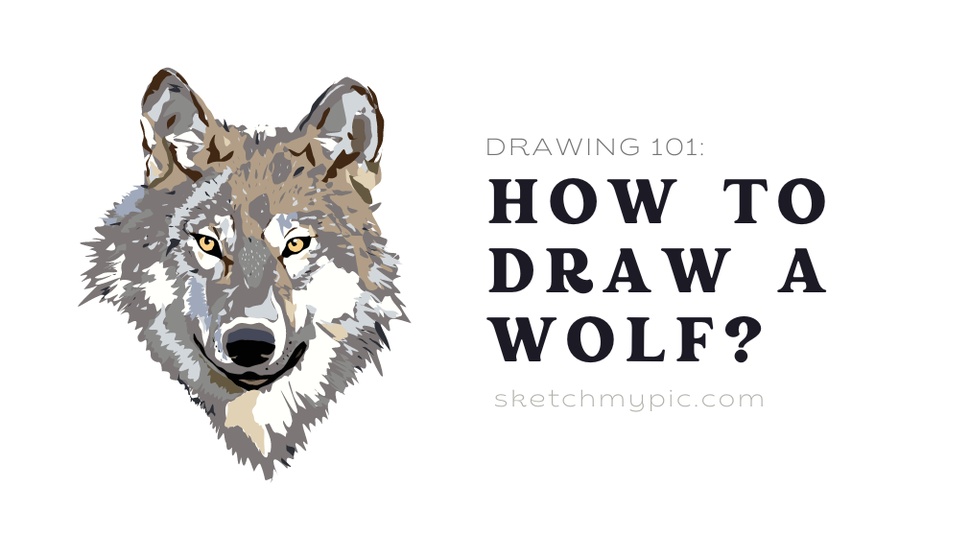
How To'sDrawing a wolf is a captivating journey that allows you to capture the essence of these magnificent creatures on paper. From their graceful form to their expressive features, wolves hold a unique place in our imagination. Whether you're a seasoned artist or a beginner with a passion for wildlife art, this comprehensive guide will take you through the process of creating a stunning wolf drawing. Through understanding their anatomy, mastering their intricate details, and adding your artistic touch, you'll bring the spirit of the wild into your artwork.
Materials You'll Need
Before we dive into the steps, make sure you have the necessary materials:
1. Drawing paper or sketchbook
2. Pencils (HB, 2B, 4B)
3. Eraser
4. Sharpener
5. Optional: Colored pencils, markers, or other coloring tools
Step 1: Get Acquainted with Wolf Anatomy
Understanding the anatomy of a wolf is crucial for a realistic representation. Familiarize yourself with their body structure, proportions, and unique features like their fur, ears, and eyes. Spend time observing reference images or videos of wolves to grasp their movements and characteristics.
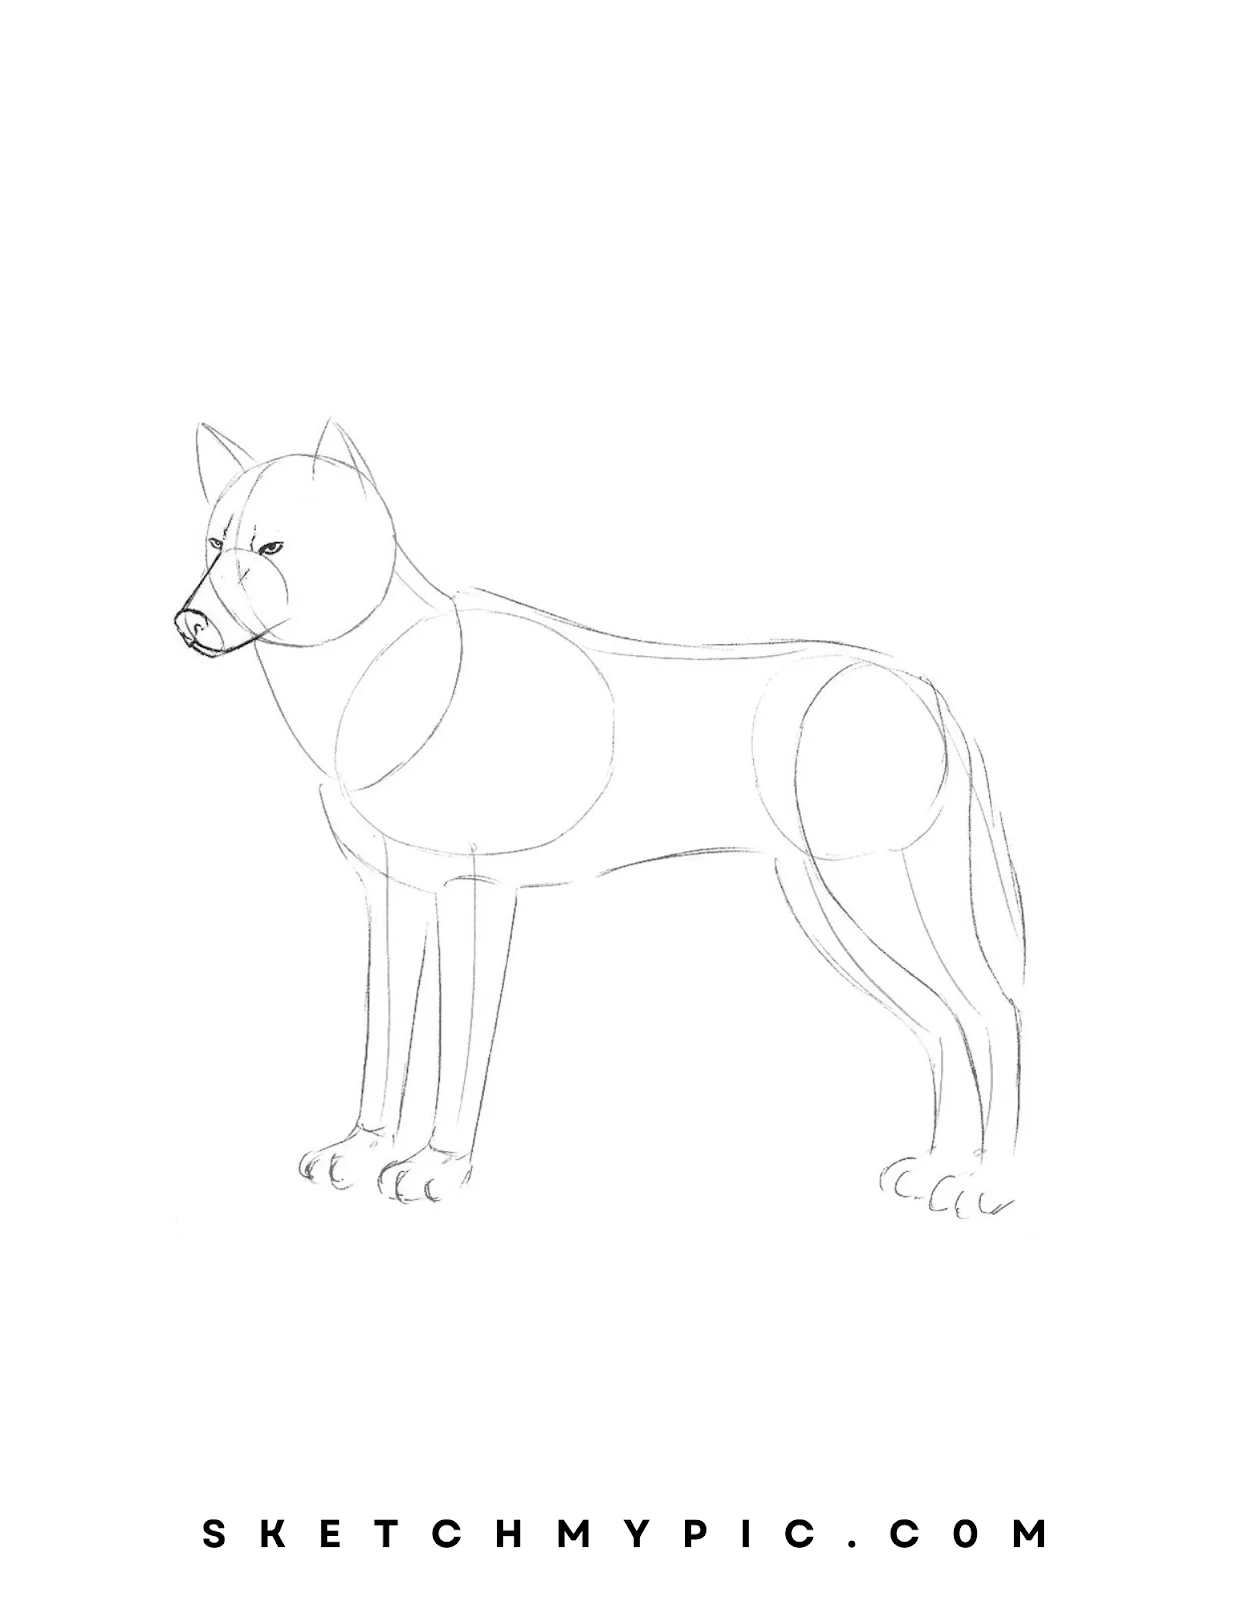
Step 2: Sketching the Basic Shapes
Start by lightly sketching the basic shapes that will form the wolf's body. Draw a large oval for the head, a slightly elongated oval for the torso, and smaller circles for the joints of the legs. These simple shapes will serve as your foundation.
Step 3: Define the Head and Snout
Refine the shape of the head, ensuring it's proportional to the body. Wolves have a distinctively elongated snout, so make sure it tapers gradually to a point. Add two almond-shaped eyes on the head, placing them equidistant from the snout and the top of the head.
Step 4: Add Ears and Facial Features
Sketch two triangular ears on top of the head, taking note of their size and placement. Draw a smaller oval within the snout to represent the nose, and add a horizontal line below it for the mouth. Indicate the eyes with smaller circles inside the eye shapes.
Step 5: Outline the Body
Connect the head and torso with gentle curved lines. Begin outlining the legs using basic cylindrical shapes. Keep in mind that wolves have slender yet muscular legs, so strike a balance between these qualities.
Step 6: Bring the Tail to Life
Extend a curved line from the wolf's hindquarters to create the tail. Depending on the pose you envision, the tail can be bushy and expressive. Feel free to adjust its shape to match your vision.
Step 7: Refine and Detail the Legs
Work on defining the legs by adding volume and thickness to them. Include basic shapes for the paws at the ends of the legs. Wolves' paws are designed for traction and agility, so take care to portray their structure accurately.
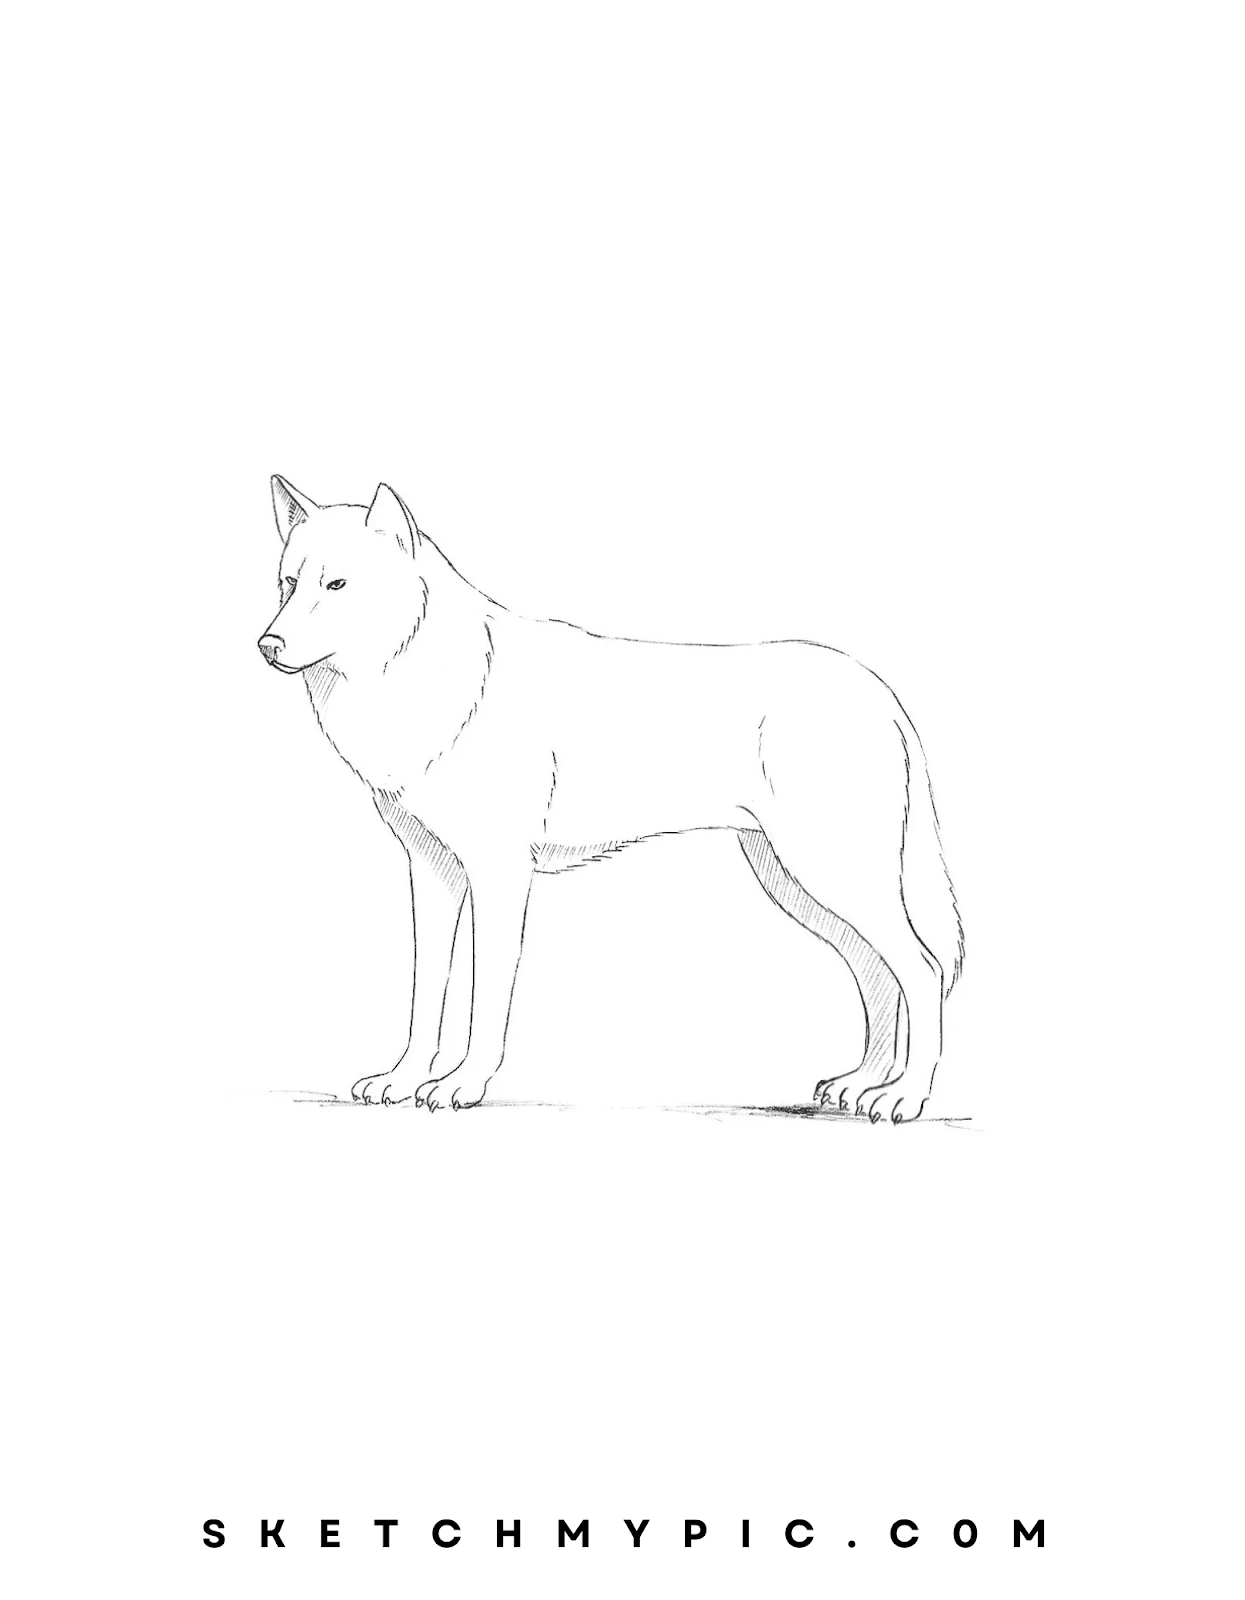
Step 8: Embrace the Fur Texture
Start adding texture to the wolf's fur. Use short, jagged lines to suggest the coarse and layered nature of their fur. Focus on areas like the neck, chest, and legs where the fur is more pronounced.
Step 9: Add Depth to the Face
Enhance the detailing of the face by refining the eyes, nose, and mouth. Darken the eyes to create depth, and add a highlight to give them a lifelike gleam. Capture the wolf's signature sharp teeth by adding them within the mouth.
Step 10: Review and Refine
Take a step back and evaluate your drawing as a whole. Check for proportionality, symmetry, and overall accuracy. Make any necessary adjustments to ensure the wolf's anatomy looks natural and proportionate.
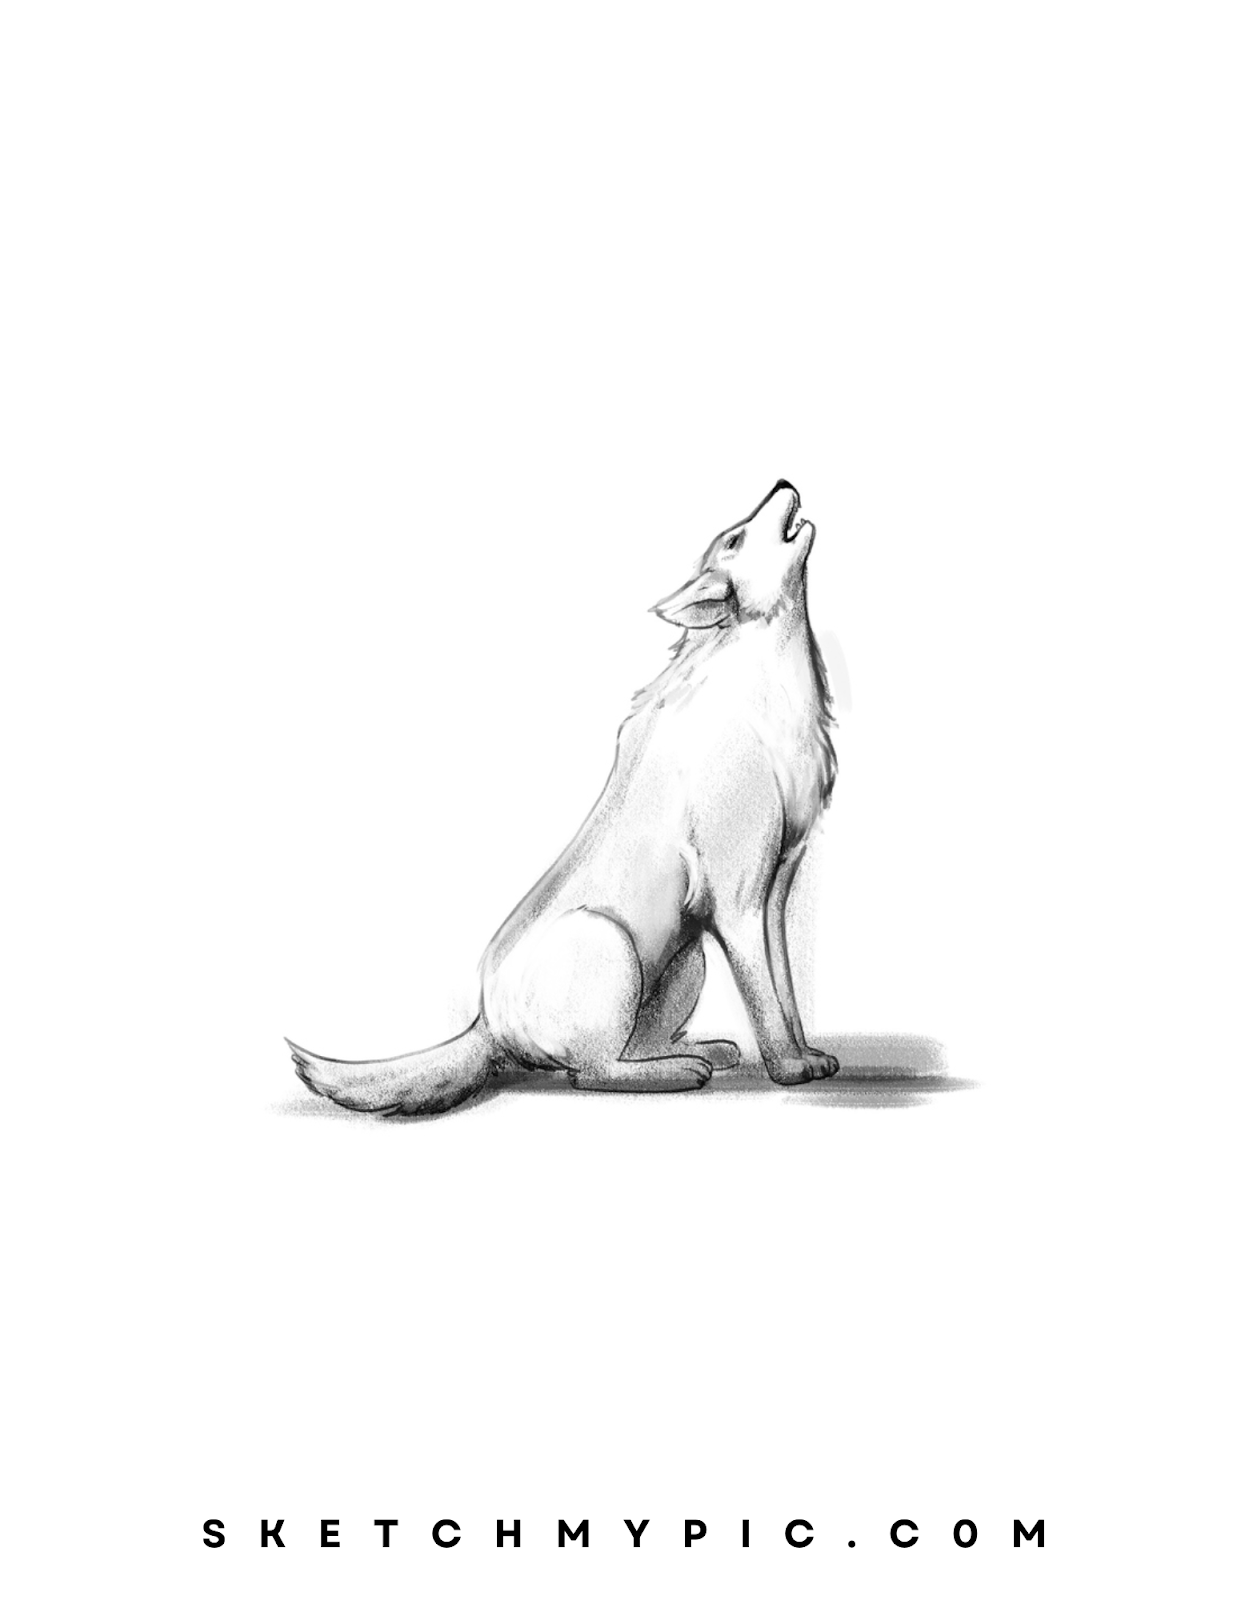
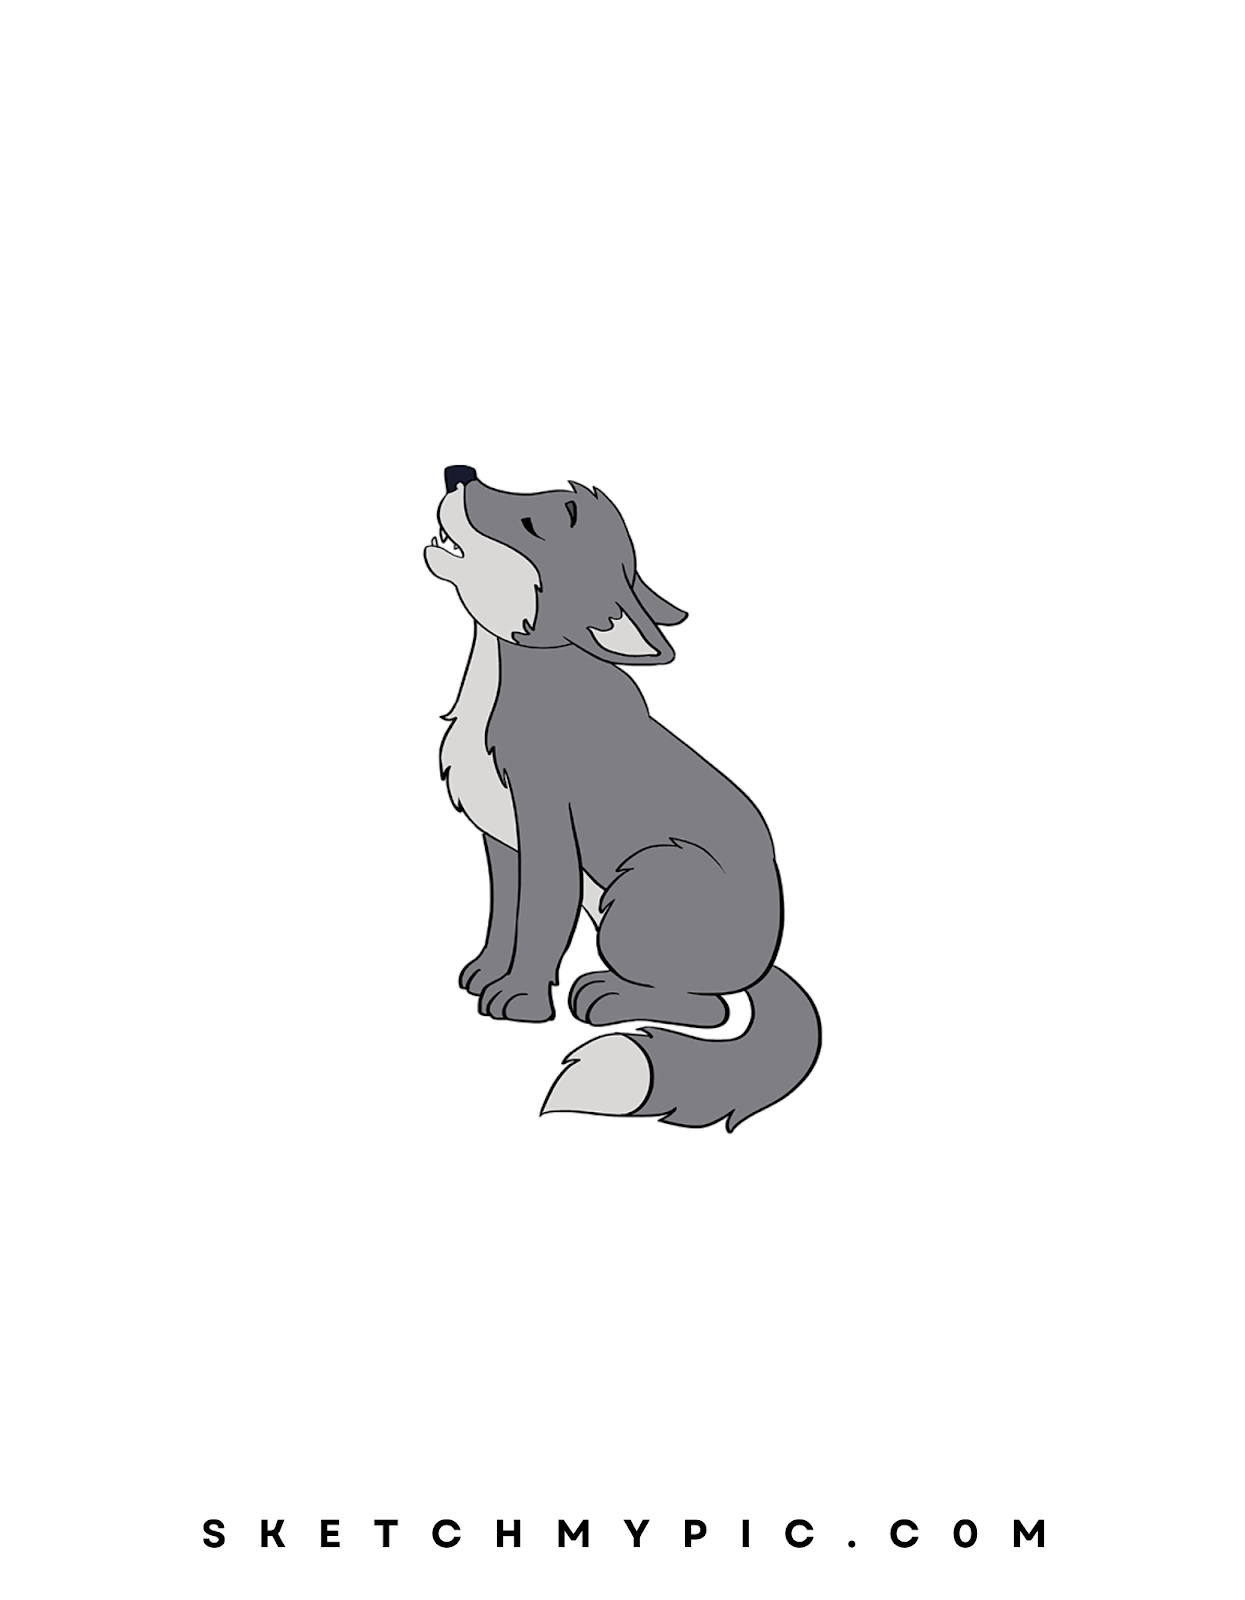
Breathing Life into the Wilderness: Coloring Your Wolf Drawing
Coloring your wolf drawing is a transformative step that elevates your artwork from lines on paper to a captivating depiction of nature's beauty. Wolves' coats can vary in color, from shades of gray to brown to even red, presenting a creative opportunity to infuse your drawing with vibrancy and realism. Whether you're aiming for a lifelike portrayal or adding your artistic flair, follow these steps to breathe life into your wolf illustration:
Step 1: Choose Your Color Palette
Before you begin, consider the color palette that resonates with the wolf you wish to portray. Gray wolves are common, but wolves can also have brown, black, and reddish tones. Gather your coloring tools and select a range of hues that reflect the wolf's natural colors.
Step 2: Base Color for the Fur
Start by applying the base color to the wolf's fur. Begin with light strokes and build up the color gradually. If you're using colored pencils, layer different shades of your chosen color to achieve a realistic depth.
Step 3: Building Shading and Depth
Wolves' fur is characterized by subtle shading that adds depth. Use a slightly darker shade of your chosen color to add shading to areas where the fur would naturally have shadows, such as the underbelly, neck, and behind the ears.
Step 4: Adding Texture with Highlights
Add highlights to the fur to give it texture and dimension. Use a lighter shade of your chosen color or even white to add highlights to areas where light would hit, such as the tips of the fur and the top of the back.
Step 5: Creating Depth with Shadows
Shadows contribute to the three-dimensional quality of your wolf drawing. Visualize the direction of the light source and add shadows accordingly. Use a slightly darker shade of your chosen color to add shadows beneath the neck, legs, and around the paws.
Step 6: Detailing the Eyes and Features
Wolves' eyes are expressive and captivating. Color the eyes with shades that complement the fur color, and add darker tones around the eyes to enhance their depth. Fill in the nose with a shade that matches the fur color and bring out the details of the mouth and sharp teeth.
Step 7: Highlighting the Fur Texture
To emphasize the texture of the fur, use a light touch to add short, fine strokes in the direction of the fur growth. This technique mimics the appearance of individual fur strands and adds realism to your drawing.
Step 8: Consider the Background
Think about the atmosphere you want to create for your wolf drawing. You can leave the background blank to focus solely on the wolf or add a simple background that complements the mood of the artwork.
Step 9: Final Details and Review
As you near completion, review your colored wolf drawing. Make any final adjustments to shading, highlights, and details. Ensure that the colors blend harmoniously and that your wolf's fur looks rich and textured.
Conclusion
Drawing a wolf is a journey that taps into our fascination with the wild and untamed. By following this comprehensive guide, you can create a striking wolf drawing that captures the spirit of these magnificent creatures. Embrace the chance to explore their anatomy, master the details that define them, and let your creativity flow as you add your personal touch to the artwork. Drawing wolves is not just about replicating their appearance; it's about embodying their strength, grace, and enigmatic aura on paper. So, gather your drawing tools, immerse yourself in the world of wolves, and relish the process of transforming blank pages into a masterpiece that pays homage to the untamed beauty of nature.