
By Jinee
How To'sDrawing a turkey is a wonderful way to celebrate the Thanksgiving season and embrace the spirit of gratitude and creativity. Whether you're an aspiring artist eager to capture the charm of this iconic bird or a seasoned illustrator seeking to master the art of turkey drawing, this comprehensive step-by-step guide will lead you through the process of creating a captivating and festive turkey illustration. From understanding turkey anatomy to adding intricate details and colors, let's embark on a creative journey to draw a turkey that embodies the warmth and joy of Thanksgiving.
Materials Needed
Before you begin drawing a turkey, gather the following materials:
1. Drawing paper or sketchbook
2. Pencils (HB, 2B, and 4B are recommended for different tones)
3. Eraser
4. Sharpener
5. Colored pencils, markers, watercolors, or other coloring tools (optional)
Step 1: Grasping Turkey Anatomy
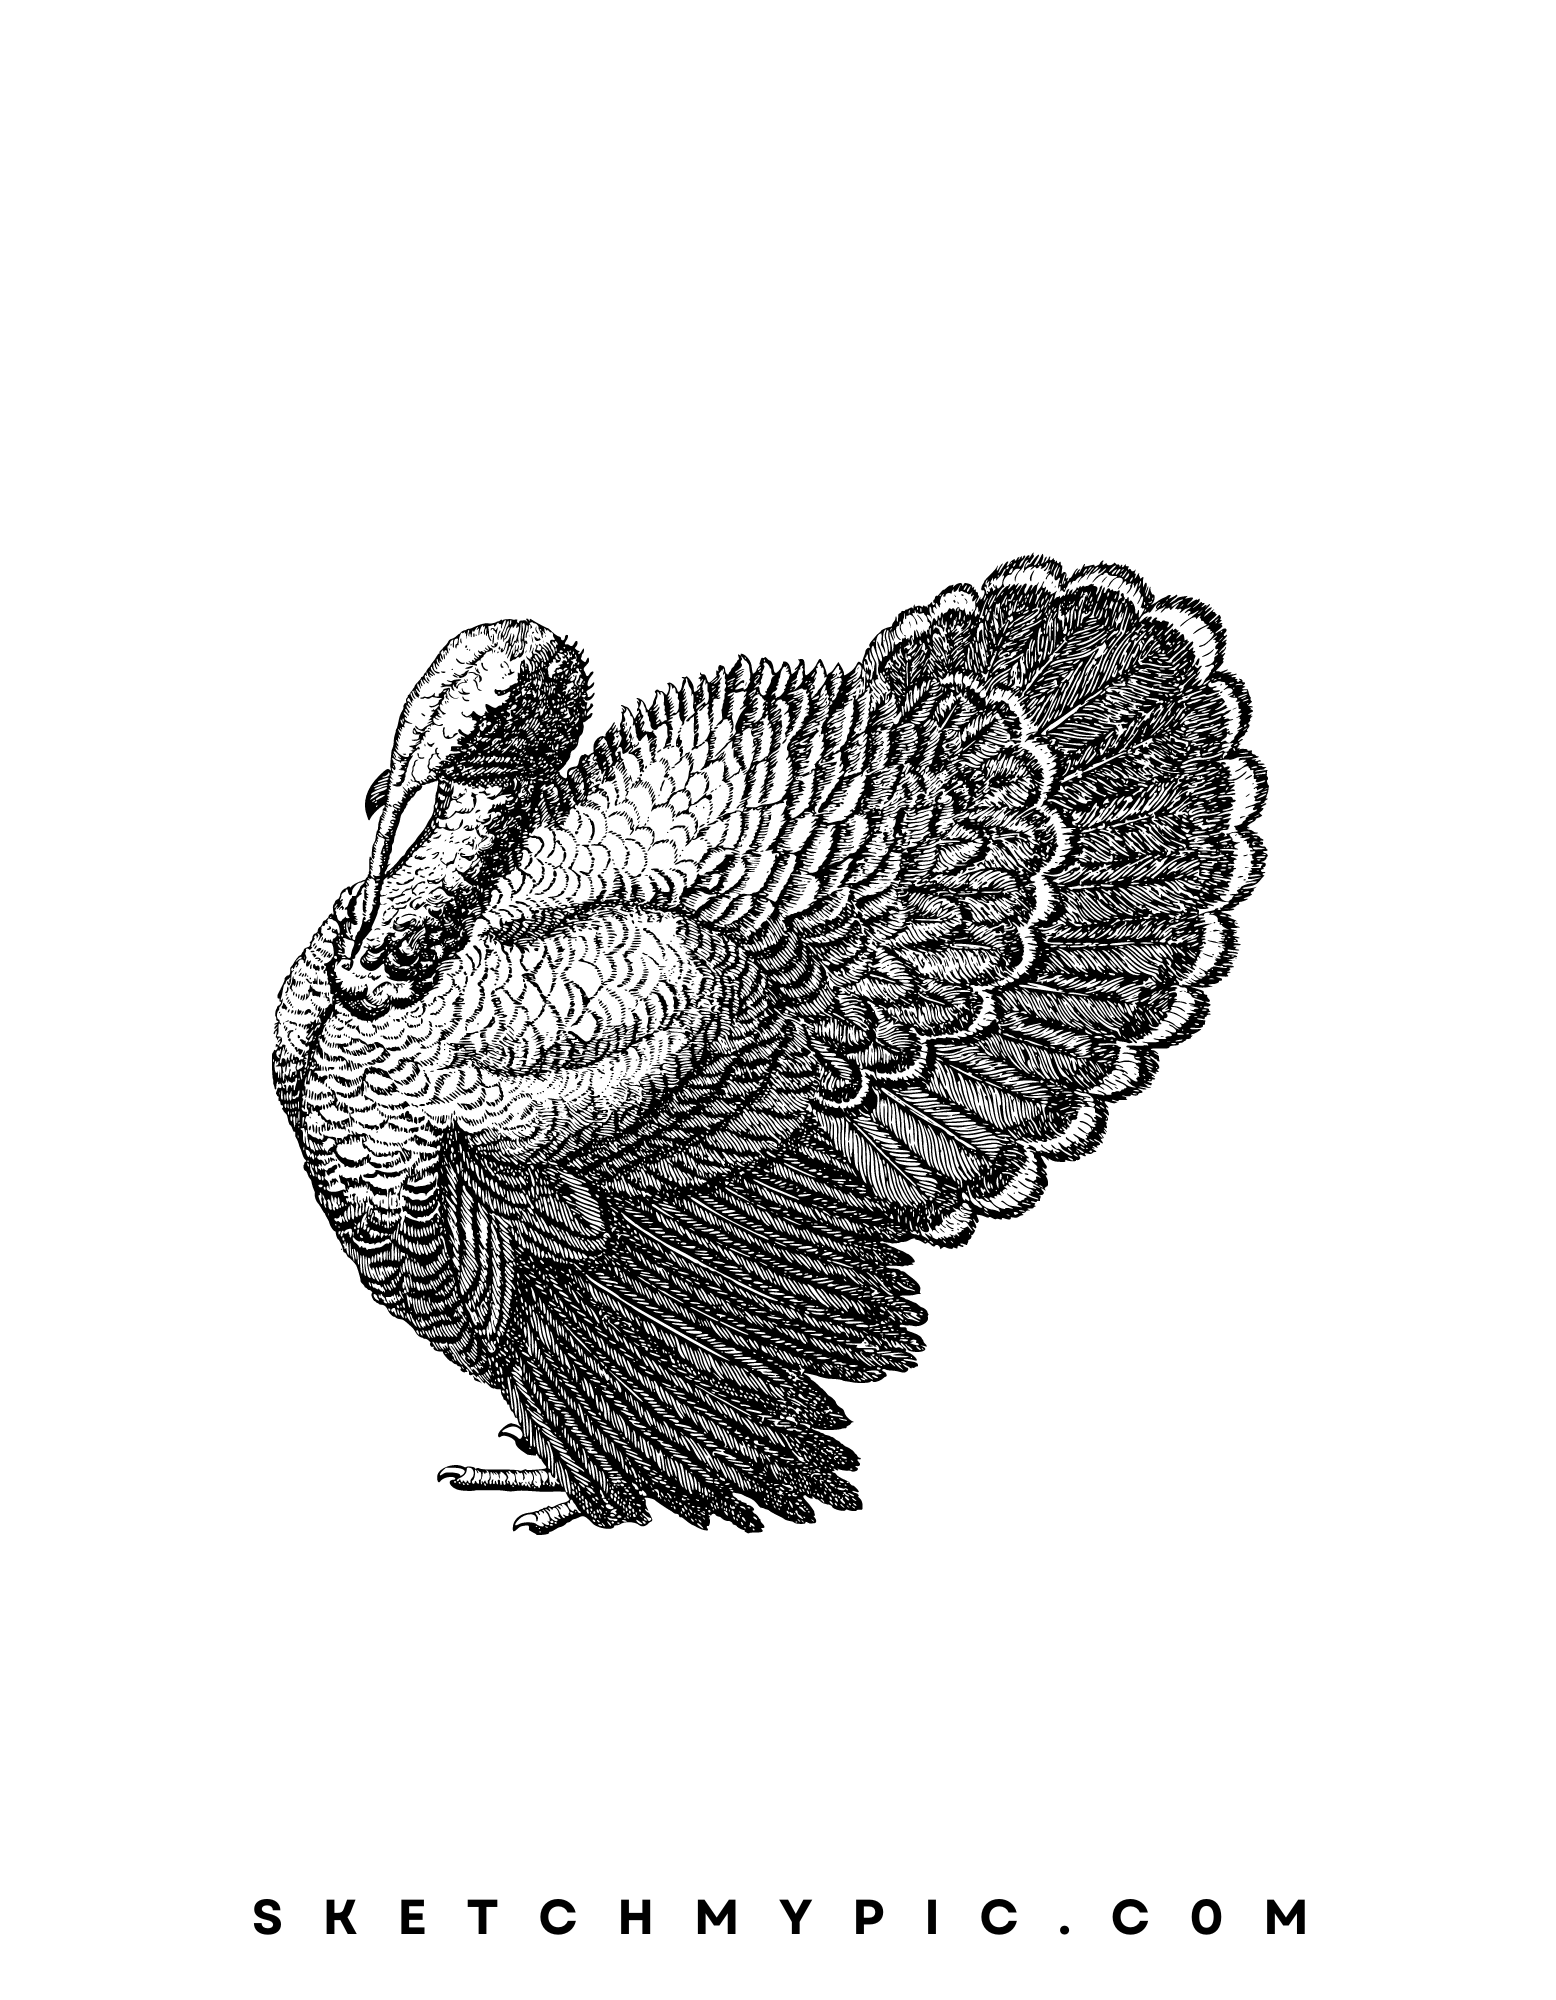
Start by understanding the basic anatomy of a turkey. Visualize the shape of the body, wings, tail feathers, and head. Familiarize yourself with the characteristic features that make a turkey unique, such as its wattle and snood.
Step 2: Outlining the Body
Using a pencil, lightly outline the body of your turkey. Draw a large oval shape that will serve as the main body. This shape will act as the foundation upon which you'll build the rest of the turkey's features.

Step 3: Adding the Neck and Head
Sketch the neck and head of the turkey, extending from one end of the oval body shape. The neck should curve gracefully, and the head should be small and circular. Include a wattle (the flap of skin under the turkey's neck) and a snood (the fleshy protuberance that dangles from the turkey's forehead).
Step 4: Creating the Tail Feathers
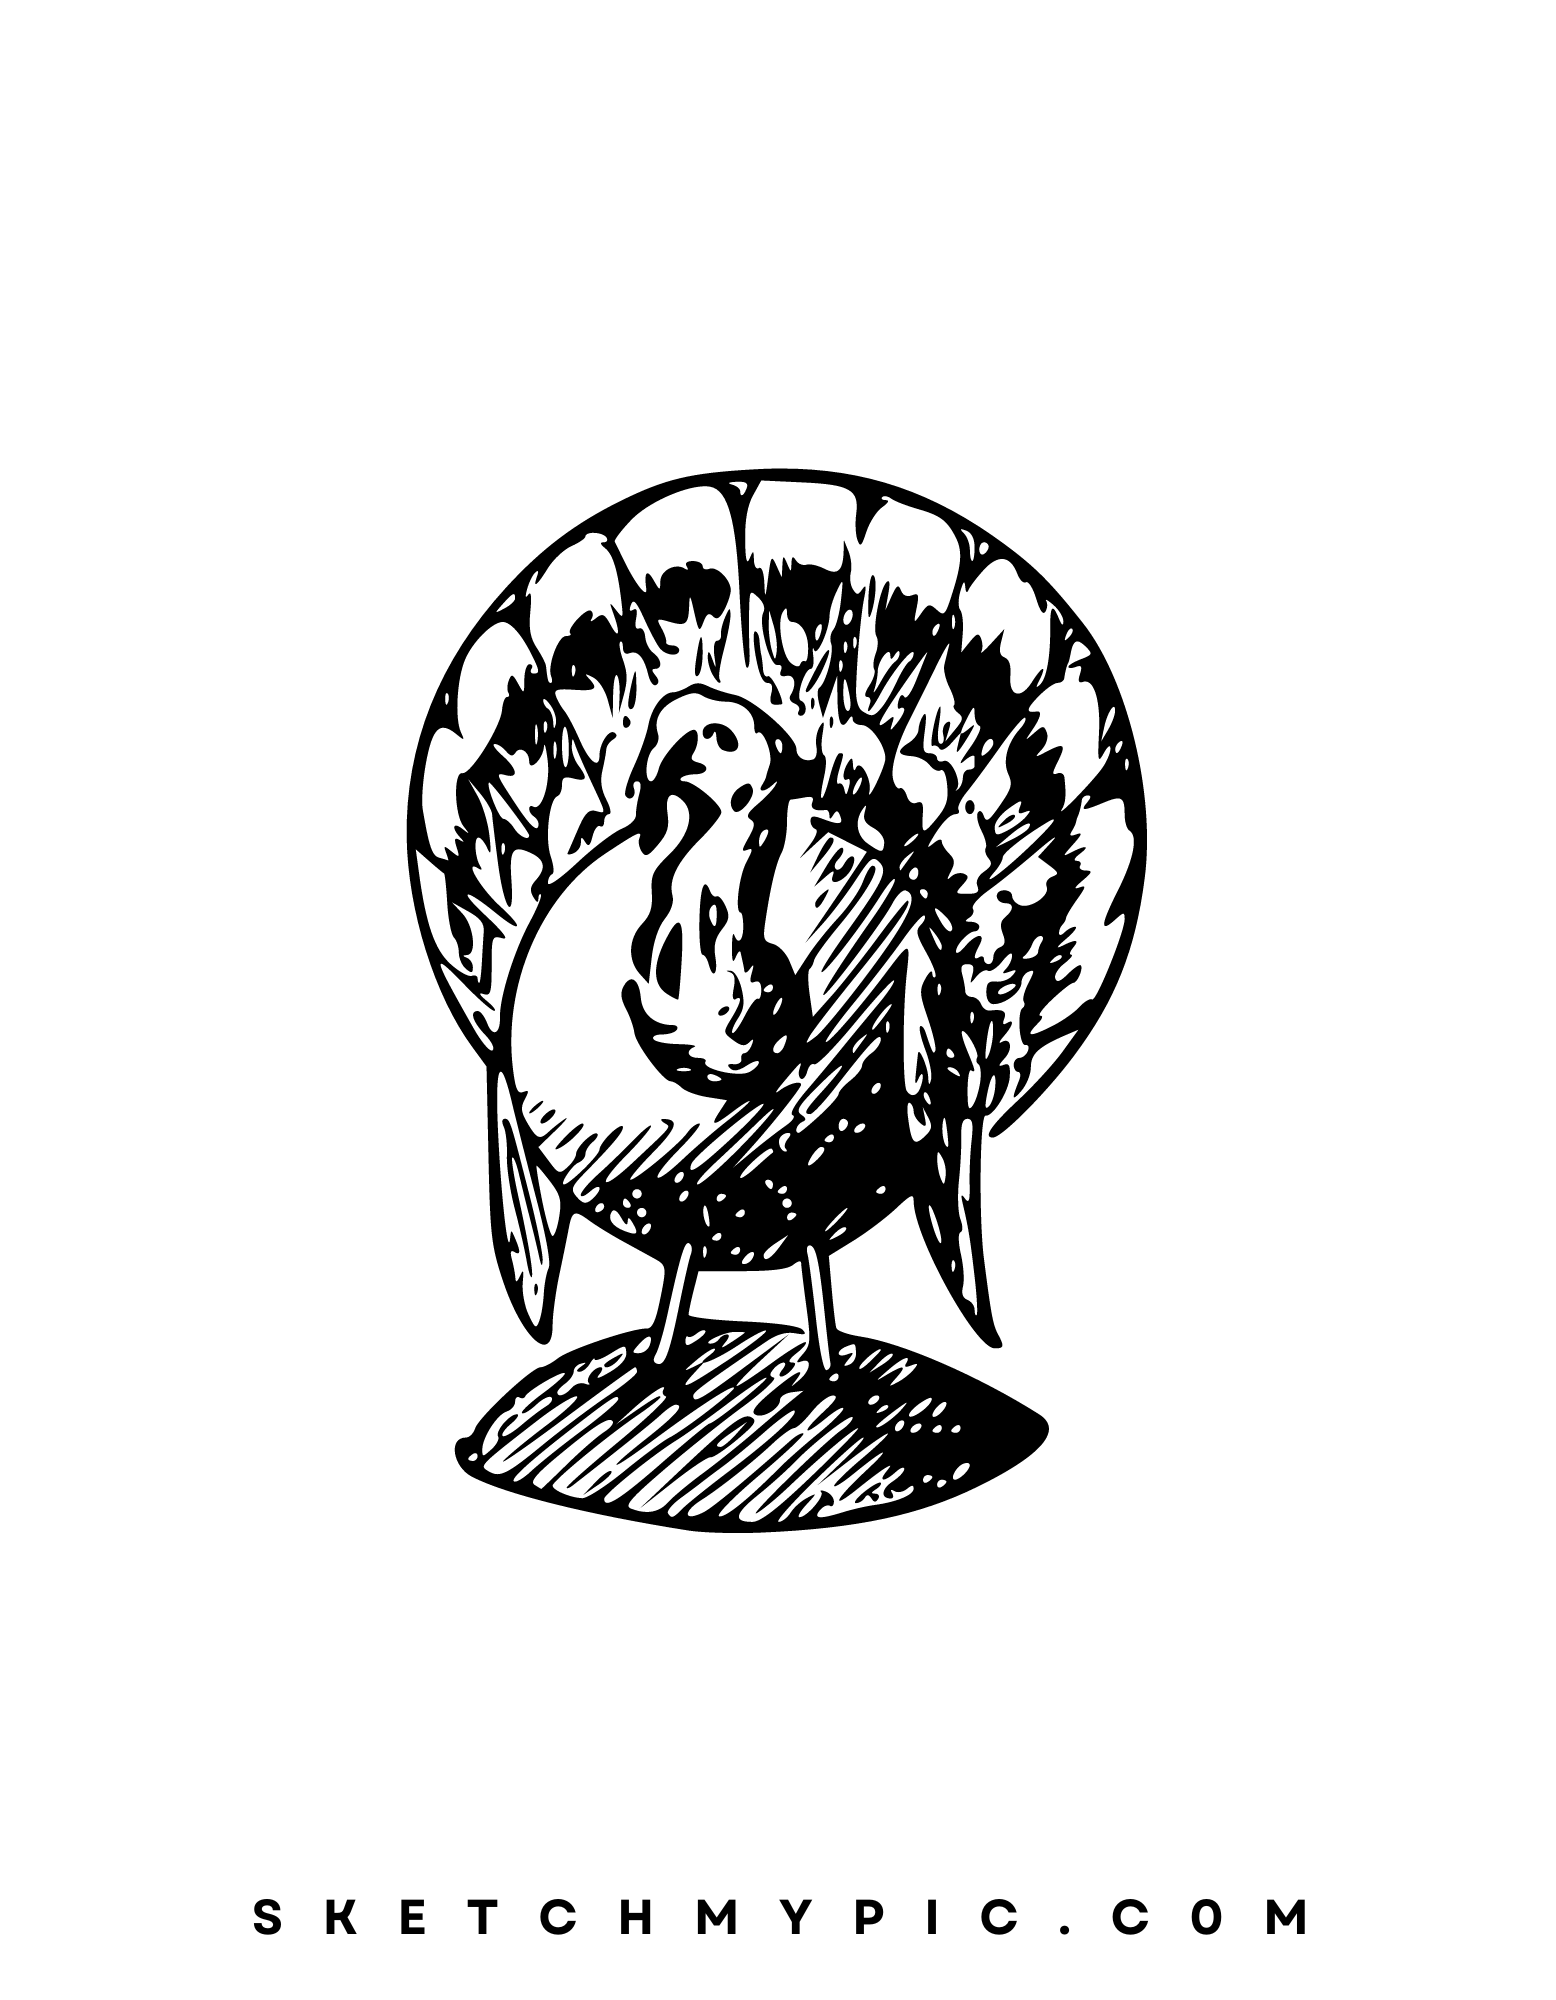
Draw the tail feathers of the turkey by extending lines outward from the opposite end of the oval body shape. The tail feathers should fan out in an impressive display. Visualize how the feathers overlap and curve to create a voluminous appearance.
Step 5: Sketching the Wings
Add the wings to your turkey drawing. Draw two curved lines on each side of the turkey's body, where the wings would naturally attach. Keep the wings relatively short compared to the tail feathers.
Step 6: Designing the Face
Draw the turkey's face, focusing on the beak and eyes. The beak should be triangular in shape and situated near the base of the head. Draw the eyes above the beak, giving the turkey an expressive and endearing appearance.
Step 7: Adding Texture and Details
To bring your turkey to life, add texture and details to the feathers, beak, and other features. Use short, curved lines to simulate the texture of feathers. Pay attention to the arrangement of the tail feathers and the layered look they create.
Step 8: Coloring Your Turkey (Optional)
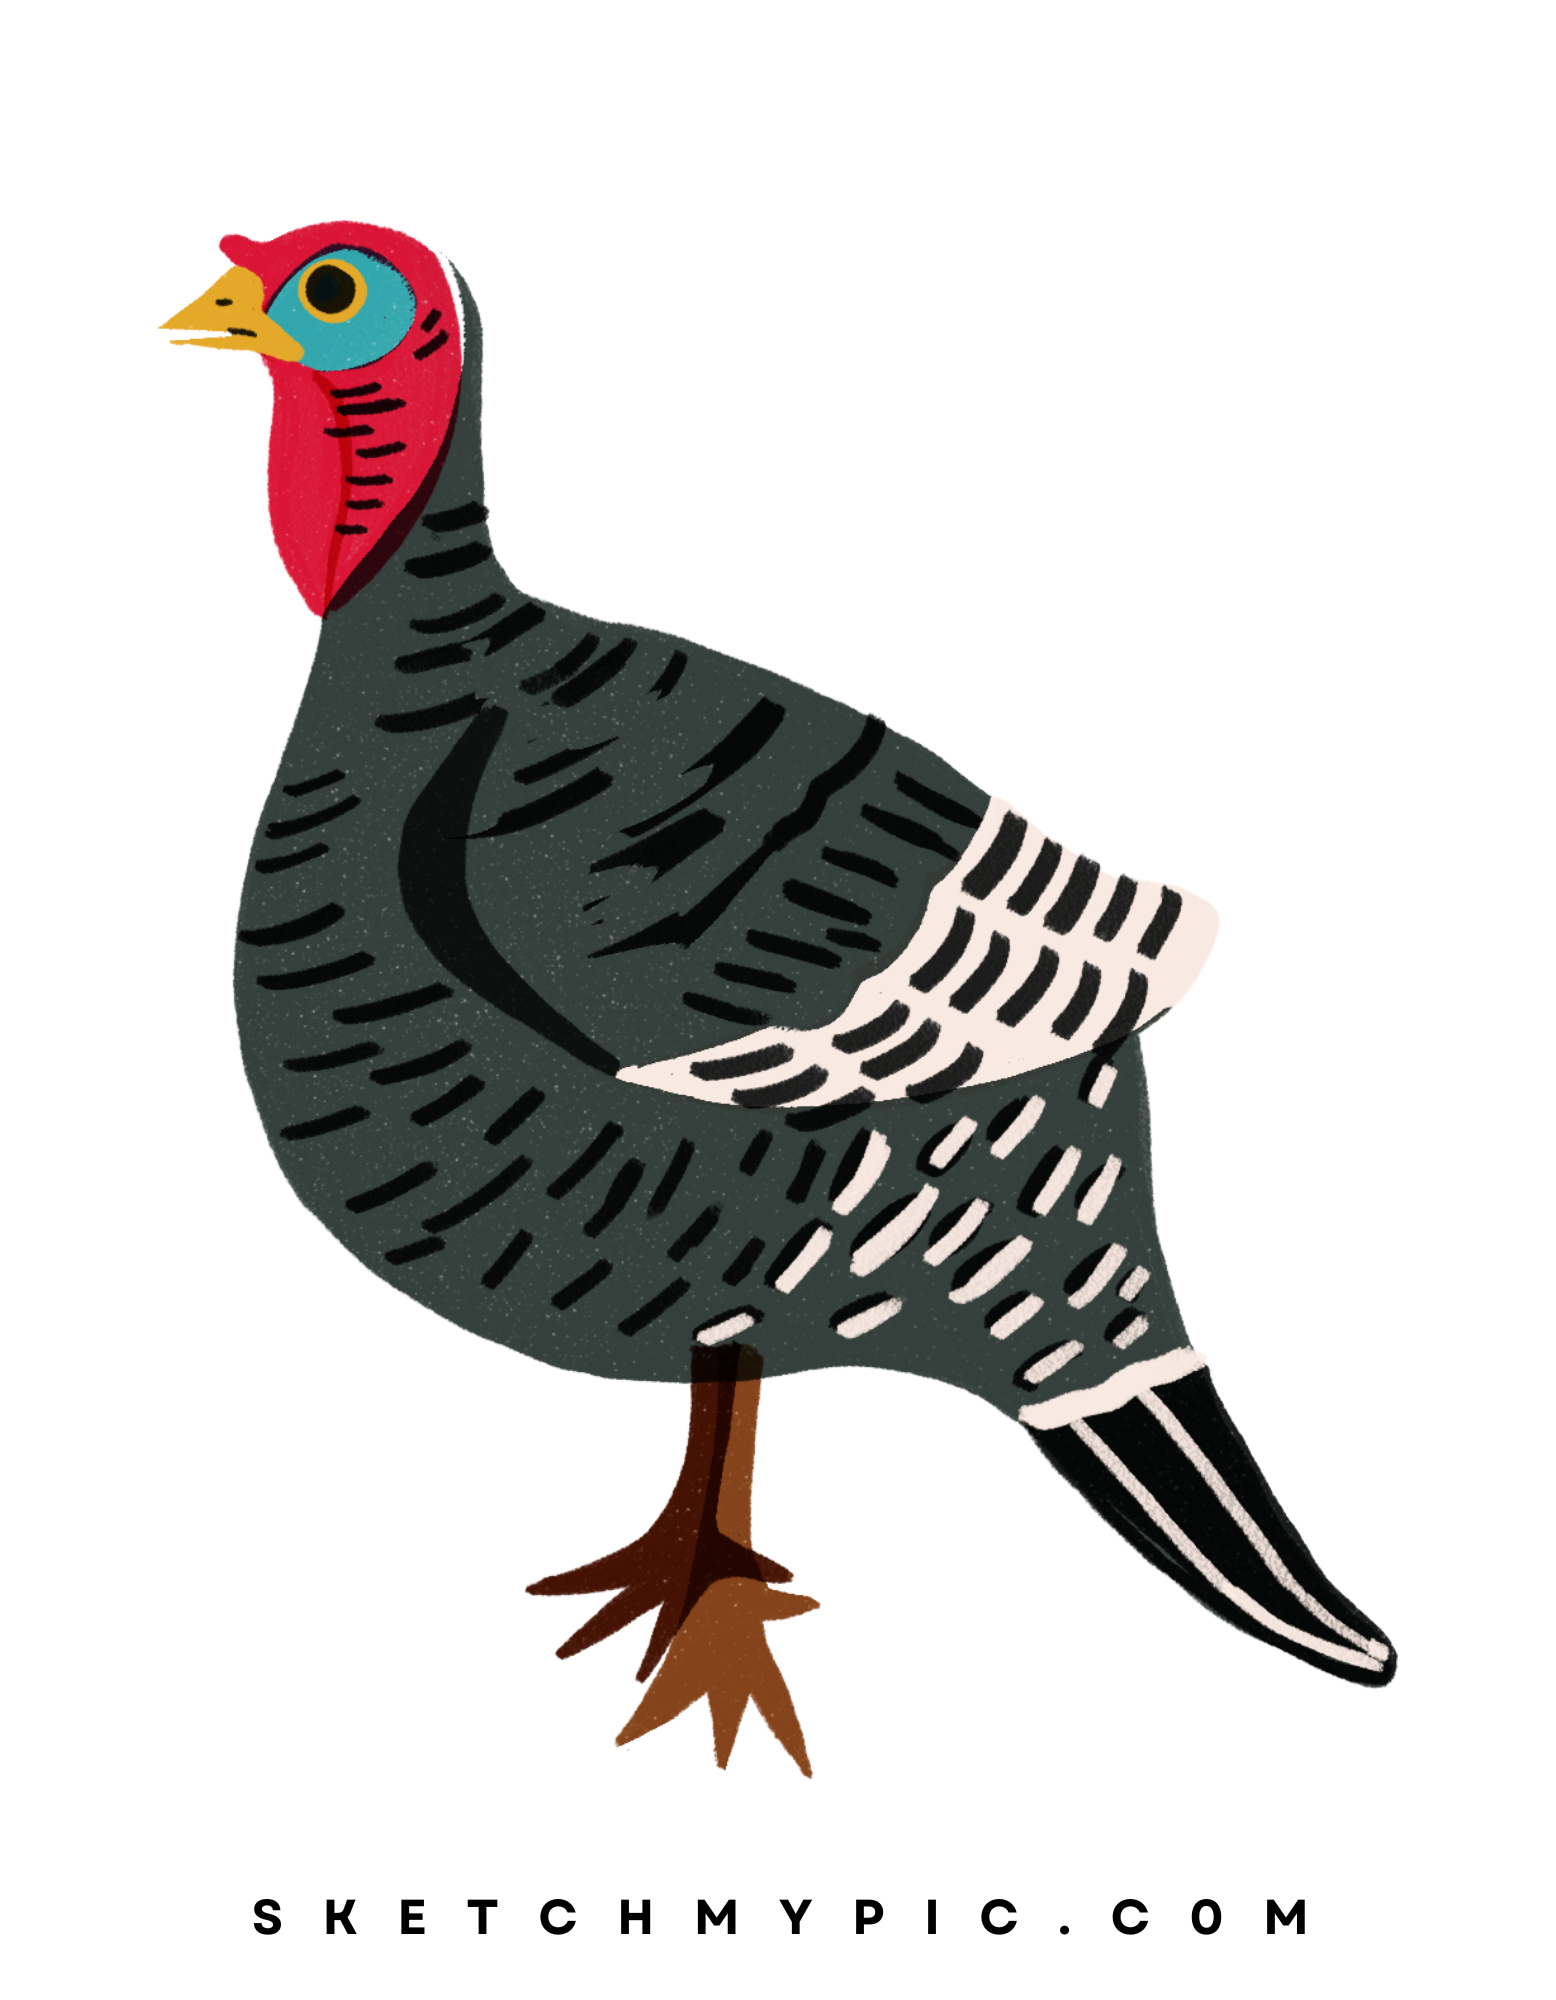
If you choose to add color to your turkey drawing, consider the natural coloration of turkeys. They are often depicted with shades of brown, black, and white. Use colored pencils, markers, watercolors, or other coloring tools to capture the rich colors of the turkey's feathers.
Step 9: Enhancing with Shadows and Highlights
Shading is crucial for adding depth and dimension to your turkey drawing. Visualize the direction of the light source and apply shading accordingly. Use a slightly darker shade of your chosen color to add shadows, and a lighter shade or even white to add highlights to areas that catch the light.
Step 10: Final Touches and Refinements
As you approach the final stages of your turkey drawing, step back and assess the overall composition. Ensure that the lines are clean, the proportions are accurate, and the turkey exudes the charm and character of this beloved bird. Make any necessary refinements to achieve a polished result.
Vibrant Feathers and Warm Hues: Coloring Your Turkey Drawing
Coloring your turkey drawing brings a burst of life and personality to this iconic bird. The colors you choose can evoke the warmth and rustic charm associated with turkeys, transforming your artwork into a vibrant celebration of Thanksgiving. Whether you're aiming for a realistic depiction or adding a touch of creative flair, follow these steps to infuse your turkey illustration with captivating hues:
Step 1: Select Your Color Palette
Before you begin coloring, decide on the color palette that best captures the essence of a turkey. Traditional turkey colors include various shades of brown, black, and white. Research reference images of turkeys to accurately match the hues of their feathers.
Step 2: Base Color for the Body
Start by applying the base color to the turkey's body. Use light, even strokes to cover the body with the chosen color. If you're using colored pencils or markers, consider layering multiple shades to achieve a textured and realistic look.
Step 3: Adding Depth with Shading
Shading is essential for creating a sense of depth in your turkey drawing. Visualize the direction of the light source and imagine where shadows would naturally fall. Use a slightly darker shade of your base color to add shading to areas that would be in shadow, such as beneath the feathers and along the contours of the body.
Step 4: Introducing Highlights
Highlights contribute to the realism and texture of the turkey's feathers. Identify the areas where the light source hits the feathers, such as the tops of the wing feathers and the tips of the tail feathers. Use a lighter shade of your base color or even white to add highlights that mimic the reflection of light.
Step 5: Feather Texture
To make your turkey's feathers more authentic, add texture using short, curved strokes. This technique mimics the look of individual feathers and enhances the three-dimensional quality of your drawing. Apply these strokes following the natural direction of the feathers.
Step 6: Detailing the Face
Color the turkey's face, focusing on the beak, eyes, wattle, and snood. Use shades that match the bird's natural colors. Add dimension to the eyes by using darker shades to create pupils, and lighter shades for reflections.
Step 7: Varying Feather Colors
Turkeys often have a range of colors in their feathers, with shades of brown and black. Experiment with blending different shades to capture the unique patterns and hues of the feathers. This variation adds realism to your turkey drawing.
Step 8: Shading for Dimension
Continue adding shading to the feathers, especially where they overlap. This shading adds depth and dimension to your turkey's plumage. Keep in mind the direction of the light source as you shade.
Step 9: Adding Vibrancy to Details
Use rich colors to bring the wattle and snood to life. These features can be depicted in shades of red and pink to create a vibrant and realistic appearance.
Step 10: Background and Final Touches
Consider the background of your drawing when selecting colors for your turkey. Choose a background that complements the colors of the turkey and enhances the overall composition. As you approach the final stages of coloring, step back and assess the overall appearance. Ensure that the colors are well-blended, the shading is realistic, and the turkey embodies the charm and character of this beloved bird.

Conclusion
Drawing a turkey allows you to embrace the spirit of Thanksgiving and create an artwork that embodies gratitude and creativity. By following this step-by-step guide, you can create turkey illustrations that evoke the warmth and joy of the season. Embrace the opportunity to experiment with different textures, colors, and details to capture the unique beauty of turkeys. Drawing turkeys allows you to celebrate tradition, express thankfulness, and share the spirit of Thanksgiving through your art. So, gather your drawing tools, immerse yourself in the world of turkeys, and delight in the art of bringing a festive and captivating turkey to life on your canvas!


