By Jinee
How To'sTrees have long been a symbol of life, growth, and strength in art and culture. Drawing a tree may seem like a daunting task, but with the right guidance and practice, you can create a stunning tree illustration that captures the beauty of nature.
In this comprehensive step-by-step guide, we will walk you through the process of drawing a tree, from basic shapes to adding intricate details.
So, grab your sketchbook and pencils as we embark on an artistic journey to create a lifelike tree drawing!
Materials Needed
Before you start drawing, gather the following materials:
1. Drawing paper or sketchbook
2. Pencils (HB, 2B, and 4B are recommended for different tones)
3. Eraser
4. Sharpener
5. Ruler (optional but helpful for straight lines)
6. Blending tool or tissue (optional for shading)
Step 1: Basic Outline
Begin by drawing a simple guideline to determine the tree's size and proportions. Draw a vertical line for the tree's trunk and a round or oval shape at the top to represent the tree's canopy. The trunk's length and the canopy's size can vary depending on the type of tree you wish to draw, so feel free to adjust the proportions accordingly.
Step 2: Sketching the Trunk
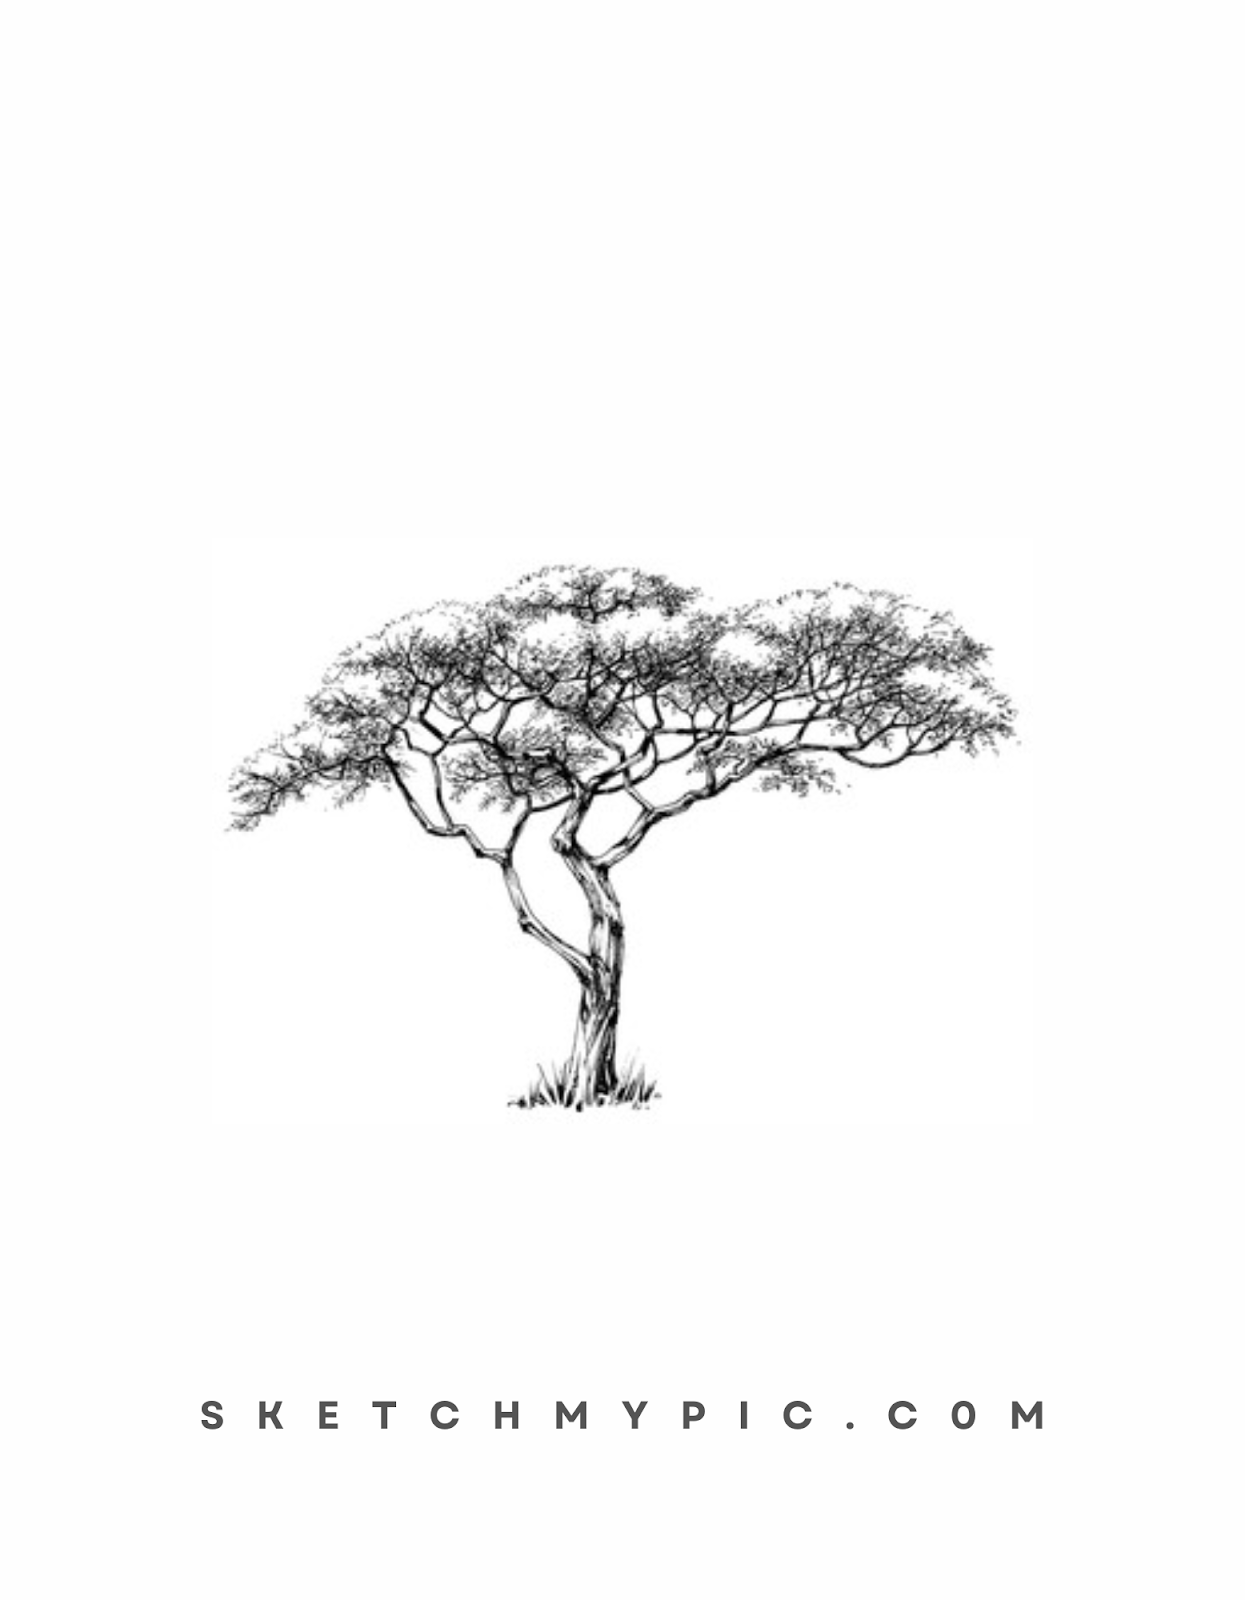
Now, focus on refining the tree's trunk. Using your preferred pencil (HB or 2B), draw the outline of the trunk, making it wider at the base and gradually tapering towards the top. Trees have different trunk textures, so consider adding subtle curves, knots, or lines to depict the tree's age and character.
Step 3: Creating the Canopy
Moving on to the canopy, start by adding branches to the tree. Draw several lines branching out from the main trunk. Vary the length and thickness of the branches to create a natural look. Keep in mind that younger trees may have smoother, more delicate branches, while older trees may have thicker and more textured ones.
Step 4: Drawing the Leaves
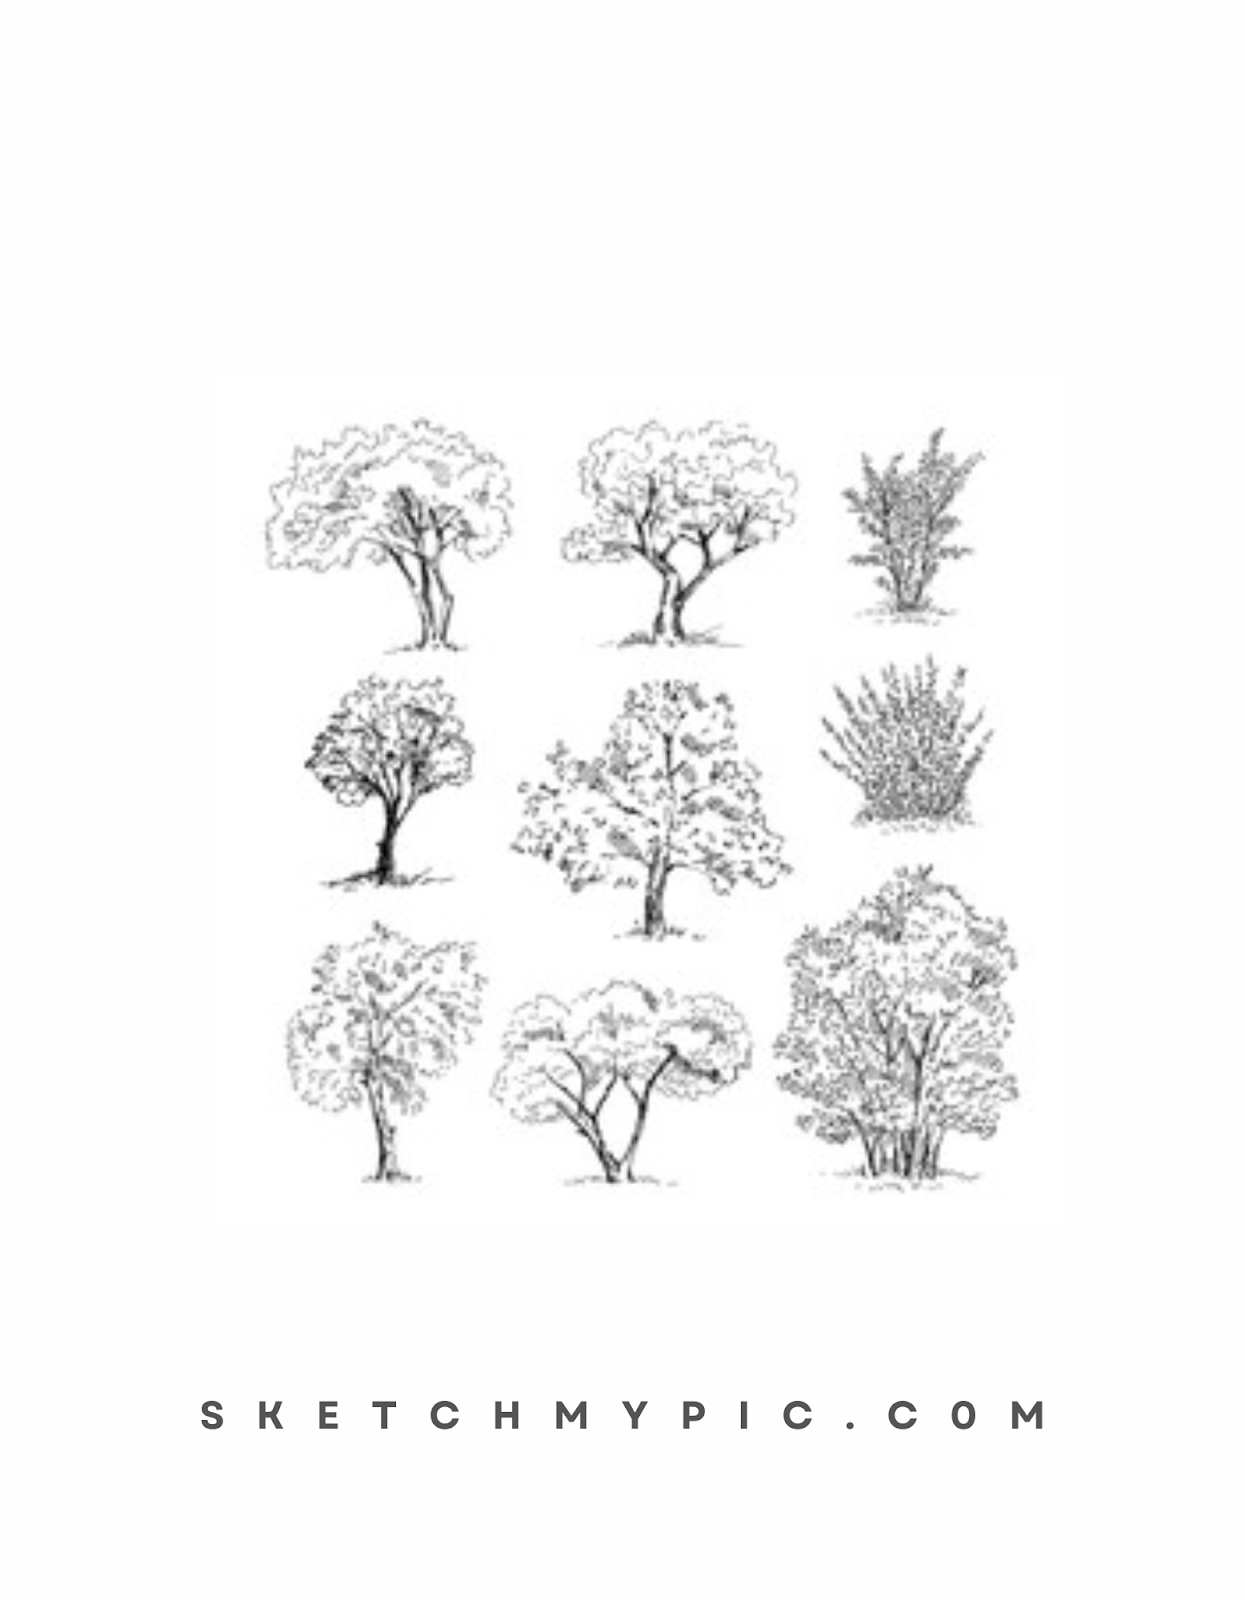
With the branches in place, it's time to draw the leaves. Different trees have distinct leaf shapes and arrangements. For example, an oak tree has lobed leaves, while a pine tree has needle-like leaves. Choose the tree type you wish to draw and add the appropriate leaf shapes to the branches. Use short strokes to represent clusters of leaves, and avoid drawing individual leaves as it can be overwhelming and distract from the overall look of the tree.
Step 5: Shading and Adding Depth
Shading is essential to give your tree drawing a three-dimensional appearance. Determine the direction of the light source, and imagine where the shadows would fall. Use your 2B or 4B pencil to shade the areas that are away from the light source, such as the undersides of the branches and the trunk's side opposite the light. This will create depth and make your tree appear more realistic.
Step 6: Adding Highlights
To further enhance the three-dimensional effect, add highlights to your tree drawing. Identify the areas that would catch the most light, such as the top of the canopy and the outer edges of the branches. Use your eraser to gently remove some graphite from these areas, creating the illusion of light reflecting off the tree's surface.
Step 7: Texturing the Trunk and Branches
Trees have unique textures on their trunks and branches. To mimic this texture, use your pencil to add short lines, dashes, or curves to the trunk and branches. This will give your tree drawing a more organic and realistic appearance.
Step 8: Detailing the Bark
If you're drawing a tree with visible bark, take some time to add bark details. Use your pencil to add irregular lines, cracks, and rough patches to the trunk. These details will add character to the tree and make it visually interesting.
Step 9: Final Touches
Review your tree drawing and make any final adjustments. Check if the proportions are correct, the shading is well-balanced, and the overall tree looks pleasing. Take your time to refine any areas that need improvement.
Coloring Your Tree Drawing
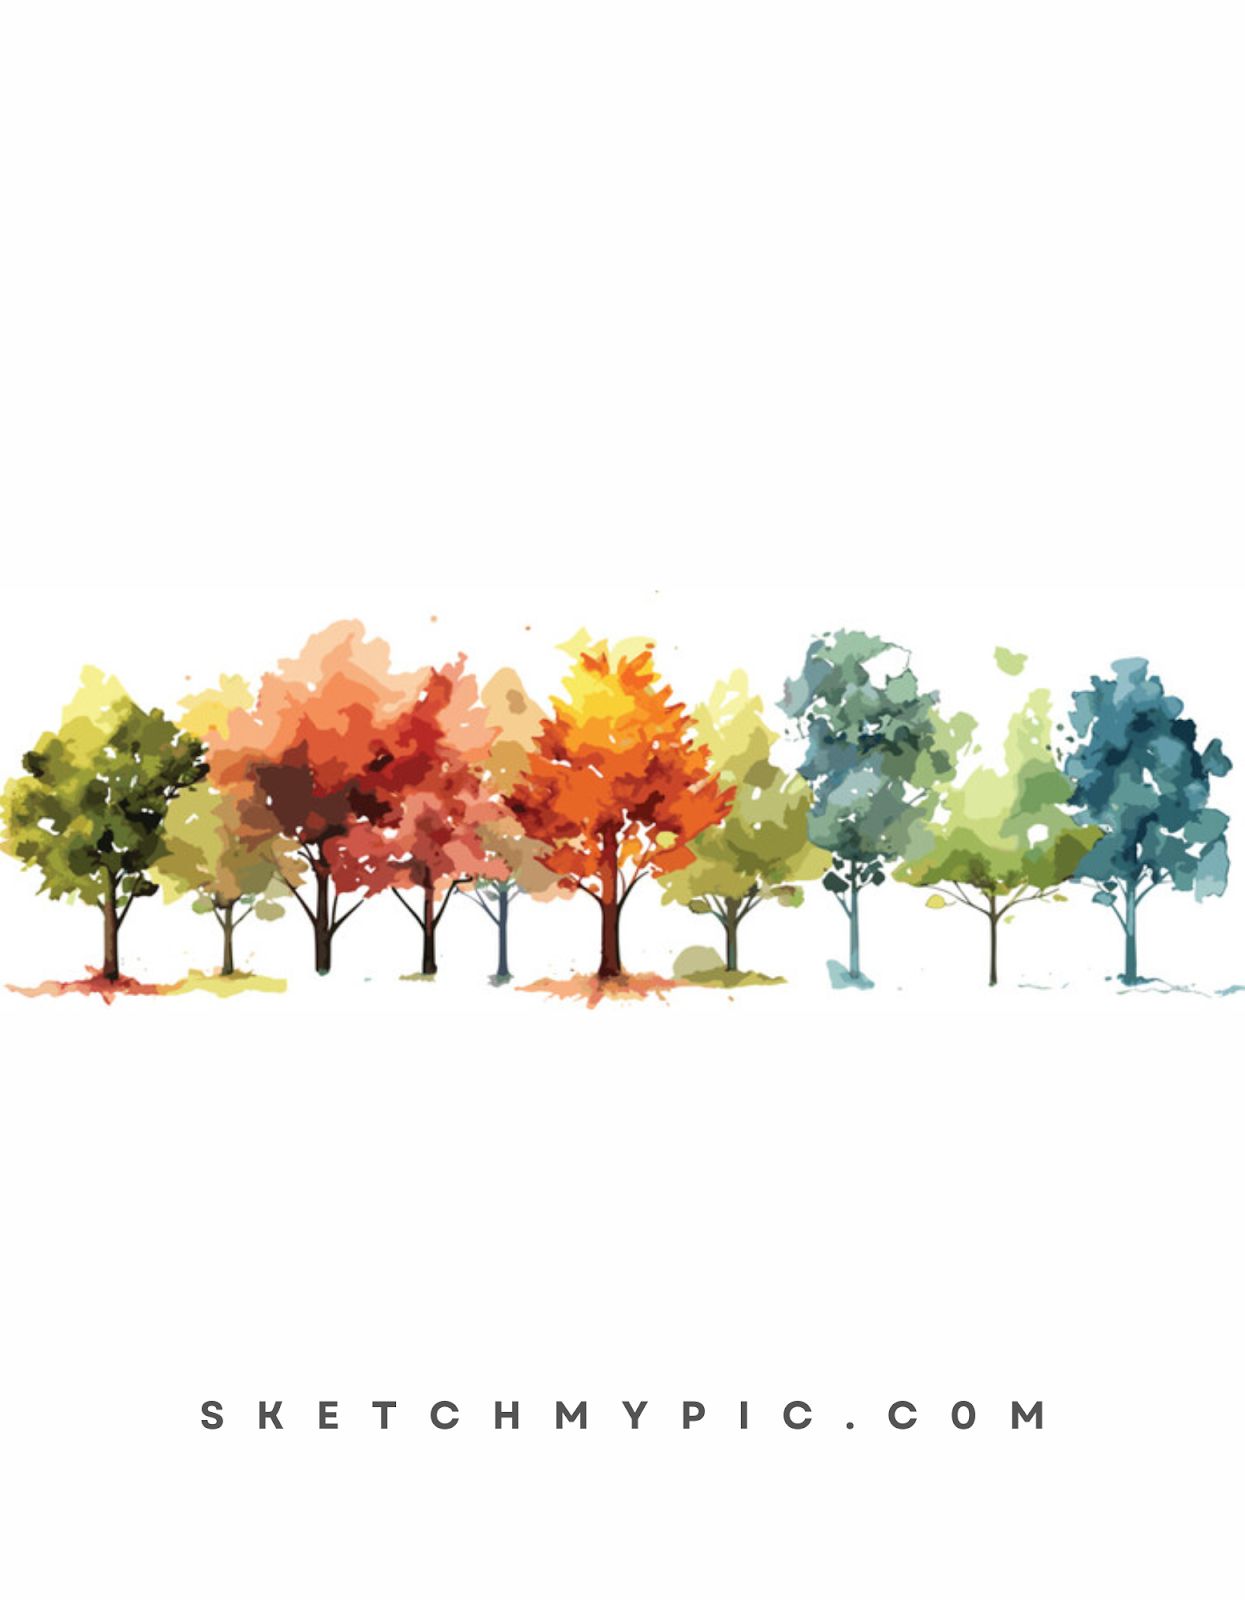
Coloring your tree drawing is an exciting step that allows you to infuse your artwork with nature's vibrant hues. Adding color to your tree will breathe life into the illustration and create a captivating visual experience. Whether you choose to depict a lush green canopy, the warm tones of autumn, or a dreamy, surreal landscape, follow these steps to color your tree drawing:
Step 1: Selecting Your Color Palette
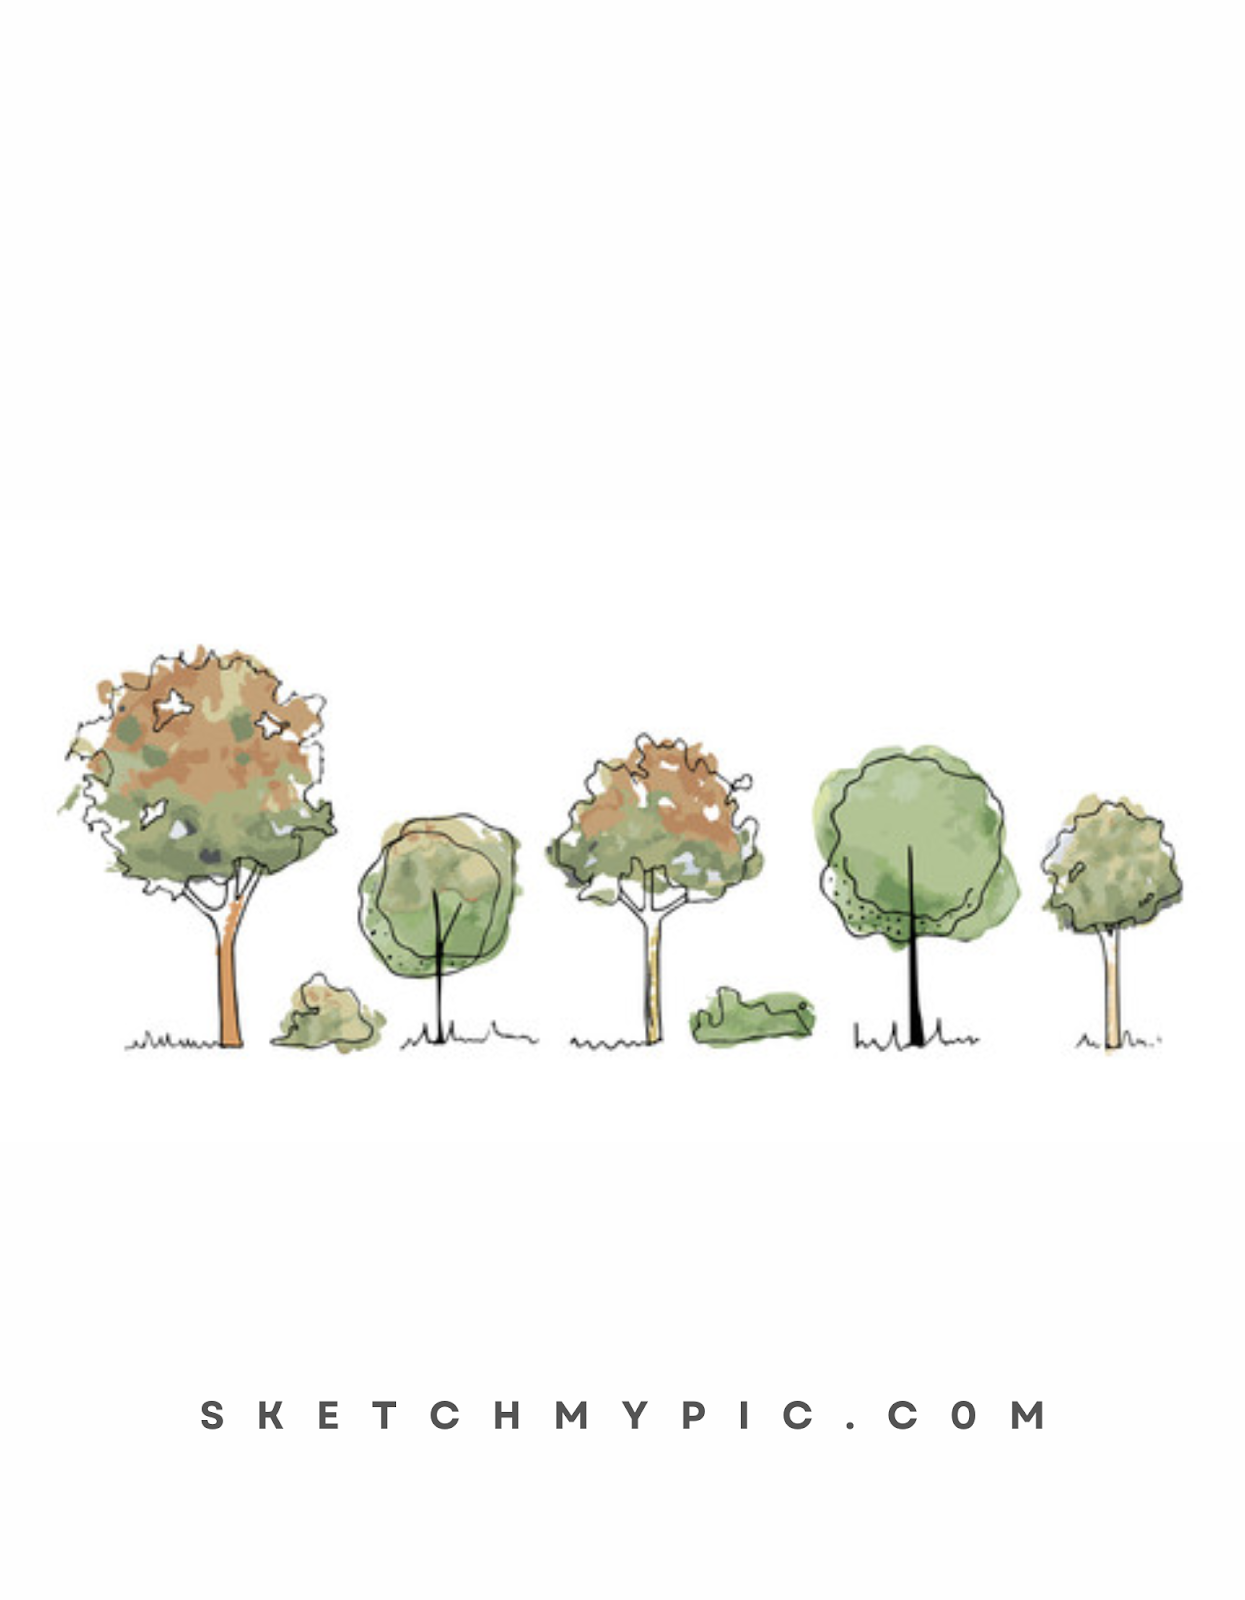
Before you start coloring, decide on the color palette that suits your artistic vision. For a classic representation, greens and browns are the go-to colors for the leaves and trunk, respectively. However, feel free to explore different color schemes to evoke specific moods or settings. Colored pencils, watercolor paints, or digital coloring tools work well for this step, depending on your preferred medium.
Step 2: Coloring the Leaves
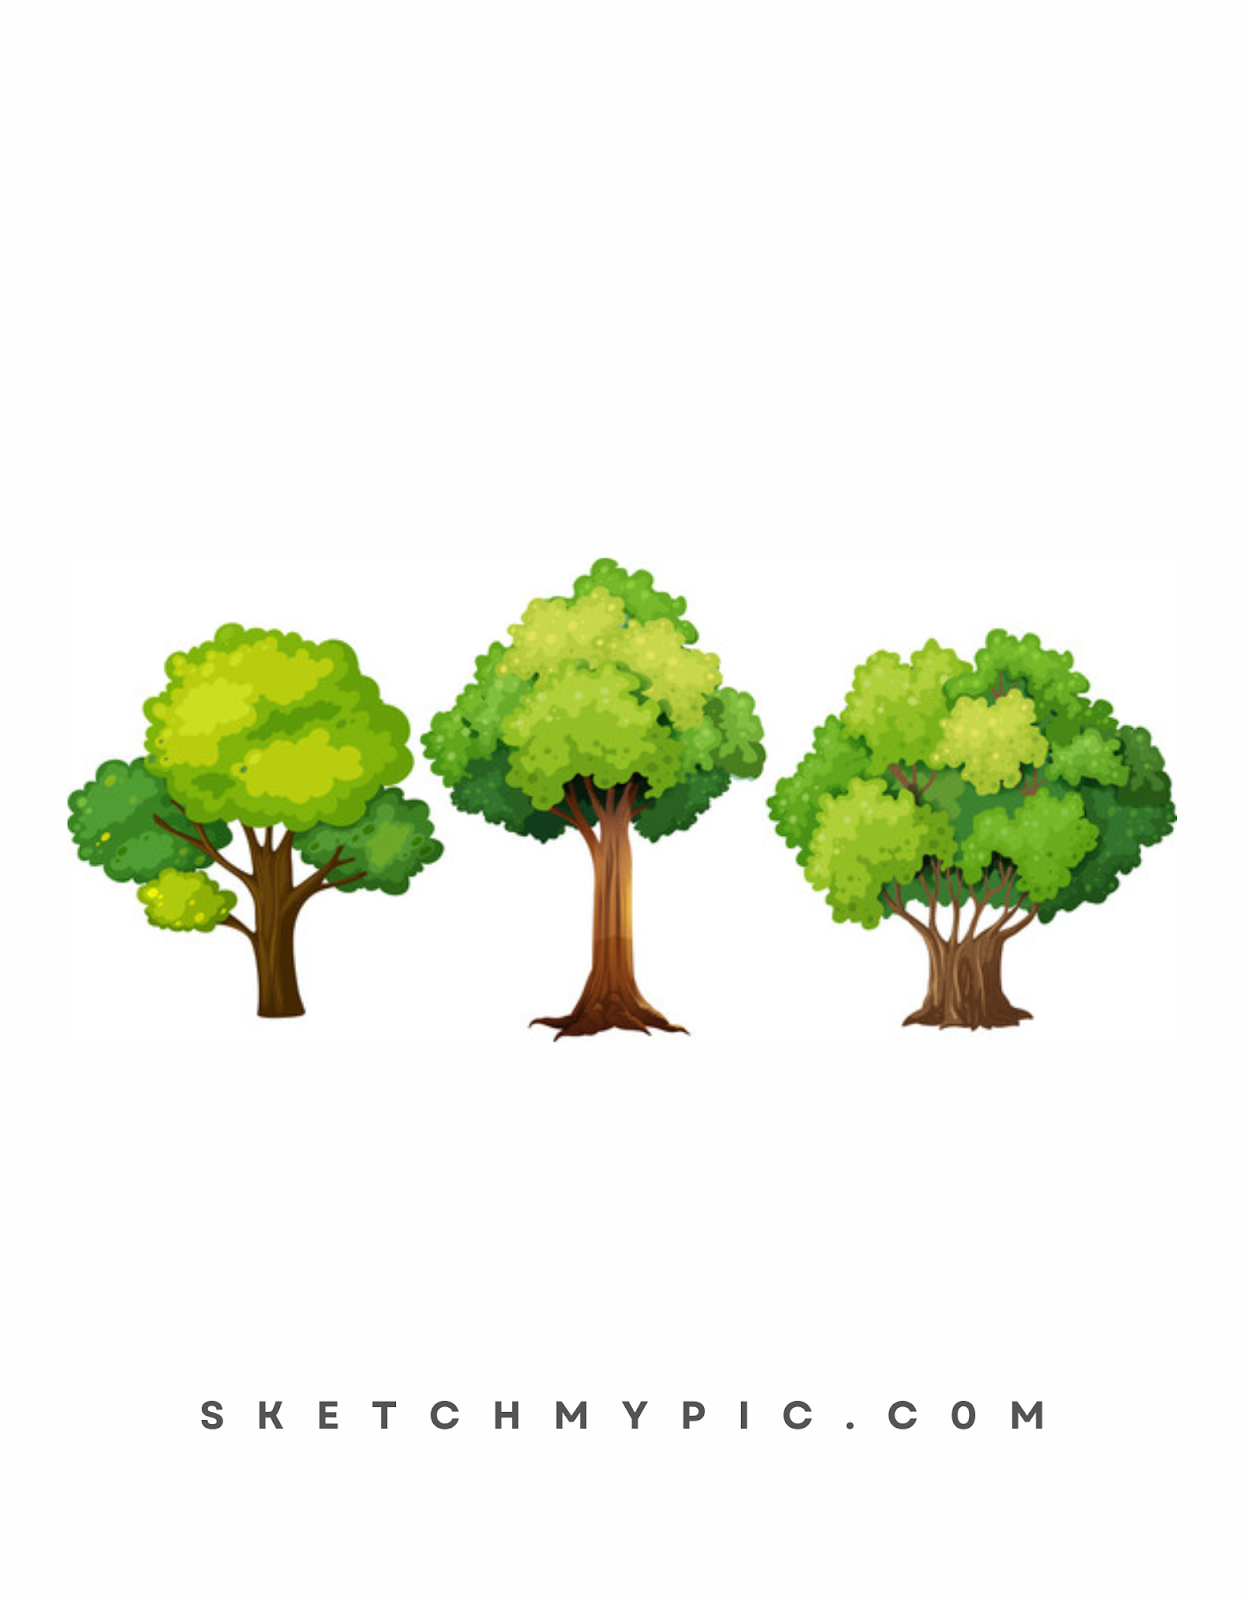
Begin by adding the base color to the tree's leaves. For a traditional green canopy, layer various shades of green, starting from the base of the branches and working towards the tips. Blend the colors smoothly to achieve a natural gradient. If you're drawing a tree in a different season, like autumn, use warm hues like red, orange, and yellow to represent fall foliage.
Step 3: Enhancing with Highlights and Shadows
To add depth and dimension to the leaves, incorporate highlights and shadows. Identify the direction of the light source in your drawing, and imagine where the sunlight would hit the leaves. Use a lighter shade of green, yellow, or white to add highlights to the leaves' edges or the tops facing the light. For shadows, use a slightly darker shade of green or a complementary color, such as purple or blue, on the underside of the leaves.
Step 4: Coloring the Trunk and Branches
For the trunk and branches, use brown tones to create a realistic look. Add depth by layering different shades of brown, with darker colors on the side opposite the light source. This will create a sense of roundness and three-dimensionality. If your tree has visible bark, consider using a darker shade to add texture and detail.
Step 5: Adding Texture
To achieve a more organic and natural appearance, add texture to your tree's foliage. Use short, scribble-like strokes or small dots to represent the leaf clusters and create a sense of complexity in the canopy. For the trunk, use longer, vertical strokes to mimic the appearance of bark. The combination of different stroke techniques will enhance the tree's overall realism.
Step 6: Exploring Special Effects (Optional)
Depending on your artistic style and creative vision, you may want to add special effects to your tree drawing. This could include adding a soft glow around the leaves to create a dreamy atmosphere, incorporating subtle reflections in water for a serene landscape, or using unconventional colors to give your tree an otherworldly appearance. Allow yourself to experiment and have fun with the creative process.
Step 7: Final Touches
As you near completion, take a moment to review your colored tree drawing and make any final adjustments. Ensure that the colors are well-balanced, the shading is coherent, and the overall look meets your artistic expectations. If you're using colored pencils, consider using a blending tool or tissue to achieve a smoother, unified appearance.
Conclusion
Drawing a tree may appear complex, but with patience and practice, you can create a captivating illustration that celebrates the beauty of nature.
Remember to start with a basic outline and gradually add details and shading to bring your tree to life. Embrace the opportunity to experiment with different tree types, from majestic oaks to graceful willows, to showcase your artistic versatility.
As you refine your tree drawing skills, you'll find joy in capturing the essence of these magnificent symbols of life and strength. So, grab your pencils, let your creativity flourish, and enjoy the art of drawing a tree!