By Jinee
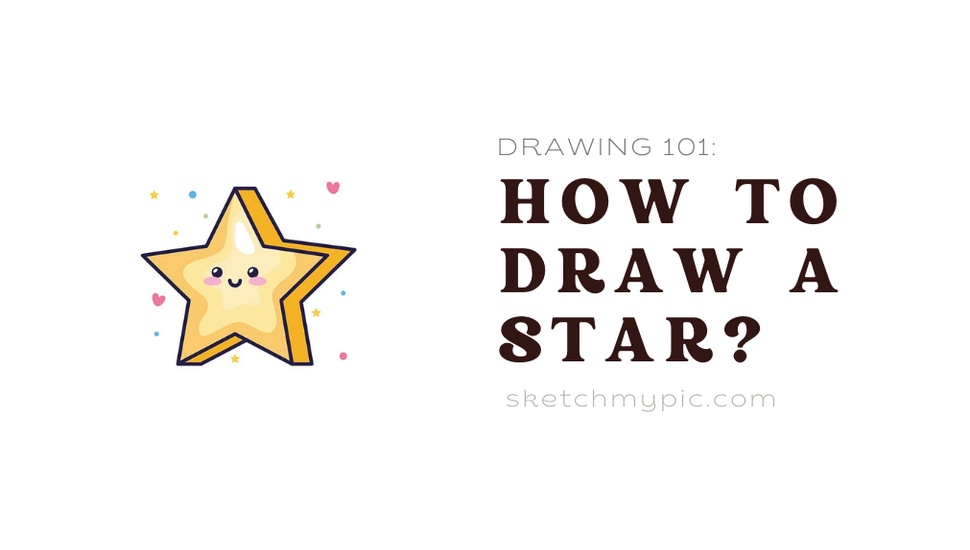
How To'sDrawing a star might seem simple, but capturing its geometric perfection and symbolic significance requires attention to detail and precision. Whether you're a novice artist looking to enhance your skills or an experienced illustrator wanting to master star drawings, this comprehensive step-by-step guide will lead you through the process of creating stunning and captivating star designs. From understanding the basic shapes to exploring various styles and coloring techniques, let's embark on a creative journey to draw stars that shine brightly on your canvas.
Materials Needed
Before you begin drawing a star, gather the following materials:
1. Drawing paper or sketchbook
2. Pencils (HB, 2B, and 4B are recommended for different tones)
3. Eraser
4. Ruler or straight edge
5. Protractor (for precise angles)
6. Compass (for creating circles, optional)
7. Colored pencils, markers, or other coloring tools (optional)
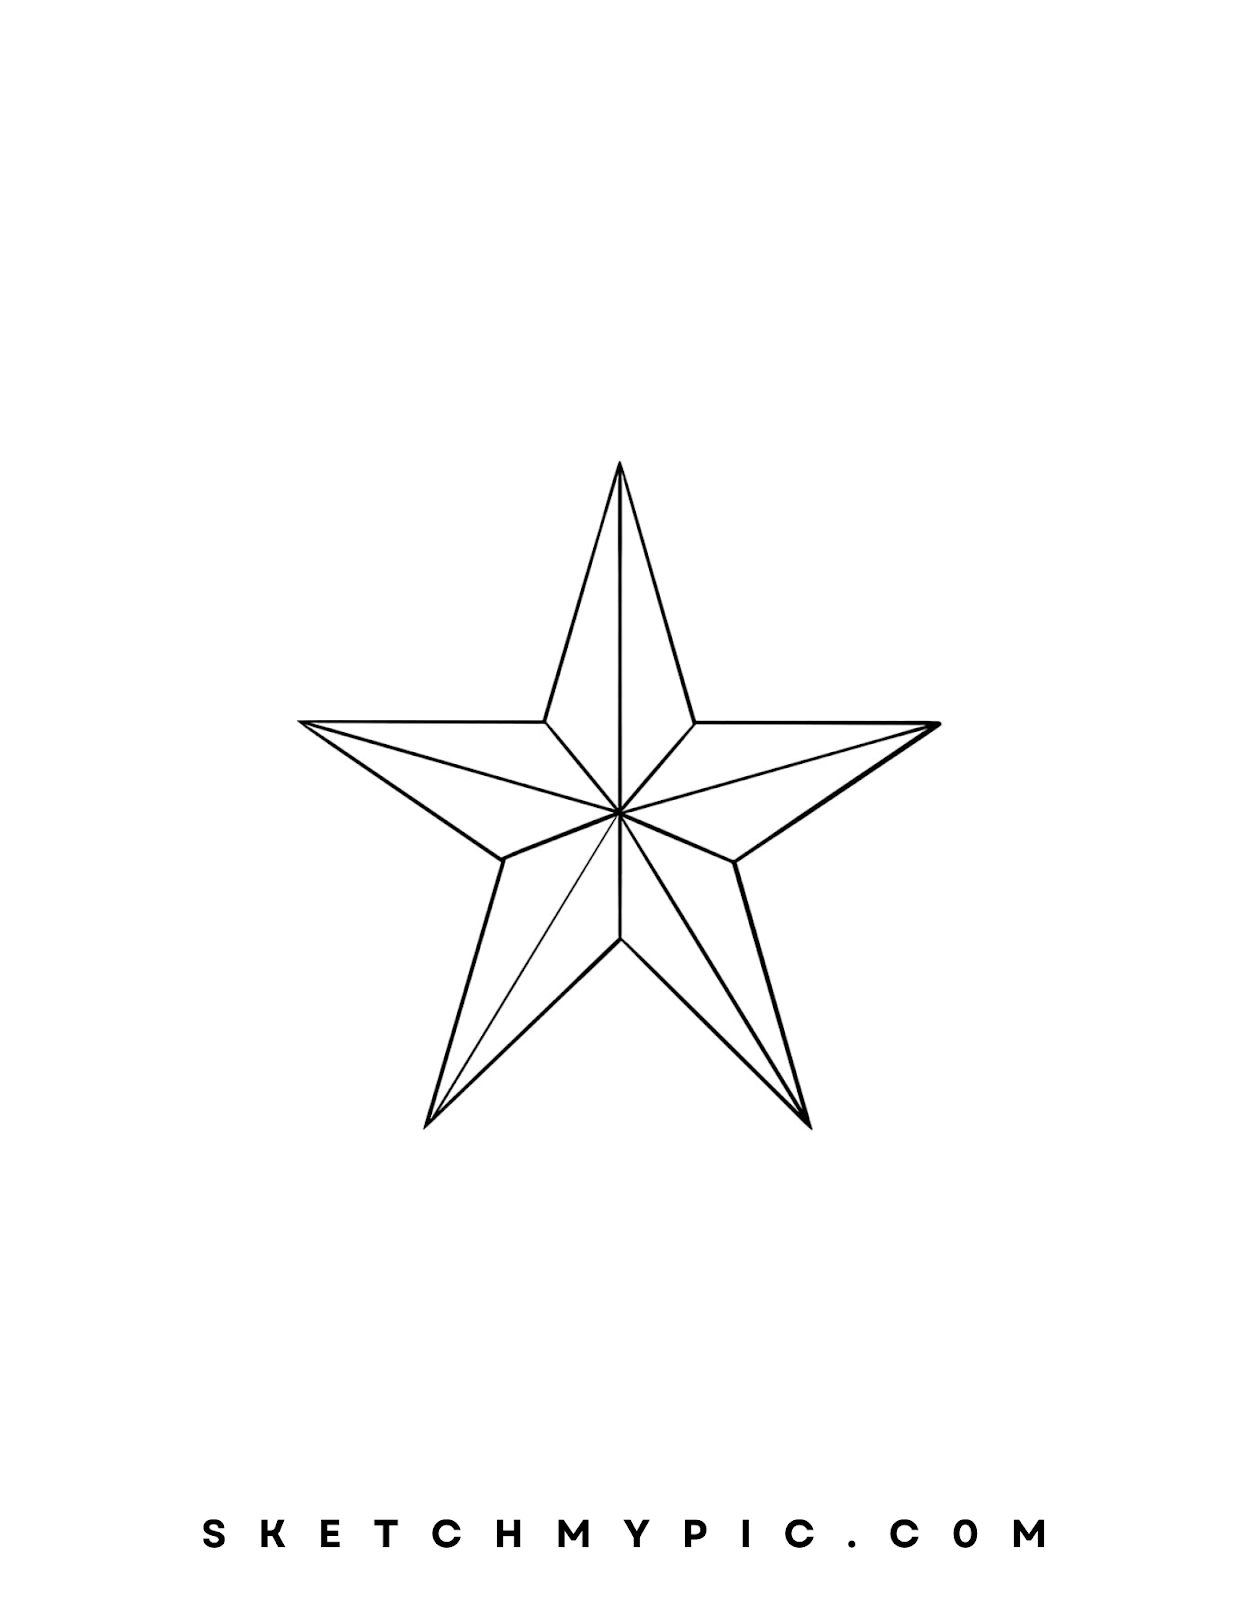
Step 1: Grasping Basic Star Shapes
Start by understanding the basic shapes that compose a star. A traditional star consists of two overlapping triangles, one pointing upward and the other pointing downward. For a five-pointed star, these triangles are equal in size and angle. For other styles, such as six-pointed or eight-pointed stars, adjust the angles and proportions accordingly.
Step 2: Outlining the Framework
Using a pencil, lightly outline the framework of your star. If you're aiming for a five-pointed star, use a ruler and protractor to measure and mark the angles. Alternatively, if you're drawing freehand, start by drawing a dot at the center of your paper and use it as a reference point for the star's vertices.
Step 3: Drawing the Upper Triangle
Begin by drawing the upper triangle of the star. Connect the points where the star's vertices will be with straight lines. Ensure that the lines are equal in length and angle to create symmetry.
Step 4: Drawing the Lower Triangle
Next, draw the lower triangle of the star. The base of this triangle will overlap with the upper triangle, creating the iconic star shape. Double-check that the angles and lengths match the upper triangle for symmetry.
Step 5: Connecting the Tips
Connect the tips of the triangles to complete the star shape. These lines should be straight and of equal length, meeting precisely at the star's vertices. The result should be a balanced and well-proportioned star.
Step 6: Refining the Outline
Refine the outline of your star, ensuring that all lines are smooth and clean. Erase any unnecessary guidelines or overlapping lines from the construction of the triangles. Your star's outline should be sharp and well-defined.
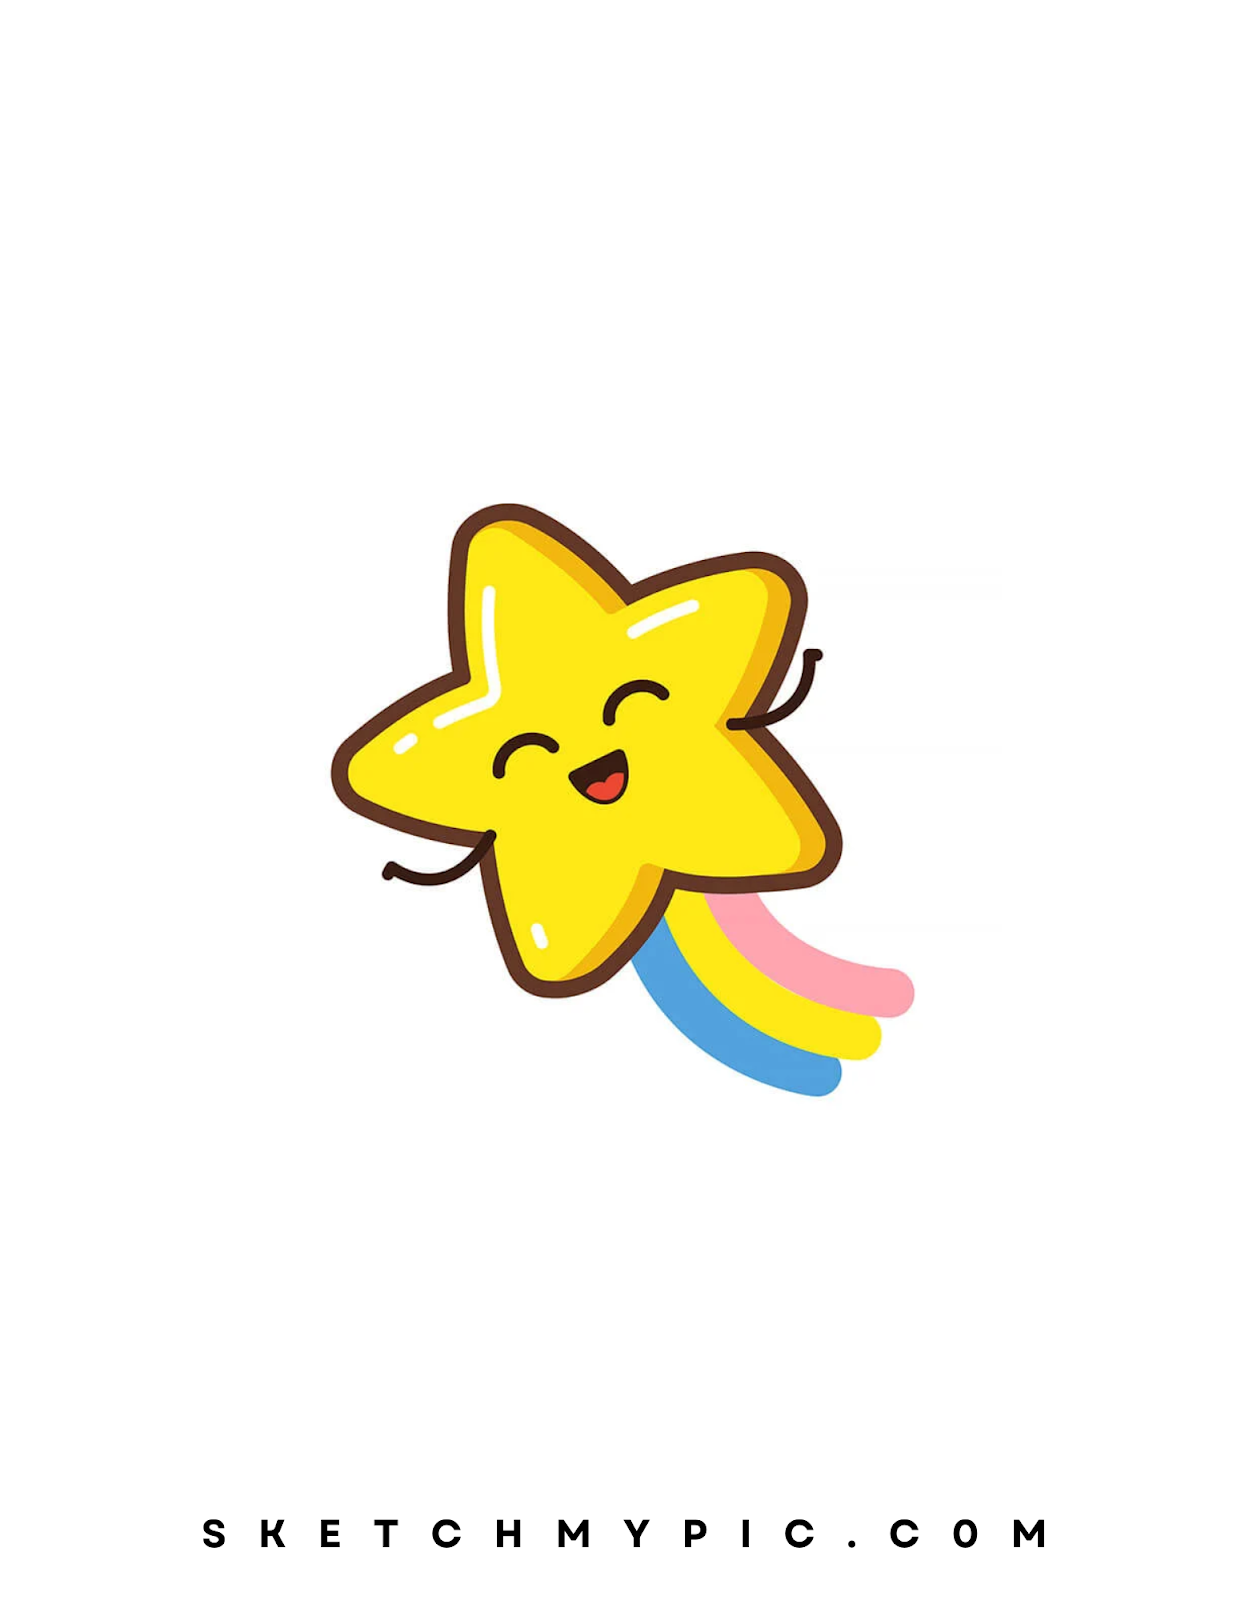
Step 7: Adding Style and Variation
Stars come in various styles, from simple and symmetrical to intricate and decorative. Add details such as smaller internal shapes, circles, or patterns within the star's outline. Use your creativity to give your star a unique touch.
Step 8: Coloring Your Star (Detailed Section Below)
If you choose to add color to your star drawing, consider the significance of color choices. Traditionally, stars are depicted in shades of gold, yellow, or white to symbolize their radiance. Use colored pencils, markers, or other coloring tools to add vibrant hues to your star.
Step 9: Background and Context (Optional)
Consider the context in which your star will be placed. Depending on the purpose of your drawing, you should add a background or other elements to enhance the overall composition. Keep the background simple to ensure that the star remains the focal point.
Step 10: Final Details and Refinements
As you approach the final stages of your star drawing, step back and assess the overall composition. Ensure that the lines are crisp, the angles are accurate, and the star radiates the desired style and symbolism. Make any necessary refinements to achieve a polished result.
Tips on Adding Color to Your Star Drawing:
Coloring your star drawing adds a new dimension of vibrancy and symbolism to your artwork. The colors you choose can evoke emotions, create focal points, and enhance the overall impact of your star design. Whether you're aiming for a traditional golden glow or experimenting with imaginative color schemes, follow these steps to infuse your star drawing with captivating hues:
Step 1: Choose Your Color Palette
Before you begin coloring, decide on the color palette that aligns with your artistic vision. Traditional stars are often depicted in warm shades of gold, yellow, or white to convey their luminosity. If you're exploring creative possibilities, consider using colored pencils, markers, watercolors, or digital coloring tools to bring your star to life.
Step 2: Coloring the Outline
Start by applying your chosen color to the outline of the star. This step serves as the base for the rest of your coloring. If you're using colored pencils, layer the color to achieve depth and intensity. If you're using markers or watercolors, apply a smooth, even layer of color.
Step 3: Adding Depth with Shading
Shading is crucial for creating depth and dimension in your star drawing. Imagine the direction of the light source and visualize where shadows would naturally fall on the star's surface. Use a slightly darker shade of your chosen color to add shading, creating a sense of curvature and three-dimensionality.
Step 4: Introducing Highlights
Highlights contribute to the star's radiance and brilliance. Identify the areas that would catch the most light, such as the points or edges of the star. Use a lighter shade of your chosen color or even a touch of white to add highlights that simulate the reflection of light.
Step 5: Creating Texture
To make your star drawing more visually engaging, consider adding texture using small, repetitive strokes or dots. This technique mimics the surface of a star and adds complexity to your artwork. Apply these strokes evenly across the star's surface to maintain consistency.
Step 6: Experimenting with Gradient
Gradient coloring can enhance the star's visual impact by creating a transition from one color to another. For instance, you might start with a darker shade at the outer edges of the star and gradually transition to a lighter shade toward the center. This technique adds depth and dimension.
Step 7: Embrace Contrast
To make your star pop against the background, consider using contrasting colors. For example, if your star is predominantly warm-toned, use a cooler color for the background to create visual contrast and draw attention to the star's radiance.
Step 8: Exploring Color Symbolism
Colors carry symbolism and emotions. Traditional colors like gold and yellow symbolize illumination, hope, and positivity. Experiment with different color combinations to convey specific meanings or to evoke certain feelings that align with your artistic intent.
Step 9: Complementing the Composition
Consider the overall composition of your artwork when choosing colors for your star. Think about how the star interacts with the background and other elements in your drawing. Ensure that the color choices enhance the overall visual harmony.
Step 10: Final Touches
As you approach the final stages of coloring your star drawing, step back and evaluate the overall composition. Ensure that the colors are well-blended, the shading is coherent, and the star's radiance is visually captivating. Make any necessary refinements to achieve a polished and harmonious result.
Conclusion
Drawing a star involves precision, symmetry, and creativity. By following this step-by-step guide, you can create star drawings that are both visually appealing and symbolic. Embrace the opportunity to experiment with different styles, angles, and coloring techniques to craft stars that resonate with your artistic vision. Drawing stars allows you to convey meaning, evoke emotions, and celebrate the timeless symbol of light and inspiration. So, gather your drawing tools, immerse yourself in the world of stars, and revel in the art of bringing these celestial shapes to life on your canvas!