By Jinee
How To'sThe rose, with its intricate petals and timeless beauty, has been a muse for artists across the ages. Drawing a rose may seem like a challenging endeavor, but with the right guidance and practice, you can create a stunning floral illustration that captures the essence of this beloved flower. In this comprehensive step-by-step guide, we will walk you through the process of drawing a rose, from basic shapes to adding intricate details. So, grab your sketchbook and pencils, and let's embark on an artistic journey to draw a beautiful rose!
Materials Needed
Before you start drawing, gather the following materials:
1. Drawing paper or sketchbook
2. Pencils (HB, 2B, and 4B are recommended for different tones)
3. Eraser
4. Sharpener
5. Ruler (optional but helpful for straight lines)
6. Blending tool or tissue (optional for shading)
Step 1: Basic Outline
Begin by drawing a simple guideline for your rose. Start with a small circle in the center of your paper. This circle will serve as the base for the rose's center, where the petals will emerge. Next, draw an oval around the circle, representing the first layer of petals. Don't worry about perfection at this stage; a rough outline will suffice.
Step 2: Sketching the Rose Center
Now, focus on refining the rose's center. Within the small circle you drew earlier, add a cluster of small elongated ovals or circles. These represent the stigma and anthers, the parts of the rose's reproductive system. The number and arrangement of these parts may vary depending on the type of rose you wish to draw, so feel free to create your artistic interpretation or observe a reference image for accuracy.
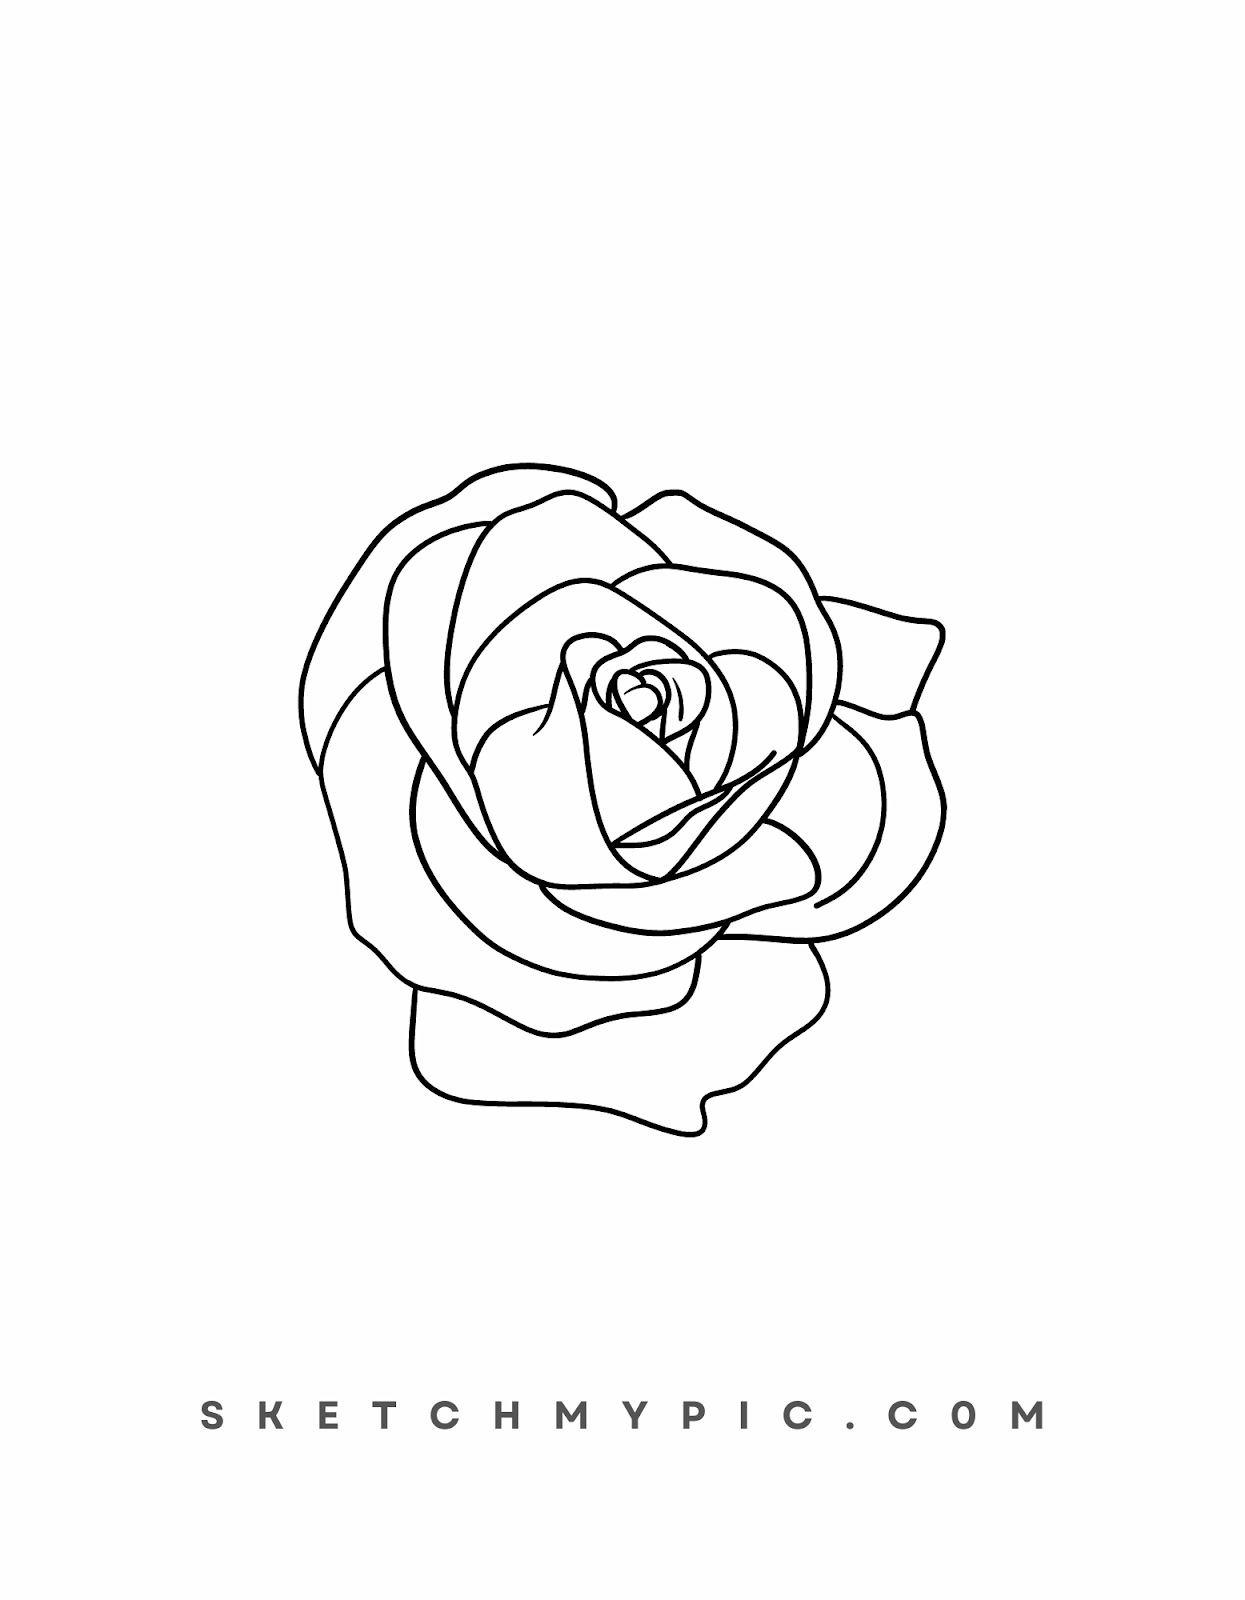
Step 3: Drawing the First Layer of Petals
With the rose center in place, it's time to draw the first layer of petals. Start by adding one petal at a time around the oval shape you drew earlier. Rose petals typically have a gentle curve and pointed tips. Vary the size and positioning of the petals to create a natural and harmonious look.
Step 4: Refining Petal Details
Now that you have the basic petal shapes, add more detail to each petal. Roses have unique textures and patterns on their petals, such as veins and subtle ridges. Incorporate these details to give your rose illustration a realistic and captivating appearance. Take your time and observe reference images or real roses to study the variations in petal structures.
Step 5: Shading and Adding Depth
Shading is vital to give your rose drawing a three-dimensional look. Determine the direction of the light source and imagine where the shadows would fall. Use your 2B or 4B pencil to shade the areas away from the light source, such as the undersides of the petals and the center. This will add depth and make your rose appear more lifelike.
Step 6: Adding Highlights
To enhance the three-dimensional effect further, add highlights to your rose. Identify the areas that would catch the most light, such as the top of the petals and the highest points of the rose center. Use your eraser to gently remove some graphite from these areas, creating the illusion of light reflecting off the rose's surface.
Step 7: Texturing the Petals
To mimic the texture of rose petals, use your pencil to add short, light strokes or dots. This technique will give your rose drawing a more organic and lifelike look. Pay attention to the direction of the strokes and apply them accordingly to follow the natural flow of the petal's shape.
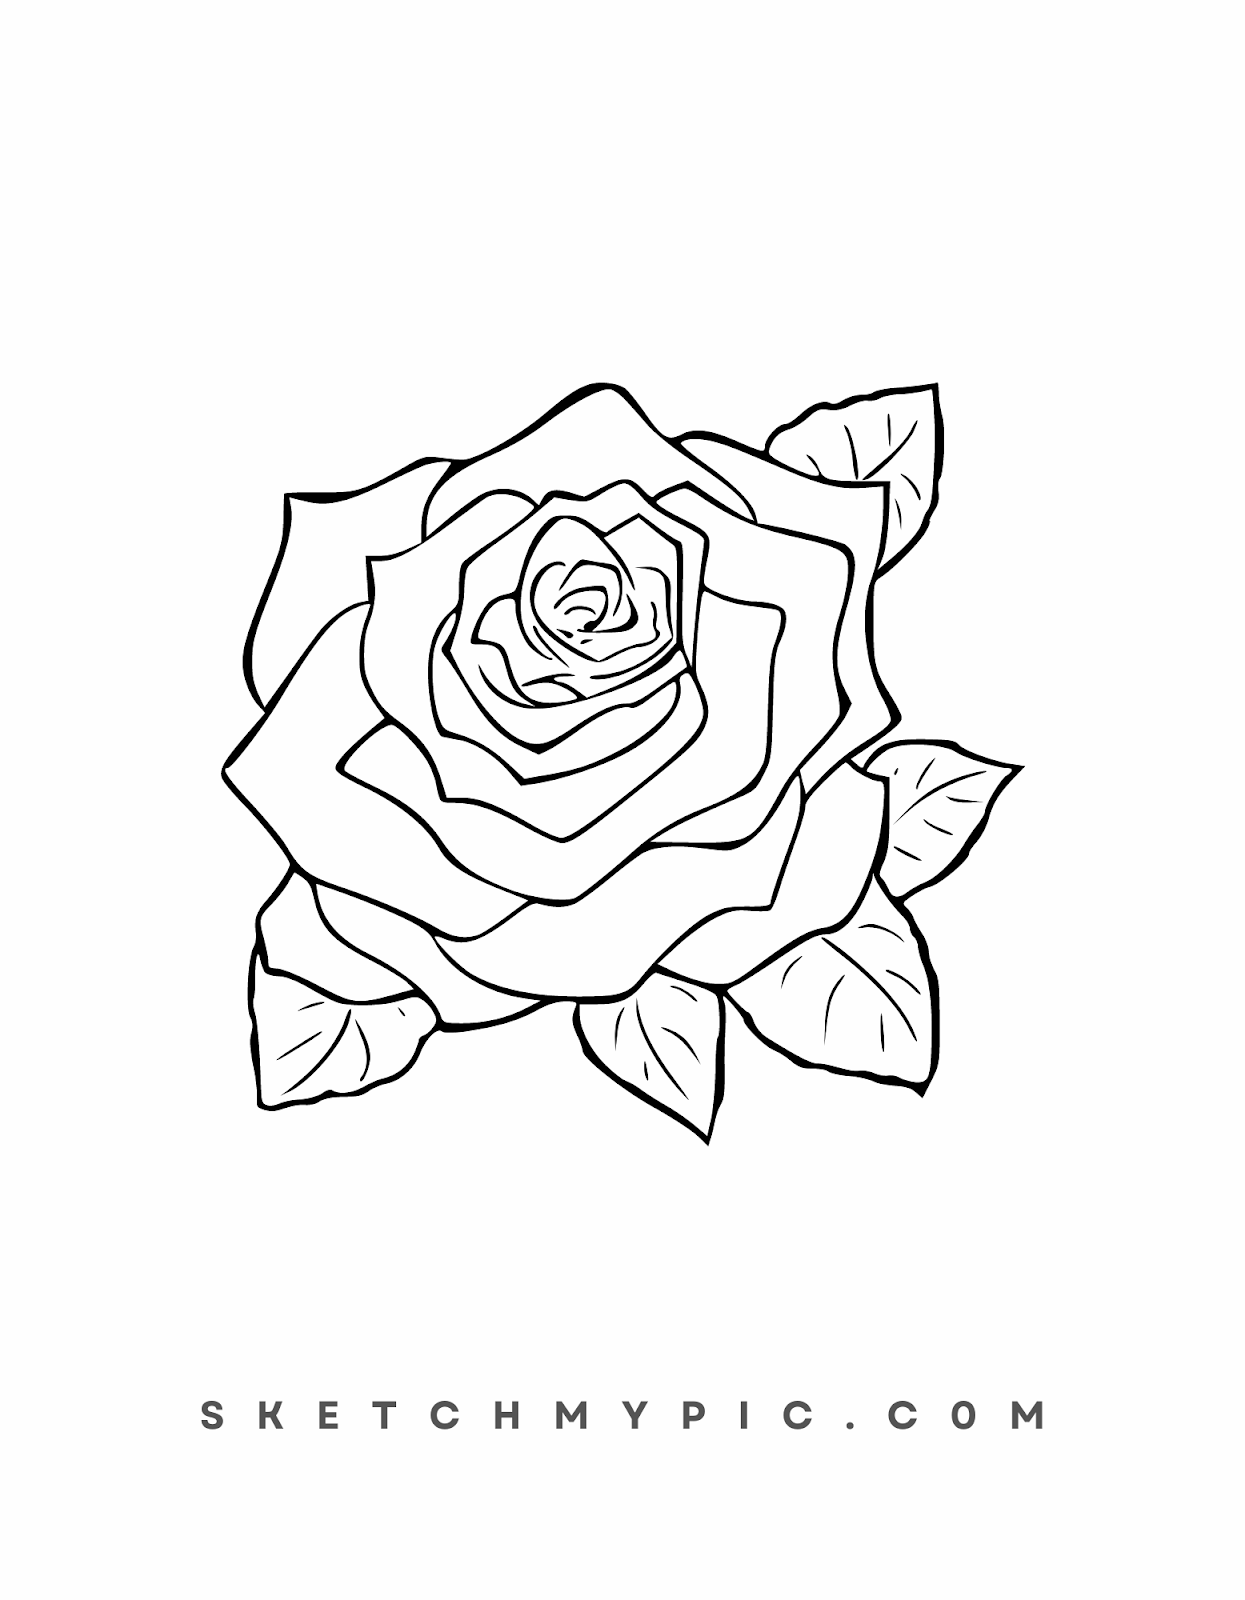
Step 8: Drawing Additional Petal Layers
Roses often have multiple layers of petals. To create this depth, draw more oval shapes around the initial petal layer. The second layer of petals should be slightly larger than the first, and the third layer, if included, should be even larger. Repeat the process of refining petal details, shading, and adding highlights for each layer.
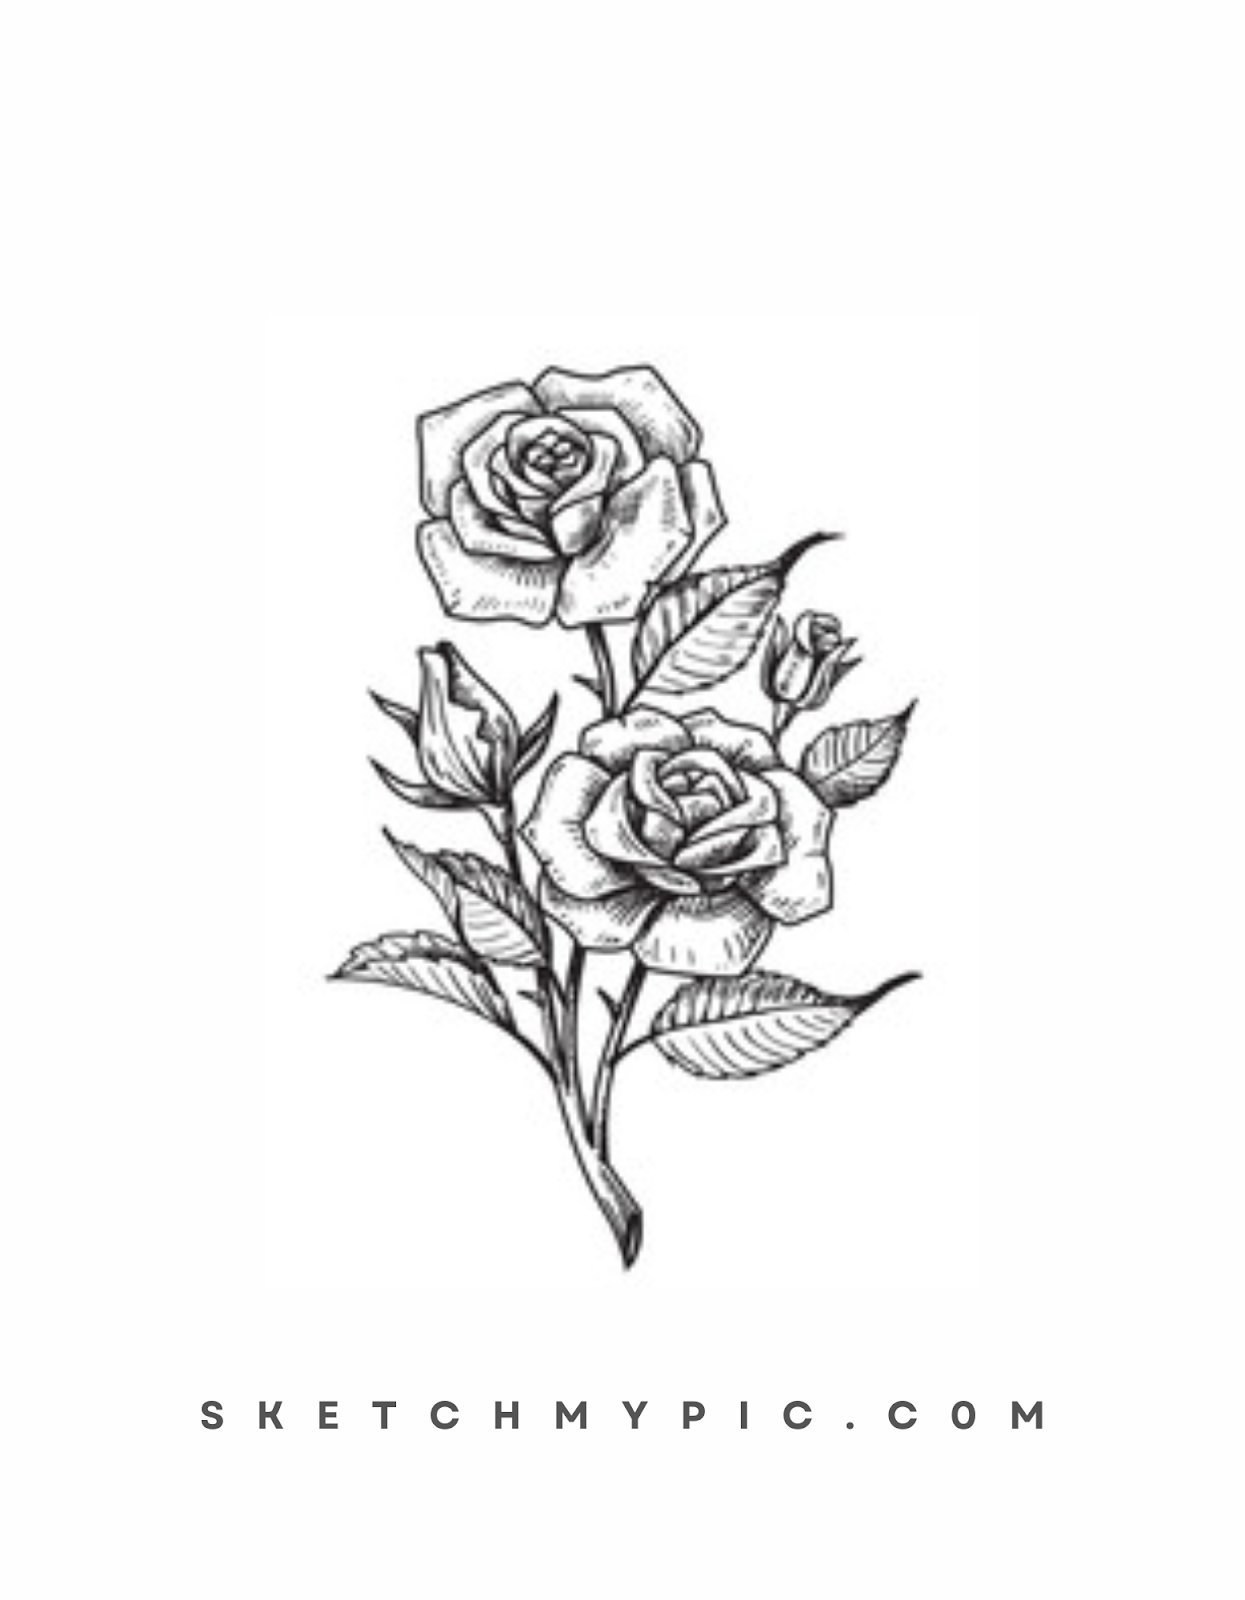
Step 9: Adding the Stem and Leaves
Now that you have drawn the rose, it's time to add the stem and leaves. Draw a slender, curvy line extending from the bottom of the rose to represent the stem. Then, draw simple leaf shapes on either side of the stem. Rose leaves are typically serrated and have a smooth curve. Observe a reference image or real rose leaves for accuracy.
Step 10: Shading the Stem and Leaves
Use your pencil to shade the stem and leaves, adding depth and dimension. Determine the light source and shade the opposite side of the stem and leaves accordingly. Incorporate subtle details like leaf veins or stem texture to make your rose drawing more realistic.
Step 11: Final Touches
As you near completion, take a moment to review your rose drawing and make any final adjustments. Check if the proportions are correct, the shading is well-balanced, and the overall rose looks visually appealing. Take your time to refine any areas that need improvement.
Coloring Your Rose Drawing
Coloring your rose drawing is the final step that brings your artwork to life, adding a touch of vibrancy and elegance to your floral masterpiece. Adding colors to your rose will evoke emotions, set the mood, and showcase your artistic flair. Whether you choose to depict a classic red rose, an array of vibrant hues, or a dreamy pastel palette, follow these steps to color your rose drawing:
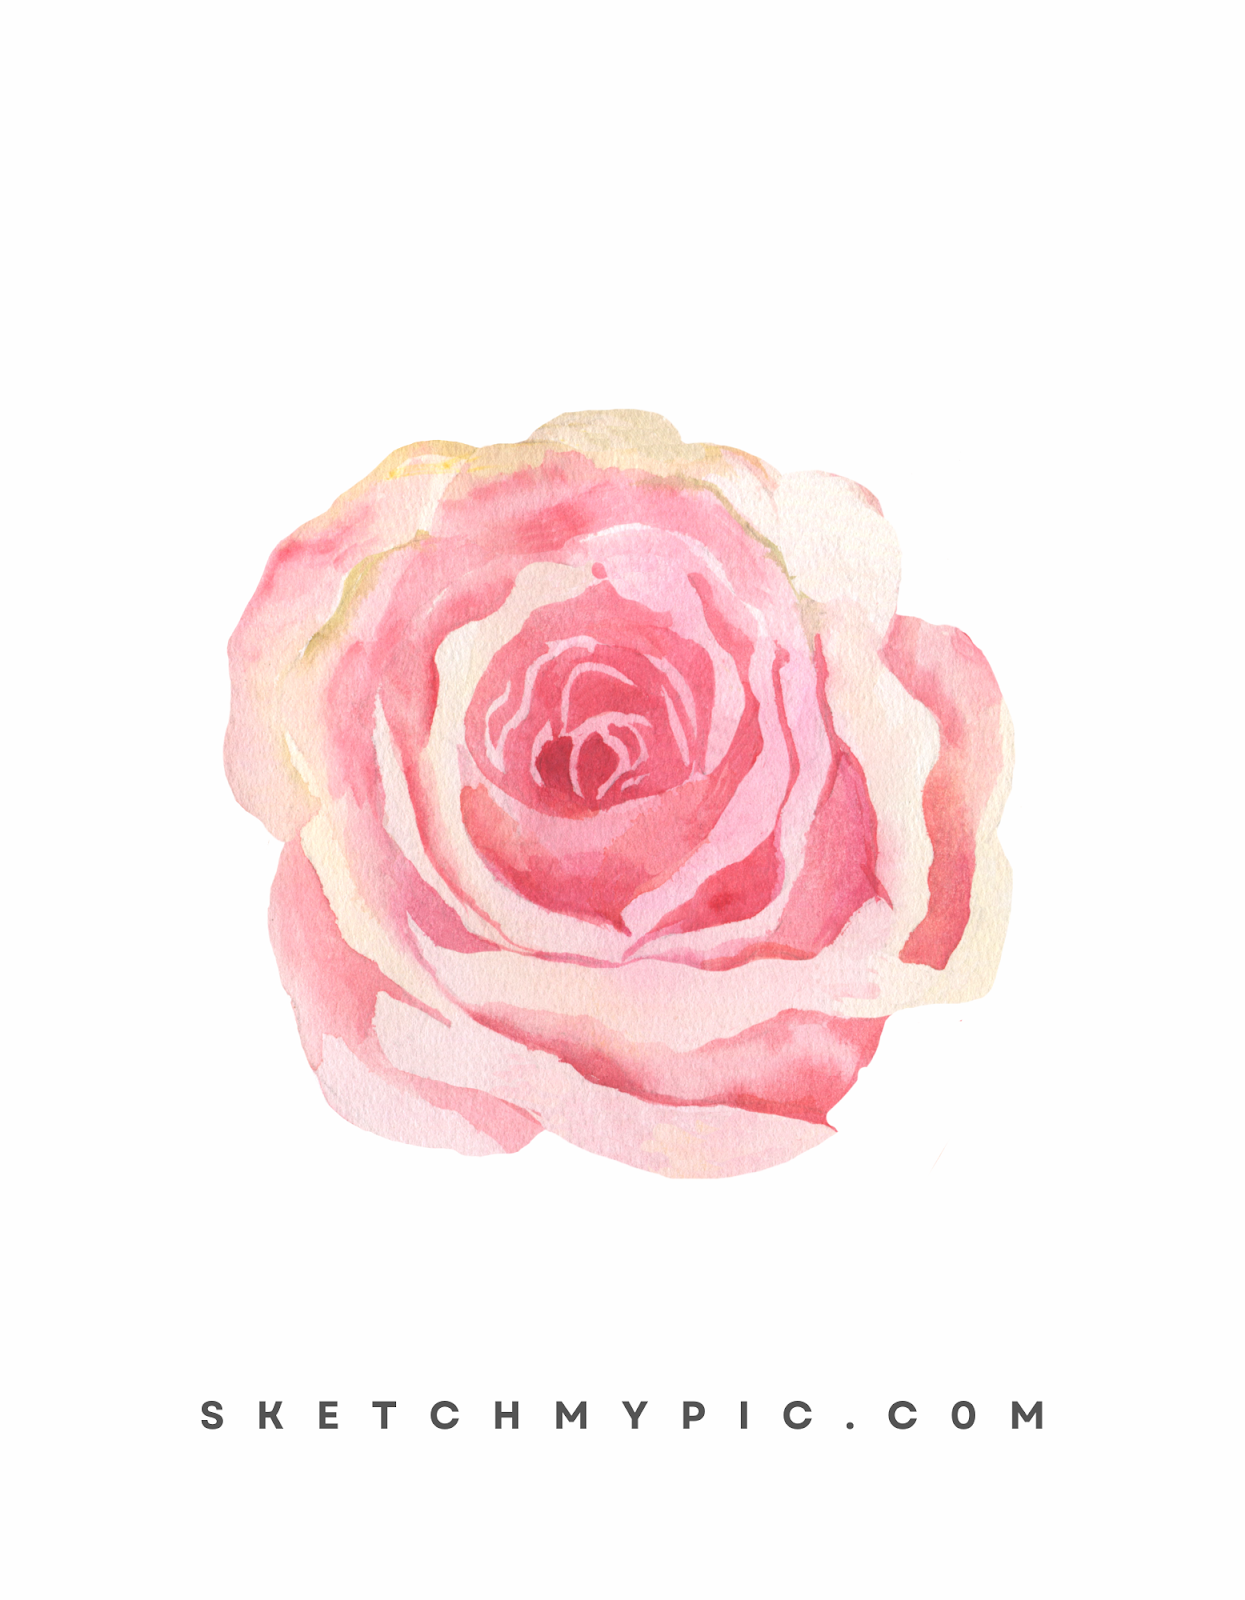
Step 1: Selecting Your Color Palette
Before you begin coloring, decide on the color palette that suits your artistic vision and the type of rose you wish to depict. For a classic red rose, opt for shades of red, crimson, and burgundy. For other color variations, observe reference images of the rose species you want to draw. Colored pencils, watercolor paints, or digital coloring tools are excellent choices for this step, depending on your preferred medium.
Step 2: Coloring the Petals
Start by adding the base color to the rose petals. Use gentle, even strokes to apply the colors smoothly and consistently across each petal. If you're drawing a red rose, layer various shades of red to create depth and dimension. For other color variations, use the appropriate hues to achieve the desired look. Leave the edges of the petals slightly lighter to create highlights.
Step 3: Enhancing with Highlights and Shadows
To make your rose petals appear more realistic, incorporate highlights and shadows. Identify the direction of the light source in your drawing and imagine where the light would hit the petals. Use a lighter shade of the petal's color or even white to add highlights to the edges or areas facing the light. For shadows, use a slightly darker shade of the petal's color or a complementary color to shade the areas away from the light source.
Step 4: Coloring the Rose Center
Move on to the rose's center, where the stigma and anthers are located. Use warm tones like yellows or oranges to represent these parts. Pay attention to the texture and details of the center to create a realistic appearance. Add subtle shading and highlights to make the center visually appealing.
Step 5: Adding Texture
To mimic the texture of rose petals, use your coloring tools to add short, light strokes or dots. This technique will give your rose drawing a more organic and lifelike look. Pay attention to the direction of the strokes and apply them accordingly to follow the natural flow of the petal's shape. You can also use a blending tool or your fingers to smudge and blend the colors for a softer, more seamless look.
Step 6: Coloring the Stem and Leaves
For the stem and leaves, use shades of green to create a natural and realistic appearance. Add depth to the leaves by applying different shades of green and even incorporating hints of yellow or blue for added realism. Use longer, vertical strokes to mimic the texture of the stem.
Step 7: Shading and Blending
Use your coloring tools to shade the stem and leaves, adding depth and dimension. Determine the light source and shade the opposite side of the stem and leaves accordingly. Experiment with blending colors to achieve a smooth transition between shades and create a more cohesive look.
Step 8: Final Touches
As you near completion, take a moment to review your colored rose drawing and make any final adjustments. Ensure that the colors are well-balanced, the shading is coherent, and the overall rose looks visually appealing. If you're using colored pencils, consider using a blending tool or tissue to achieve a smoother, unified appearance.
Coloring your rose drawing is the final step that transforms your artwork into a captivating and mesmerizing floral illustration. Whether you choose to portray a classic red rose, an enchanting bouquet of various colors, or a unique and imaginative palette, this step allows you to express your artistic flair and showcase the beauty of this iconic flower.
Conclusion
Drawing a rose is a rewarding and enjoyable experience that allows you to capture the timeless beauty of this exquisite flower on paper. Whether you aim for a classic red rose or explore various colors and varieties, this step-by-step guide will help you navigate the artistic journey.
Remember to start with a basic outline and gradually add details and shading to bring your rose to life. Embrace the opportunity to experiment with different petal shapes, colors, and textures to showcase your creativity.
Drawing roses is an art that enables you to convey emotions, evoke romance, and celebrate nature's floral wonders. So, pick up your pencils, immerse yourself in the world of roses, and delight in the enchanting process of drawing a stunning rose!