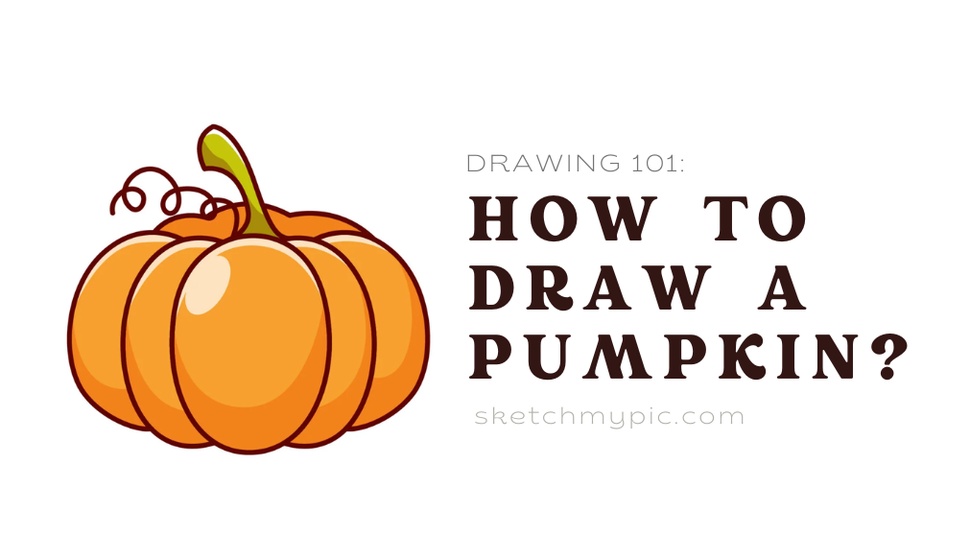
By Jinee
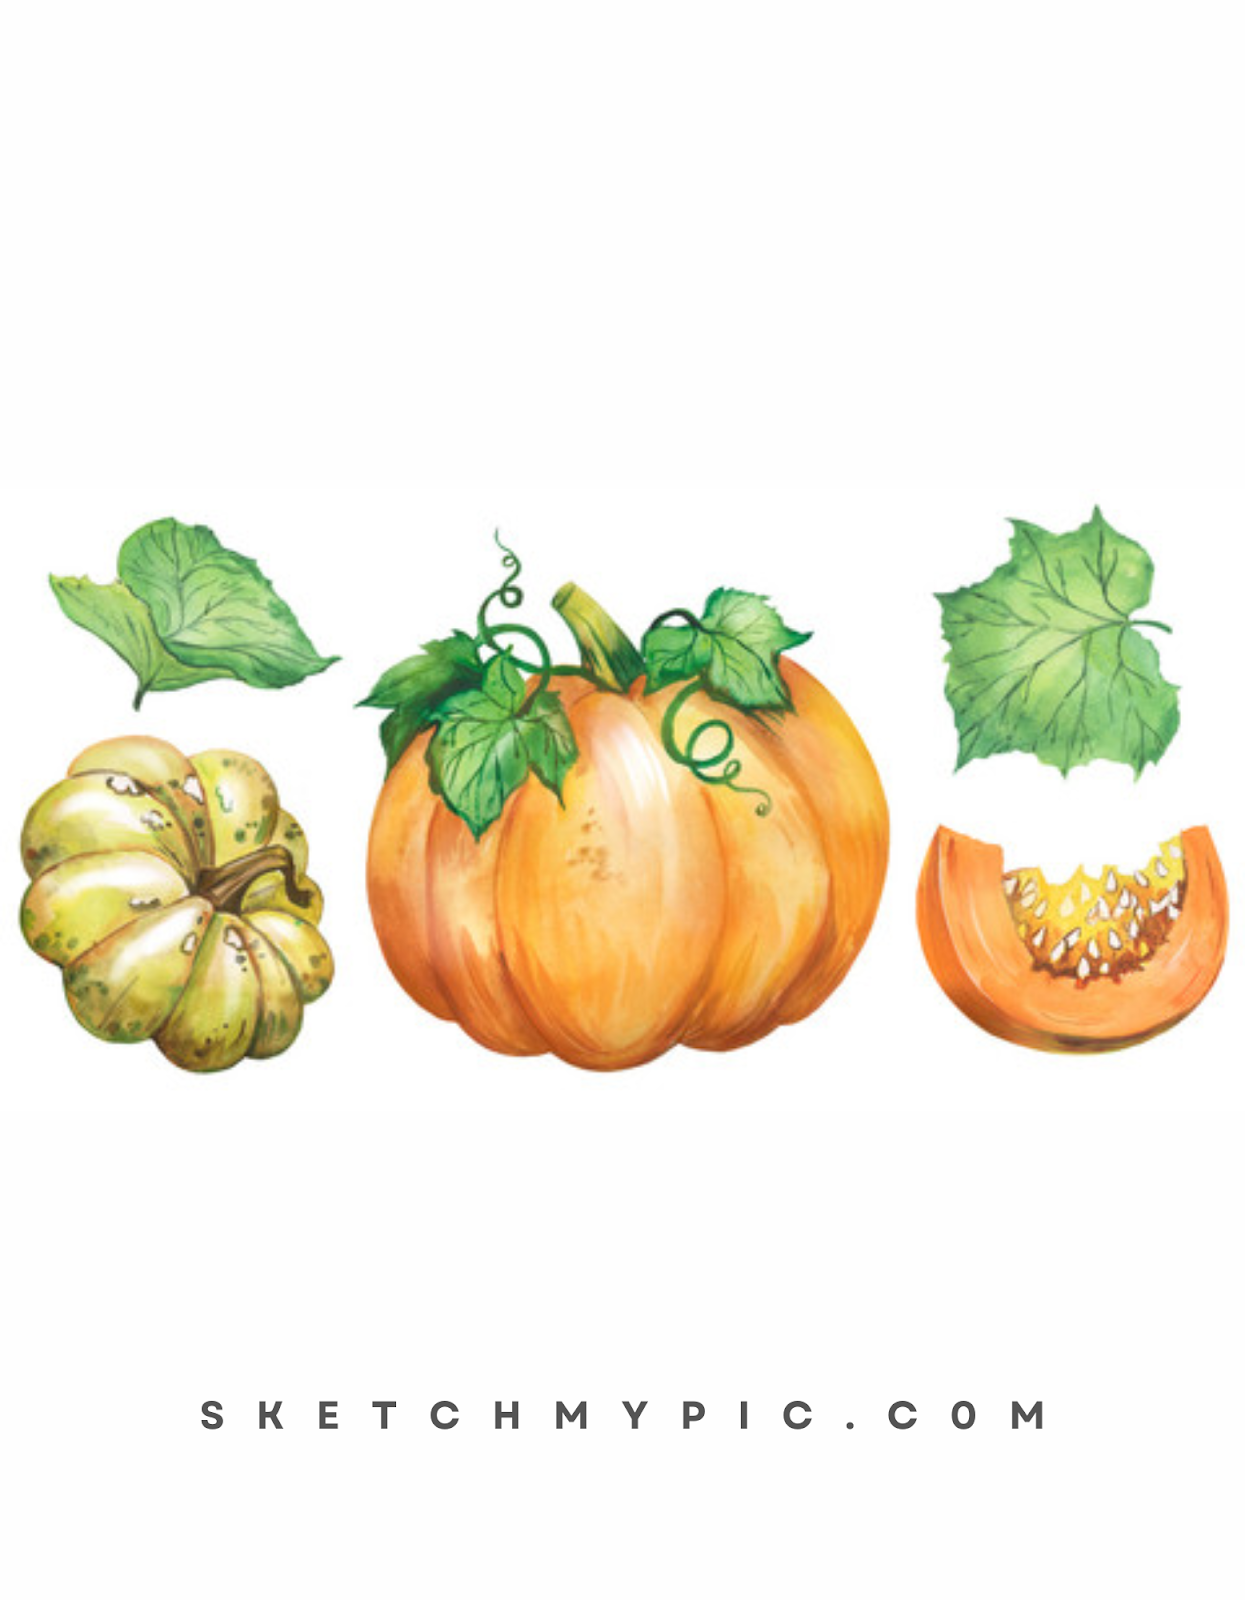
How To'sThe crisp autumn air, vibrant colors, and delicious pumpkin treats make fall a favorite season for many. One iconic symbol of this time of year is the humble pumpkin, often associated with Halloween and Thanksgiving.
Drawing a pumpkin may seem challenging at first, but fear not! With a little guidance and practice, you can create a stunning pumpkin illustration that captures the season's essence.
In this step-by-step guide, we will walk you through the process of drawing a pumpkin, from basic shapes to adding intricate details. So, grab your pencils and let's begin!
Materials Needed
Before diving into the drawing process, gather the following materials:
1. Drawing paper or sketchbook
2. Pencils (HB, 2B, and 4B are recommended for different tones)
3. Eraser
4. Sharpener
5. Ruler (optional but helpful for straight lines)
6. Blending tool or tissue (optional for shading)
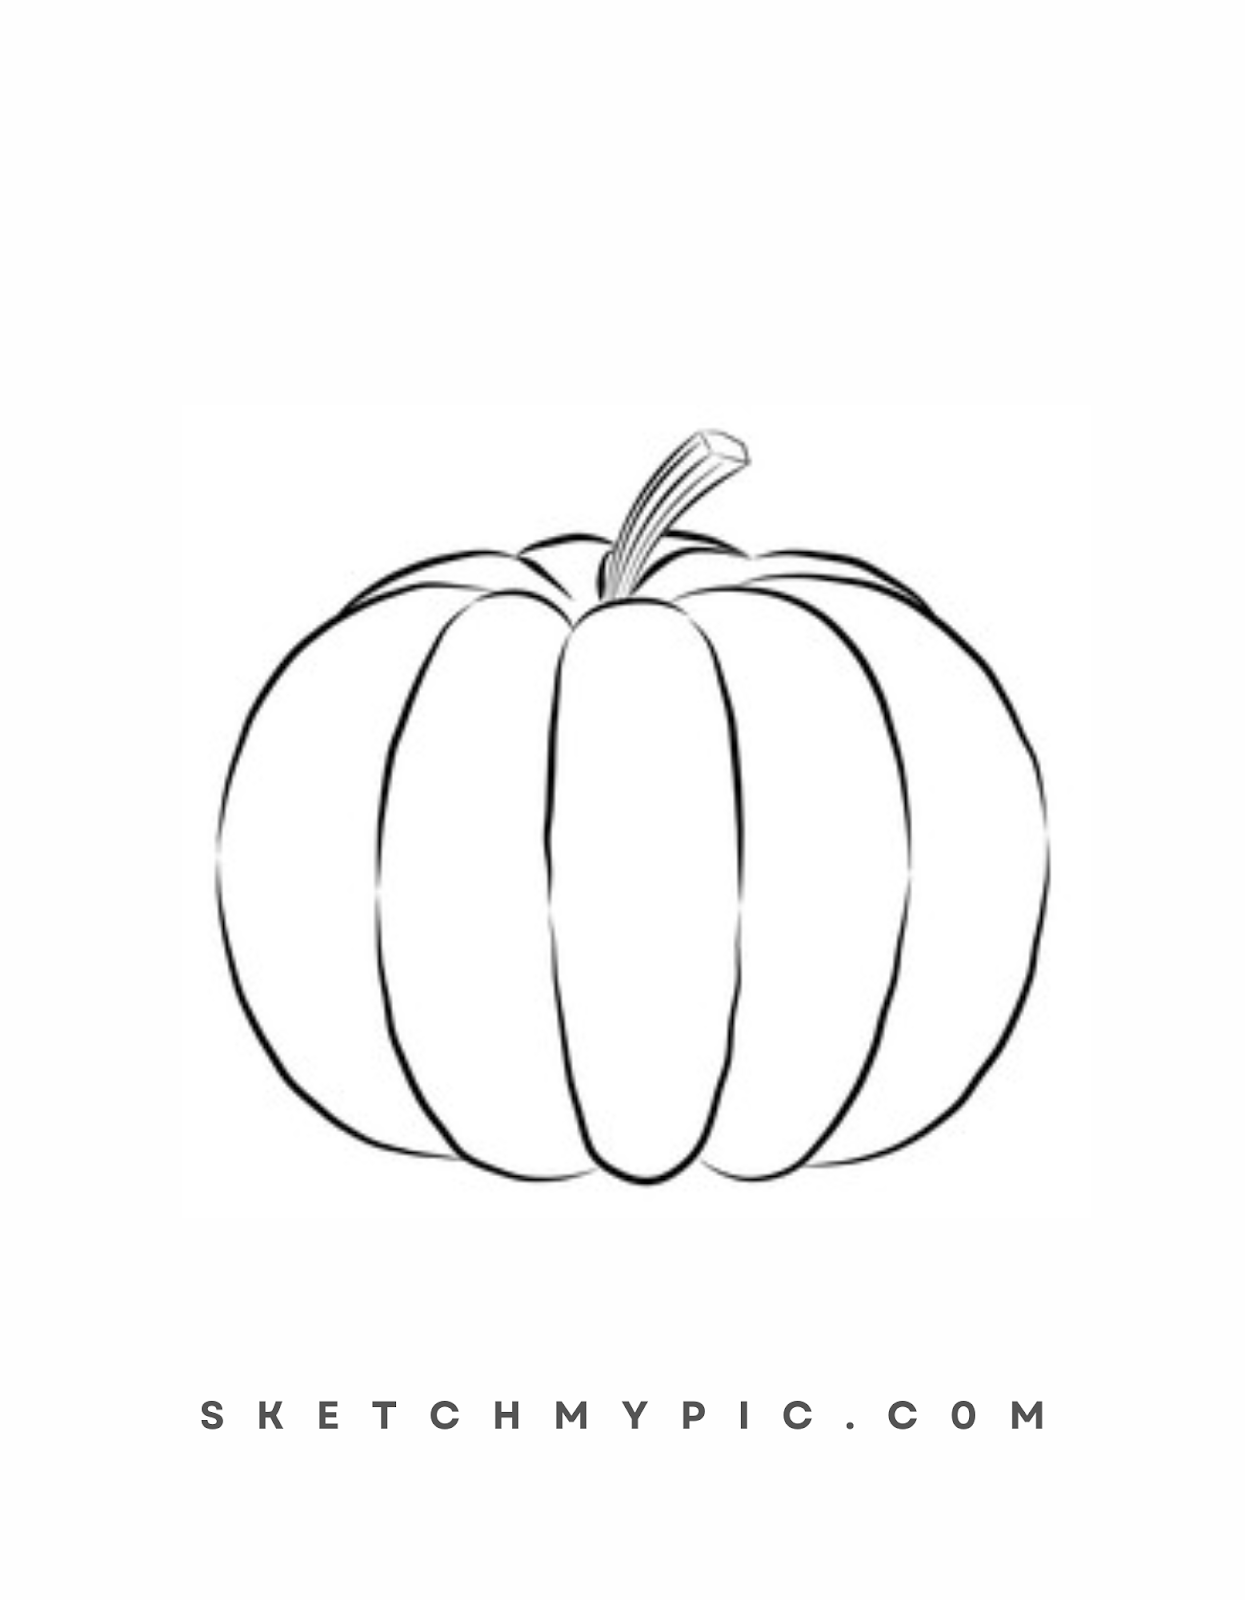
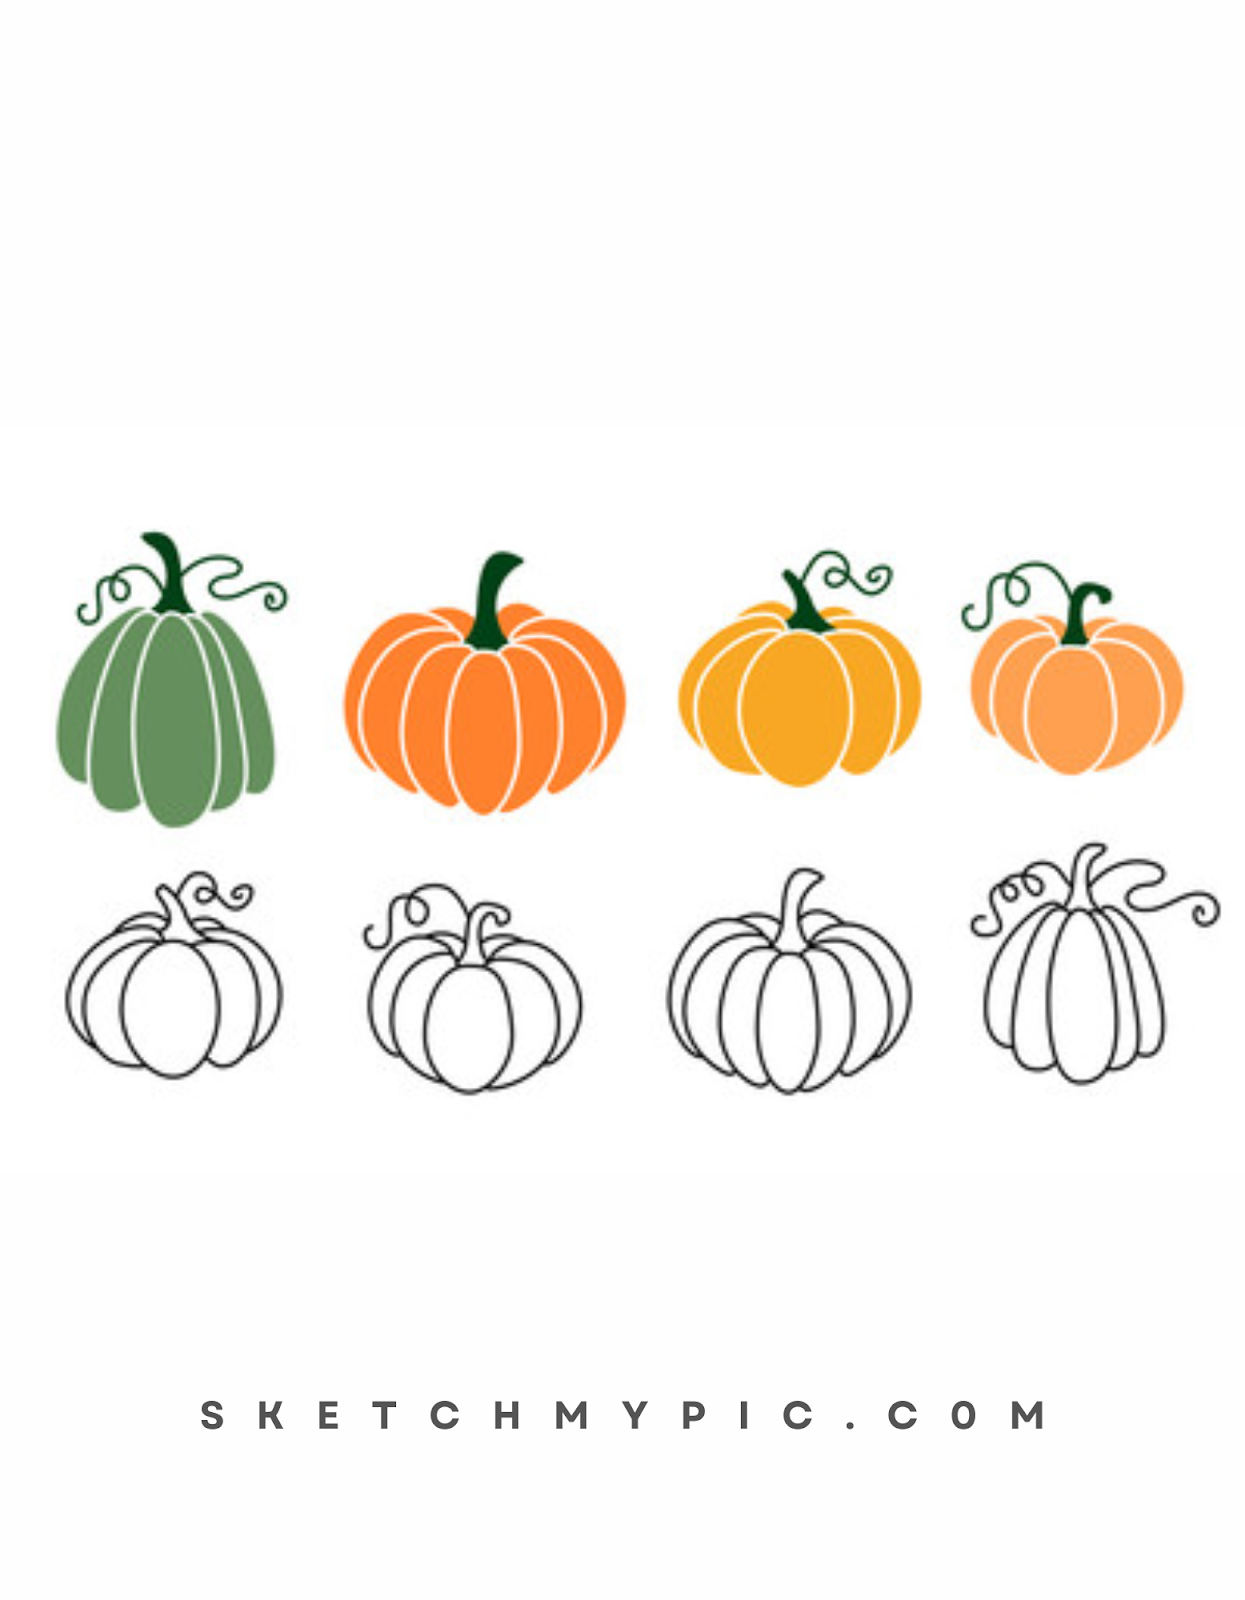
Step 1: Basic Outline
Start by drawing a rough outline of your pumpkin. Draw a circle in the center of the paper as the base for your pumpkin's body. Don't worry about making it perfect at this stage; a simple shape will do. Remember, pumpkins come in various sizes and shapes, so feel free to adjust the proportions to your liking.
Step 2: Creating the Pumpkin's Sections
Pumpkins have distinct sections or segments that run from the top to the bottom. To create these sections, draw vertical lines across the circle. You can use a ruler to ensure they are evenly spaced or eyeball them for a more organic look.
Step 3: Drawing the Stem
Draw a small rectangle or oval shape on the top of your circle to represent the pumpkin's stem. Make it curvy and irregular to add a natural touch. This stem will give your pumpkin character and make it instantly recognizable.
Step 4: Refining the Shape
Now, look closer at your rough outline and refine the pumpkin's shape. Make adjustments to the outline, adding curves and bumps where necessary. Focus on making the sections distinct but still maintaining a cohesive shape.
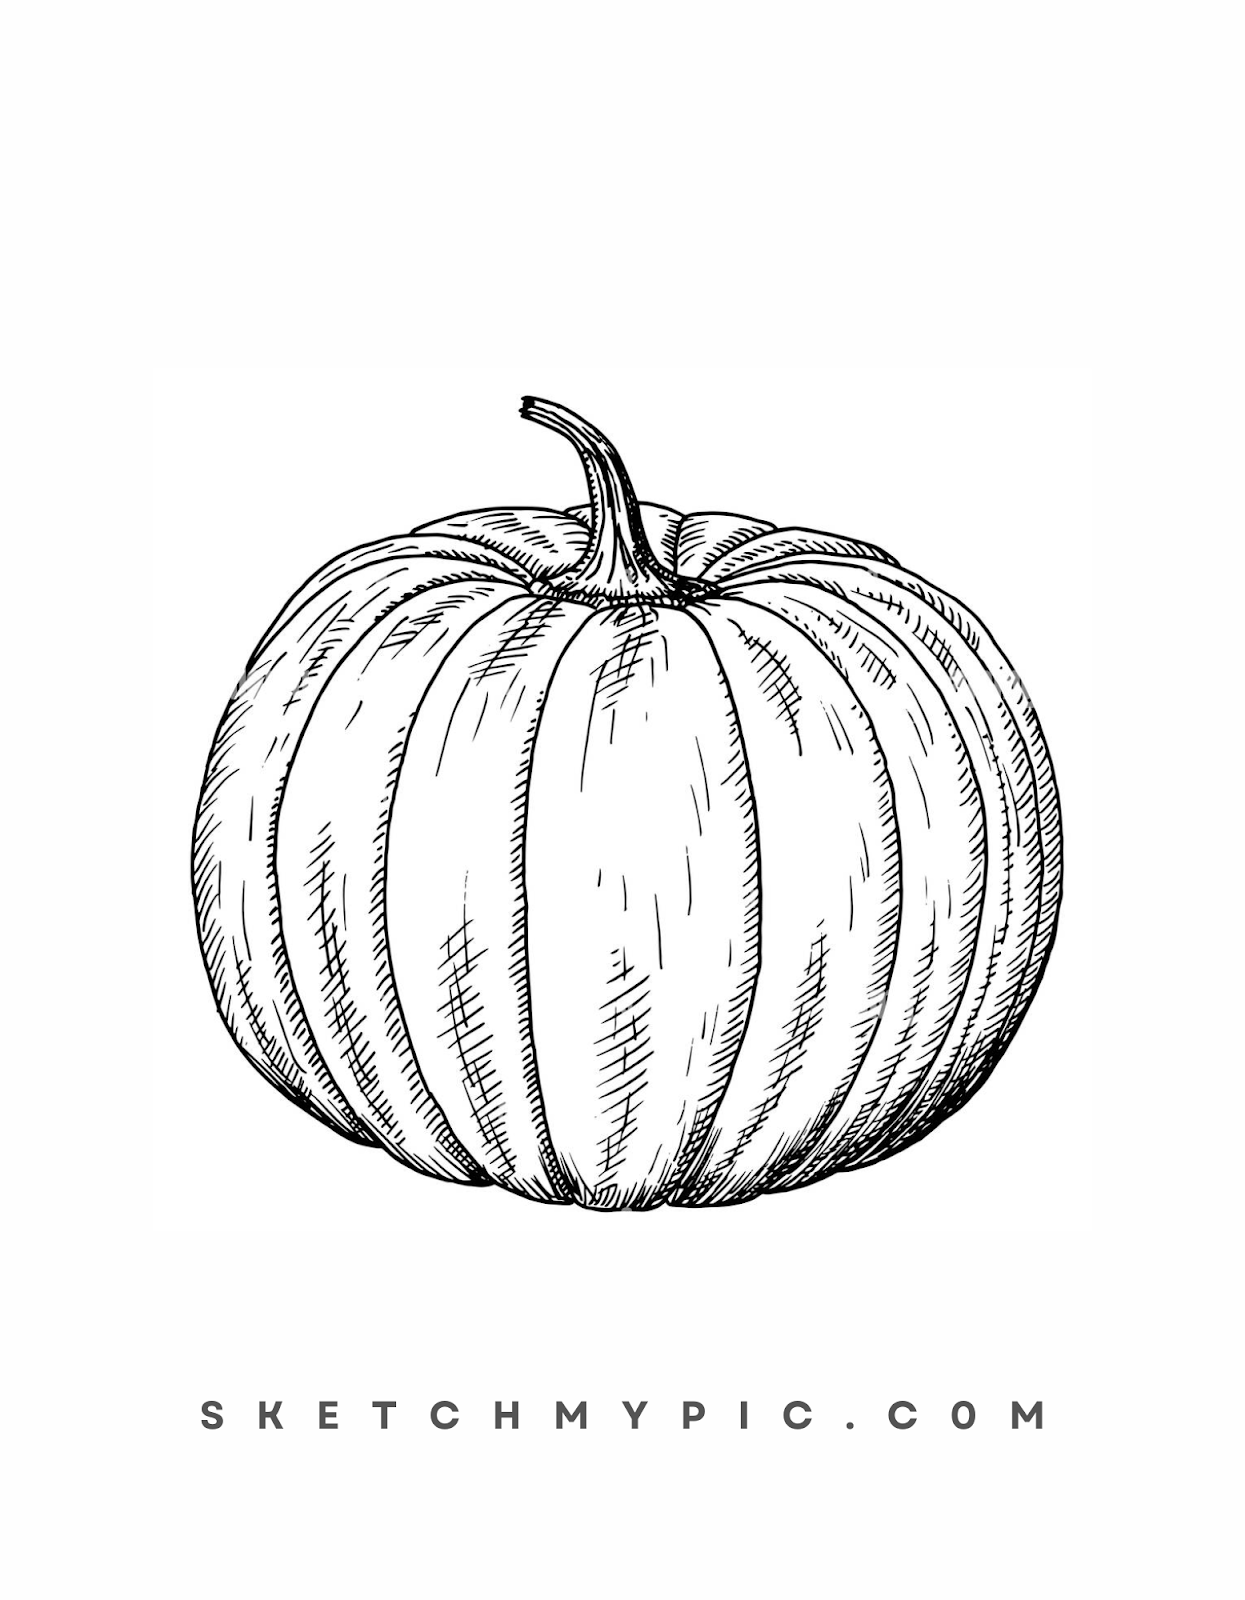
Step 5: Adding Depth with Shadows
Shading is essential to give your pumpkin a three-dimensional appearance. Identify the light source in your drawing (top left, top right, etc.) and imagine where the shadows would fall. Using your 2B or 4B pencil, shade the areas on the opposite side of the light source. This will create depth and make your pumpkin appear more realistic.
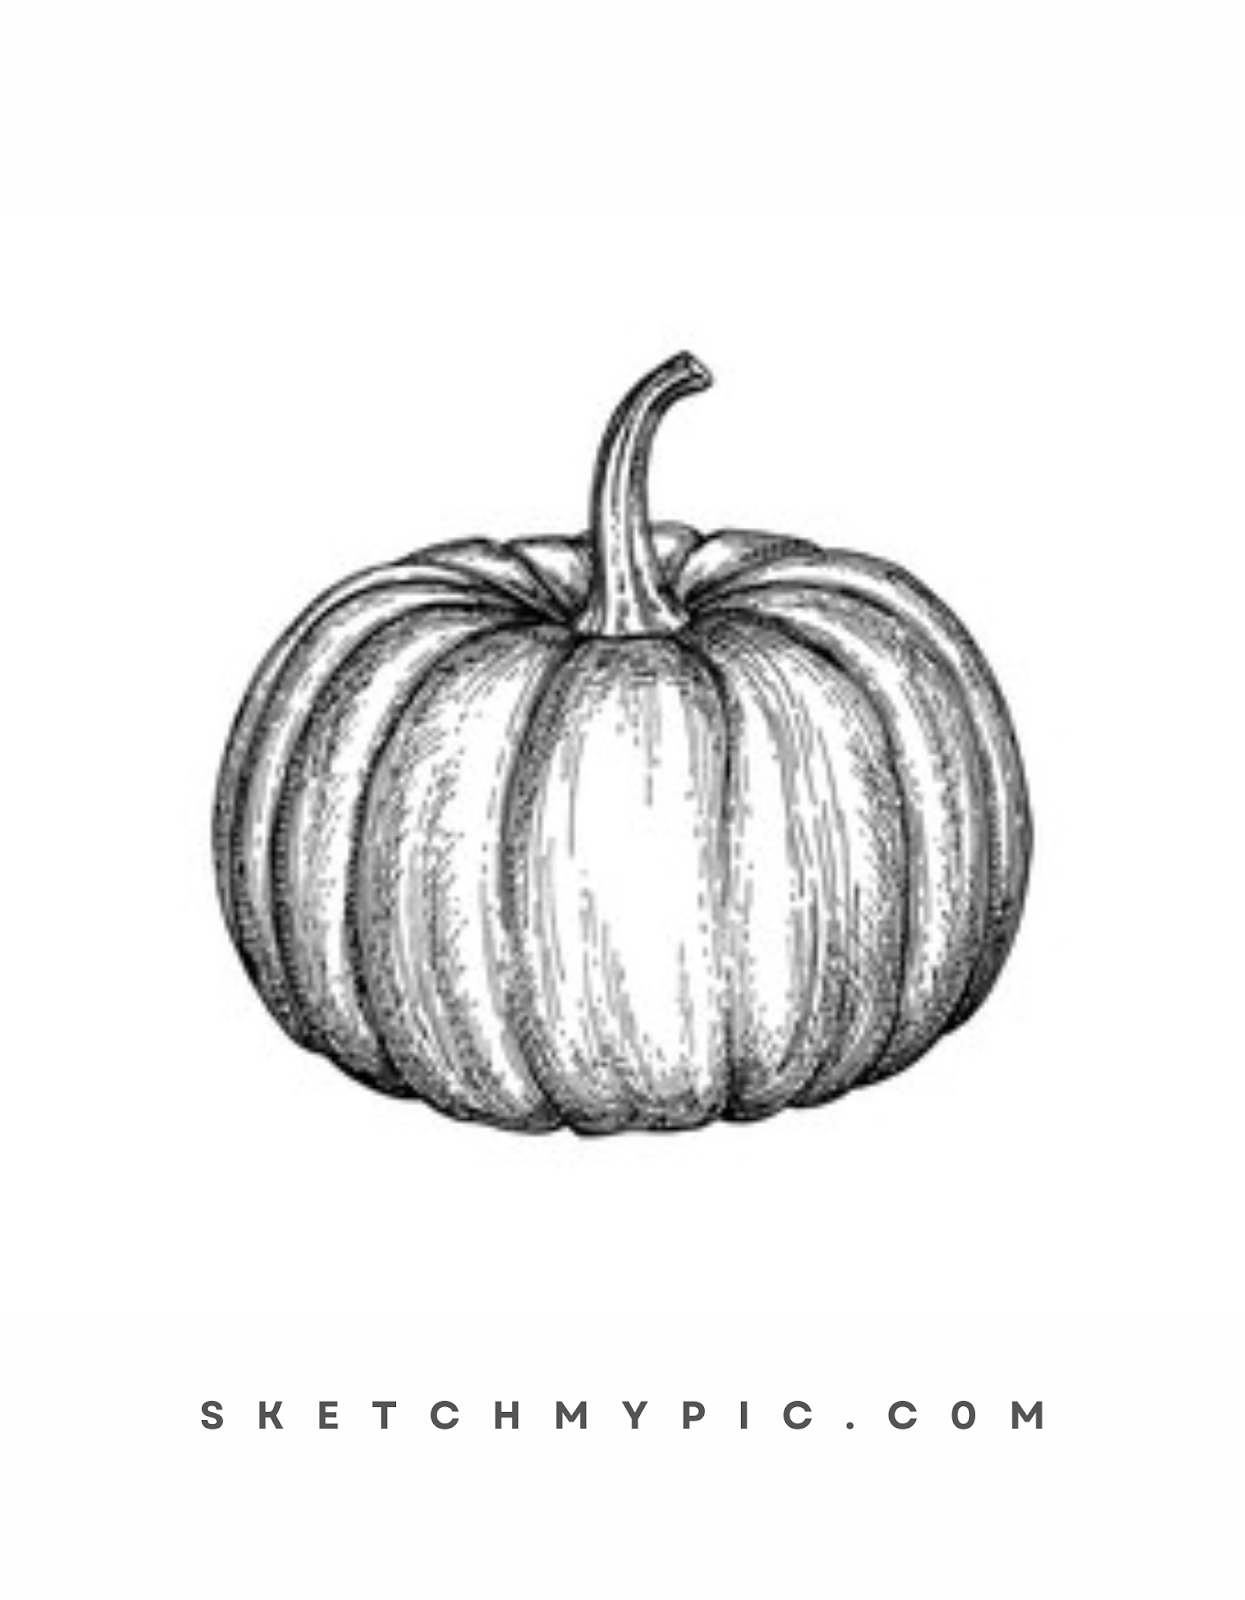
Step 6: Adding Highlights
To further enhance the three-dimensional effect, add highlights to your pumpkin. Identify the areas that would catch the most light (usually the top part) and use your eraser to remove some of the graphite gently. This technique will create the illusion of light reflecting off the pumpkin's surface.
Step 7: Texturing the Pumpkin
Pumpkins have a unique textured surface with ridges and grooves. To mimic this texture, draw short curved lines running along the sections of your pumpkin. These lines should follow the contours of the pumpkin and give it a more organic feel.
Step 8: Detailing the Stem
Now, focus on the stem and add more details to make it appear more realistic. Draw some irregular lines and bumps along the stem, indicating cracks and imperfections. This will add character to the pumpkin and make it look more natural.
Step 9: Final Touches
Review your drawing and make any final adjustments. Check if the sections are well-defined, the shading is consistent, and the overall shape looks pleasing. Take your time to refine any areas that need improvement.
Coloring Your Pumpkin Drawing
Now that you have mastered the art of drawing a pumpkin, it's time to add some vibrant colors to bring your illustration to life. Coloring your pumpkin can be a fun and creative, allowing you to experiment with different hues and shades. Whether you choose traditional orange or decide to get imaginative with your color choices, follow these steps to add a splash of color to your masterpiece:
Step 1: Selecting Your Color Palette
Before you begin coloring, decide on your color palette. For a classic pumpkin look, you'll need various shades of orange, yellow, and brown. If you're feeling adventurous, you can explore other color options, like purple, green, or even a unique patterned design. Colored pencils or watercolor paints work well for this step, depending on your preferred medium.
Step 2: Layering Colors
Start by coloring the entire pumpkin with a light layer of orange. Use gentle, even strokes to cover the pumpkin's surface smoothly. As you apply the color, leave some areas slightly lighter to create highlights and give the pumpkin a more realistic appearance. Once you have the base layer, you can build upon it by adding darker shades of orange and brown to create depth.
Step 3: Adding Shading and Highlights
As you did during the drawing process, consider the direction of the light source and add shading accordingly. Darken the areas that would naturally be in shadow, such as the sections on the opposite side of the light source. Use your darker orange and brown shades for this purpose. Conversely, use your lighter shades and even white to create highlights on the areas that would catch the most light, like the top of the pumpkin and the protruding parts of the sections.
Step 4: Blending Colors
To achieve a smooth and cohesive look, use blending techniques to merge the different shades of orange and brown. Colored pencils can be blended by applying gentle pressure with a blending tool or even your finger. Watercolor paints can be blended by adding water to the edges of different color areas and letting them flow together. Be cautious not to oversaturate the paper, as it may cause it to warp.
Step 5: Experimenting with Colors
If you've opted for a non-traditional color palette, it's time to let your creativity shine. Play around with different color combinations, such as purples, blues, or greens. Remember to adjust your shading and highlights accordingly to maintain a realistic look. Don't be afraid to try something new and unique; art is all about expressing your imagination.
Step 6: Detailing and Texturing
Once you have colored the pumpkin itself, move on to the stem. Use brown and green tones to create a natural, textured appearance. Add some variations to the stem's color, giving it a weathered and aged look. Use fine lines and strokes to accentuate the cracks and imperfections, making the stem stand out.
Conclusion
Coloring your pumpkin drawing is the final step in bringing your artwork to life. Whether you opt for a traditional orange pumpkin or an imaginative, whimsical design, the coloring process allows you to express your creativity and artistic vision. Remember to use various shades to create depth and highlights to give your pumpkin a three-dimensional appearance. Embrace the opportunity to experiment and make your drawing unique. With a splash of color, your pumpkin illustration will capture the season's spirit and showcase your artistic talent. So, grab your colors, let your creativity flow, and enjoy the art of coloring your pumpkin masterpiece!
Conclusion
Drawing a pumpkin may seem daunting, but with a little patience and practice, you can master the art of capturing this iconic fall symbol on paper. Remember to start with a basic outline and gradually add details, shadows, and highlights to make your pumpkin come to life. With each attempt, your skills will improve, and you'll find joy in creating pumpkins that reflect the beauty of the season. So, don't be afraid to experiment, and happy drawing!