By Jinee
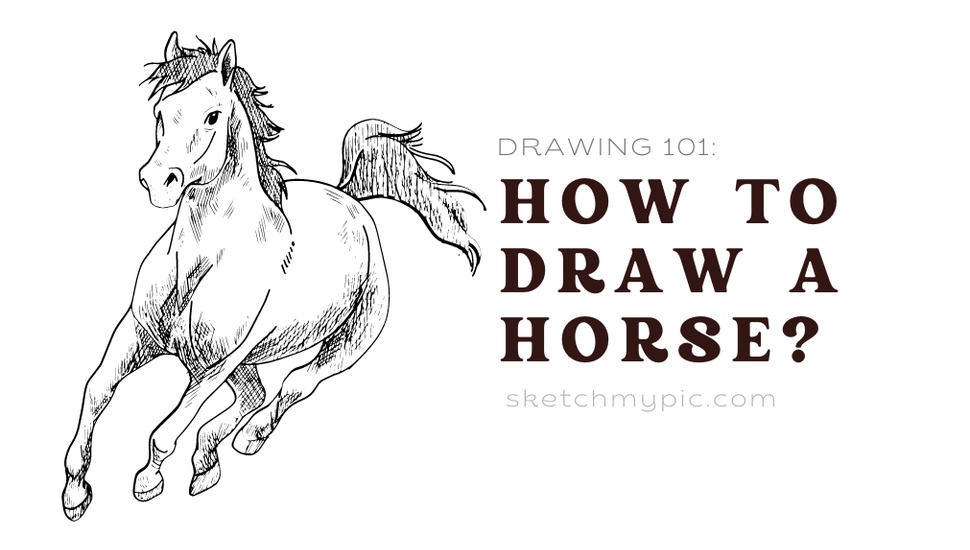
How To'sDrawing a horse is a captivating artistic pursuit that allows you to capture the grace, power, and elegance of one of nature's most majestic creatures. Whether you're a budding artist with a passion for equine art or a seasoned illustrator aiming to enhance your skills, this comprehensive step-by-step guide will take you on a creative journey to master the art of drawing horses. From understanding equine anatomy to depicting intricate details and capturing the dynamic motion, let's explore the process of creating stunning and lifelike horse drawings.
Materials Needed
Before you embark on your artistic journey, gather the following materials:
1. Drawing paper or sketchbook
2. Pencils (HB, 2B, and 4B are recommended for different tones)
3. Eraser
4. Sharpener
5. Blending tool or tissue (optional for shading)
Step 1: Understanding the Anatomy
To draw a horse convincingly, it's essential to familiarize yourself with its anatomy. Study reference images and resources to understand the proportions and bone structure of a horse. Recognize key features such as the head, neck, body, legs, and tail, and observe the distinct characteristics of different horse breeds.
Step 2: Outlining the Basic Shape
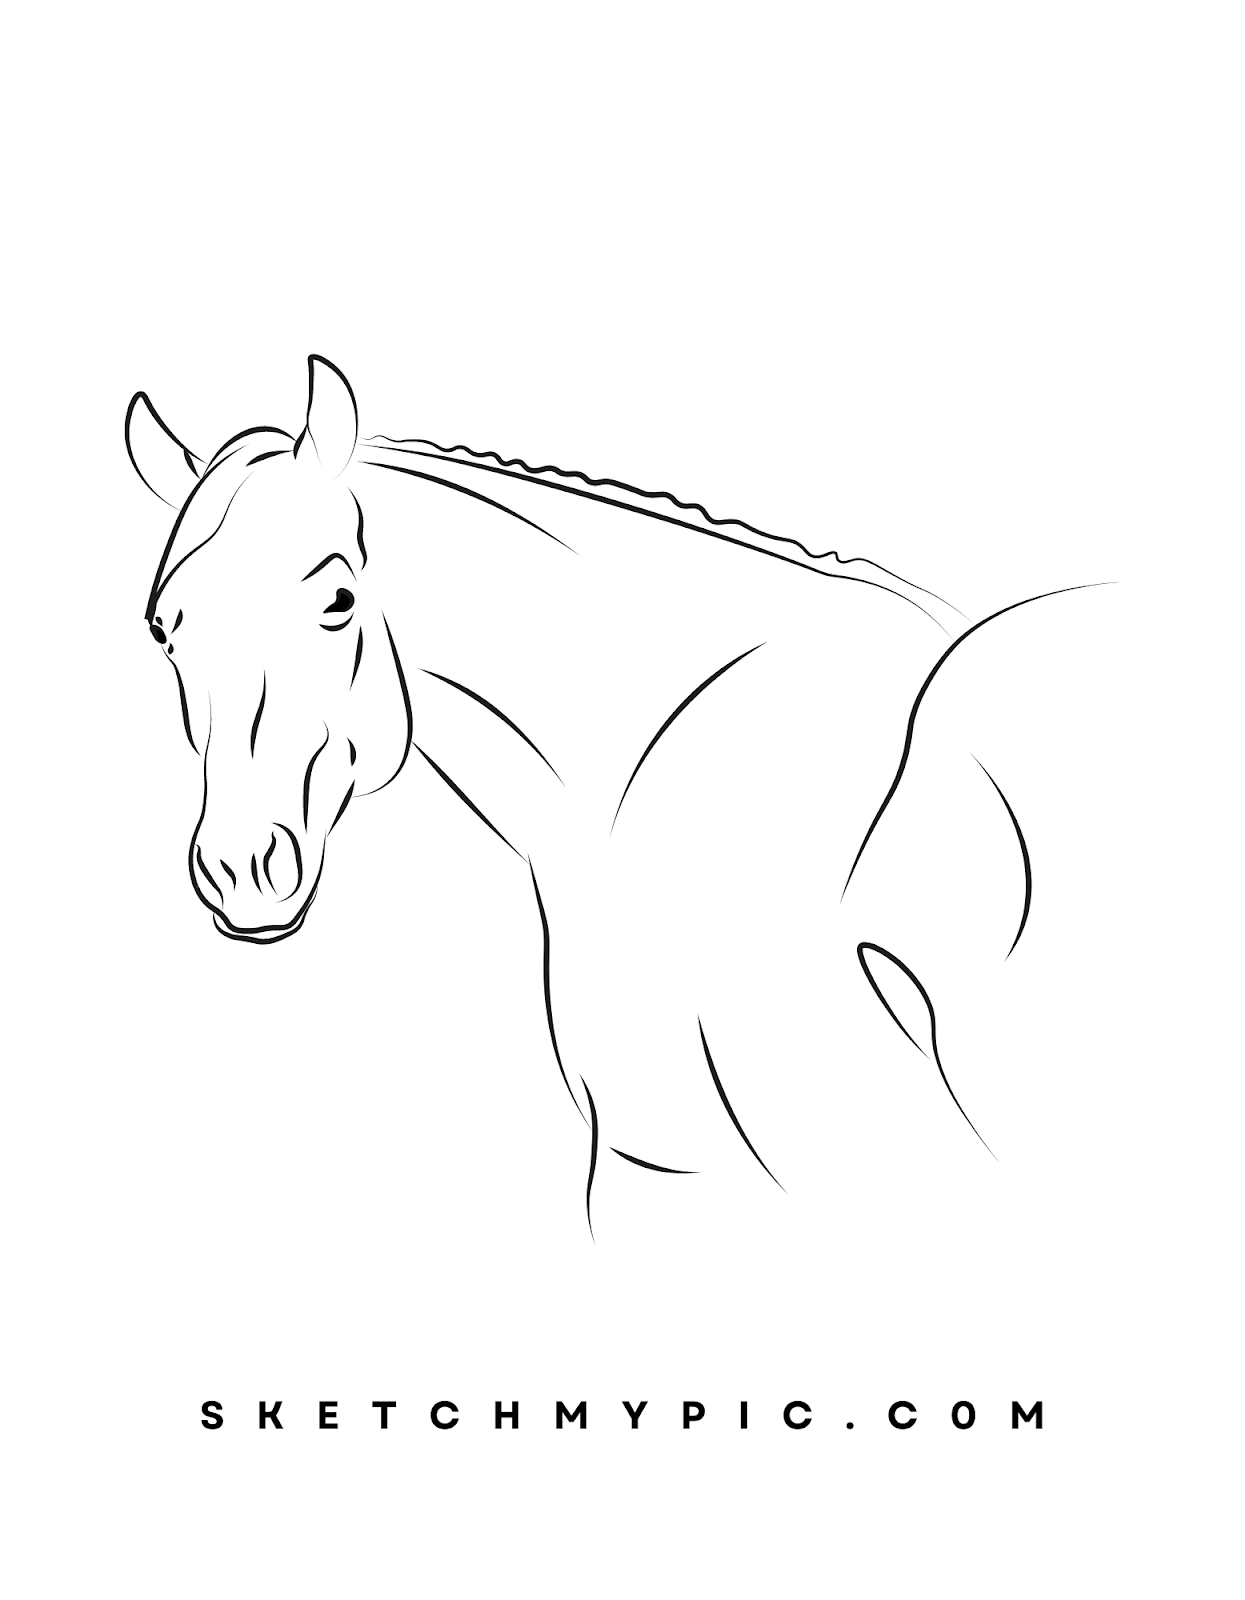
Begin by outlining the basic shape of the horse. Use light, flowing lines to sketch the general posture and stance. Focus on the horse's overall proportions, ensuring that the head, body, and legs are appropriately sized and aligned. Consider the angle from which you're drawing to capture the desired pose.
Step 3: Defining the Head and Neck
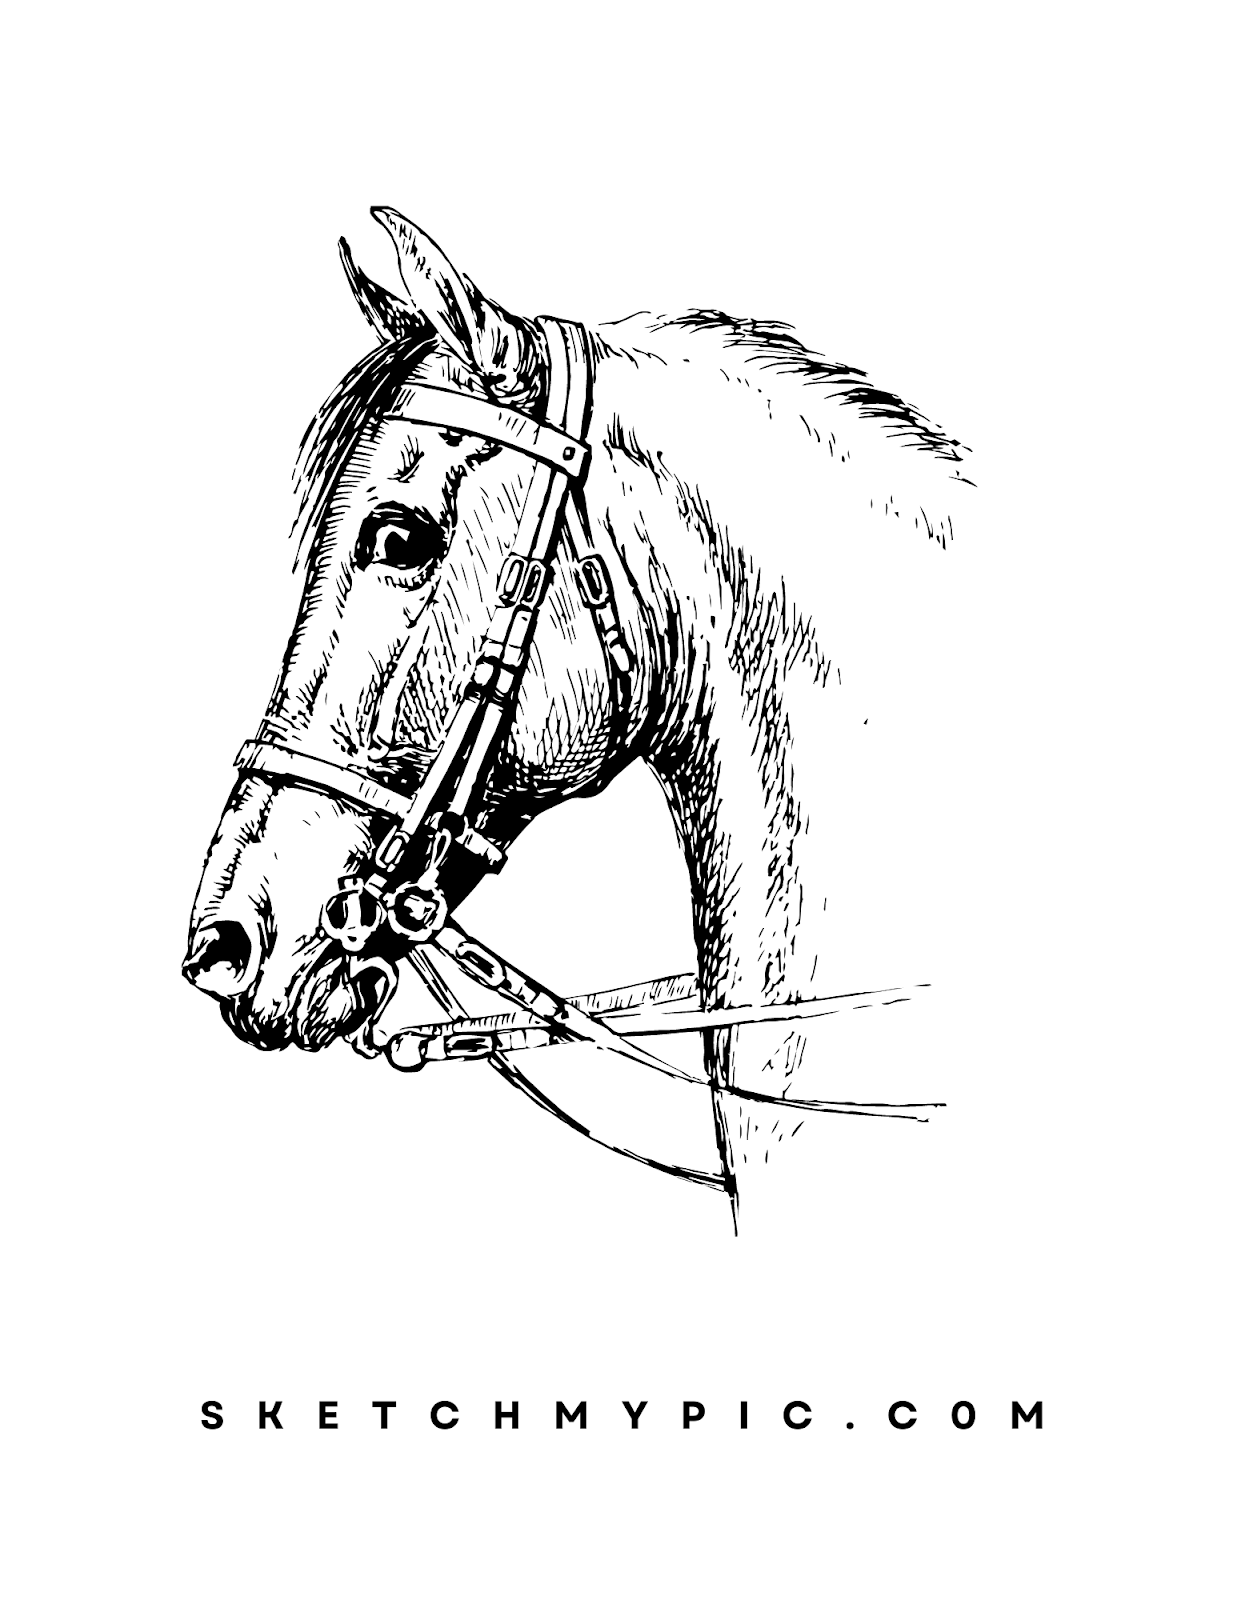
Incorporate the horse's head and neck into your drawing. Sketch the head's shape, paying attention to the placement of the eyes, ears, and nostrils. Horse ears are distinctive and expressive, so be sure to get their size and positioning right. Add the graceful curve of the neck, capturing its strength and flexibility.
Step 4: Shading for Volume
Shading is crucial for adding volume and depth to your horse drawing. Determine the direction of the light source and visualize where the shadows would naturally fall on the horse's body. Use your 2B or 4B pencil to add shading to areas that would be darker due to shadow or overlapping body parts.
Step 5: Defining the Legs and Hooves
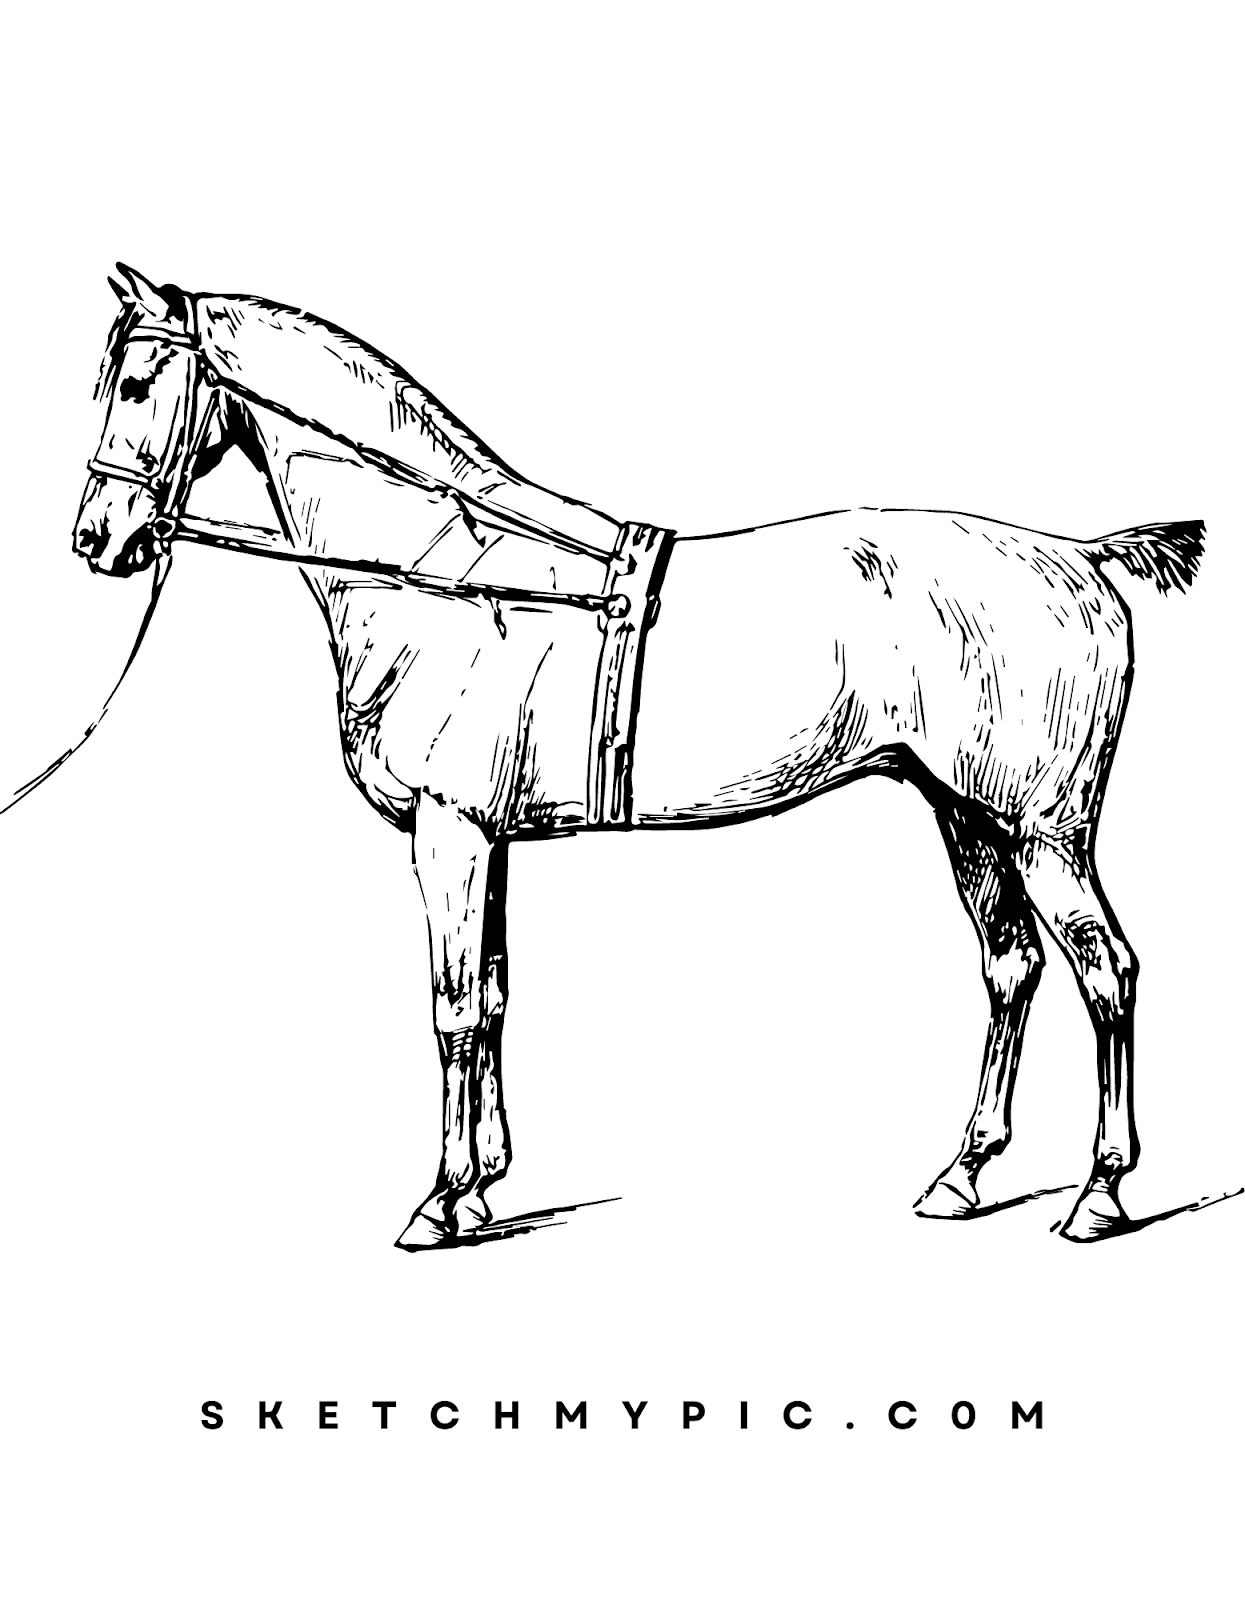
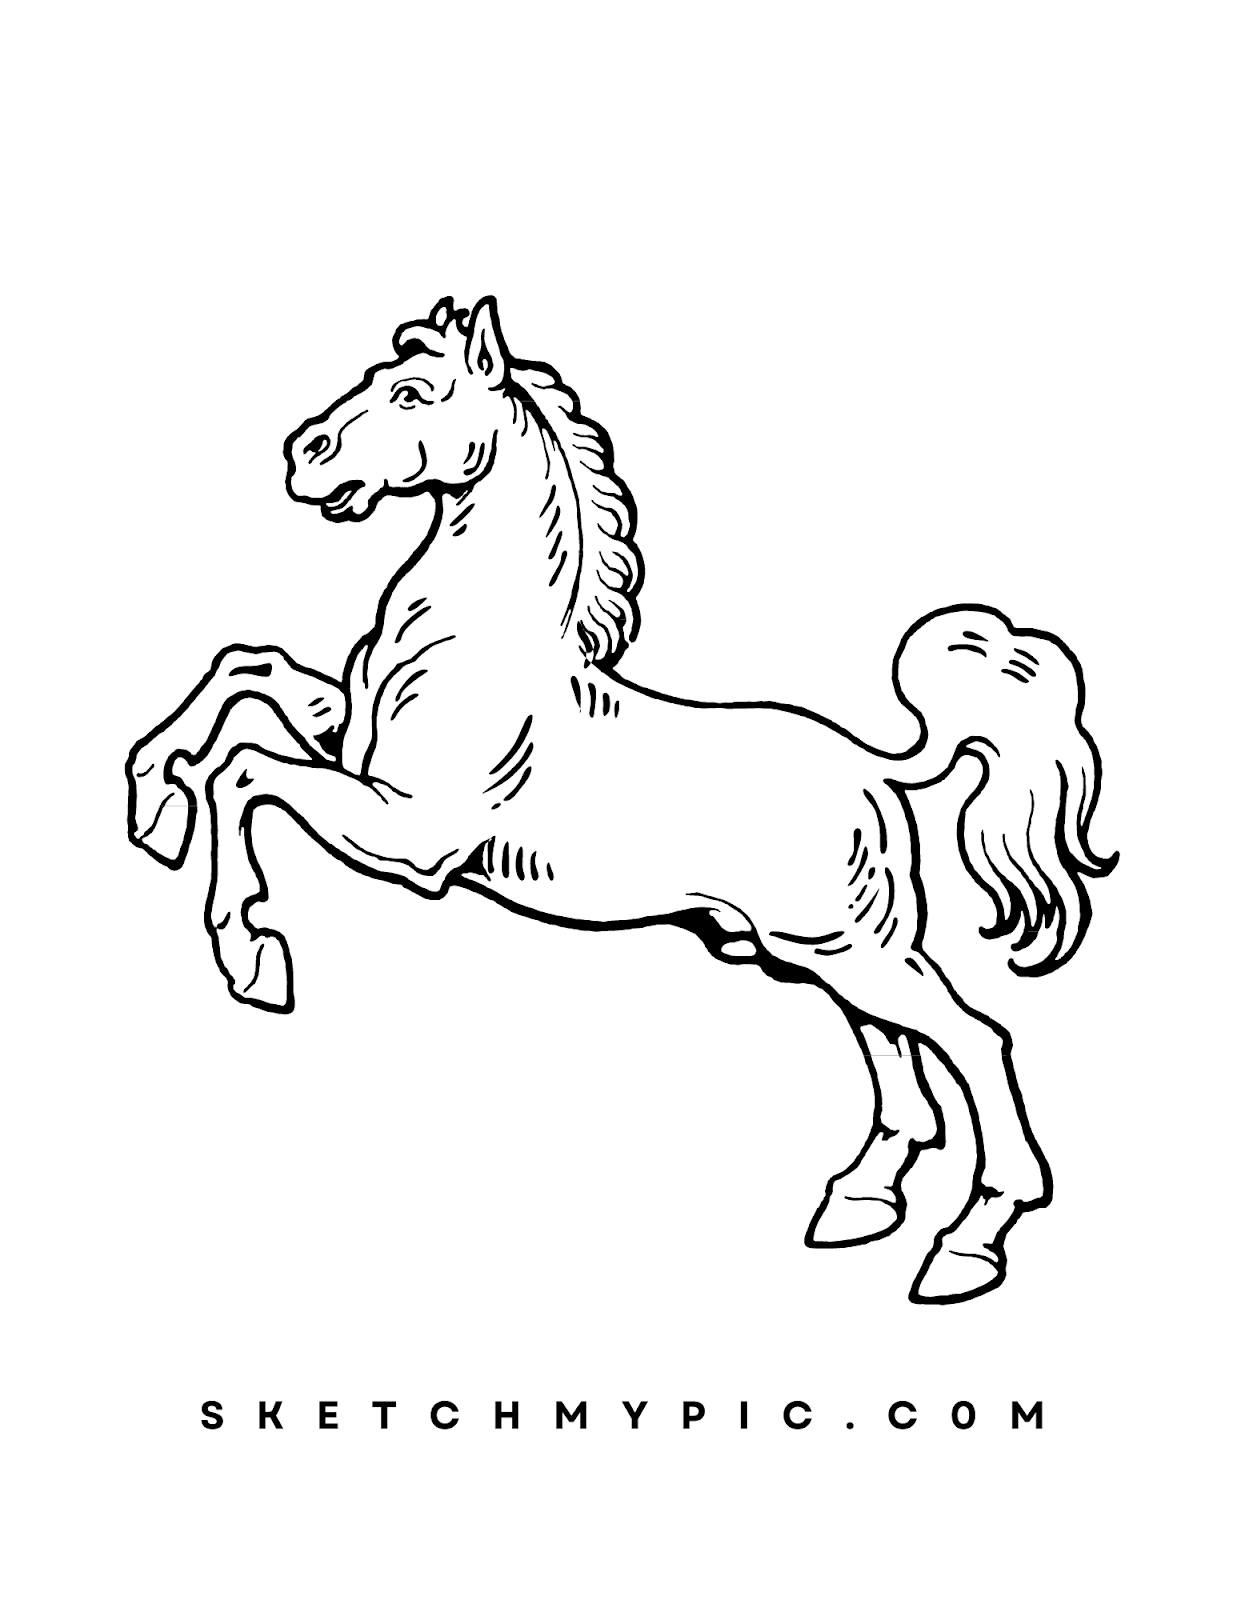
Move on to the horse's legs and hooves. Draw the legs with attention to muscle definition and bone structure. Horses have powerful legs that convey their strength and agility. Capture the bending and flexing of the joints as well as the shape of the hooves.
Step 6: Capturing the Mane and Tail
Horses' manes and tails are iconic and expressive features. Sketch the mane, keeping in mind its flow and texture. Whether it's flowing freely or braided, pay attention to its movement and body interaction. The tail, too, should reflect the horse's energy and motion.
Step 7: Adding Details and Features
As you refine your horse drawing, add finer details such as the eyes, muzzle, and facial features. Eyes are windows to the soul and can convey the horse's emotions and personality. Pay attention to the shape of the muzzle and its proportions relative to the rest of the head.
Step 8: Emphasizing Muscle Definition
Horses' bodies are defined by powerful muscles that contribute to their elegance and strength. Use shading to emphasize the muscles along the neck, shoulders, haunches, and legs. This step adds a realistic three-dimensional quality to your horse drawing.
Step 9: Blending and Refining
Consider blending and smudging your shading to create smooth transitions between light and shadow. This technique softens harsh lines and gives your horse drawing a more polished look. Use a blending tool, tissue, or your fingertip to achieve the desired effect.
Step 10: Finalizing the Expression
As you approach the final stages of your horse drawing, step back and assess the overall composition. Ensure that the proportions are accurate, the shading is well-balanced, and the horse's stance and expression resonate with authenticity. Make any necessary adjustments to refine the details and achieve a cohesive and captivating result.
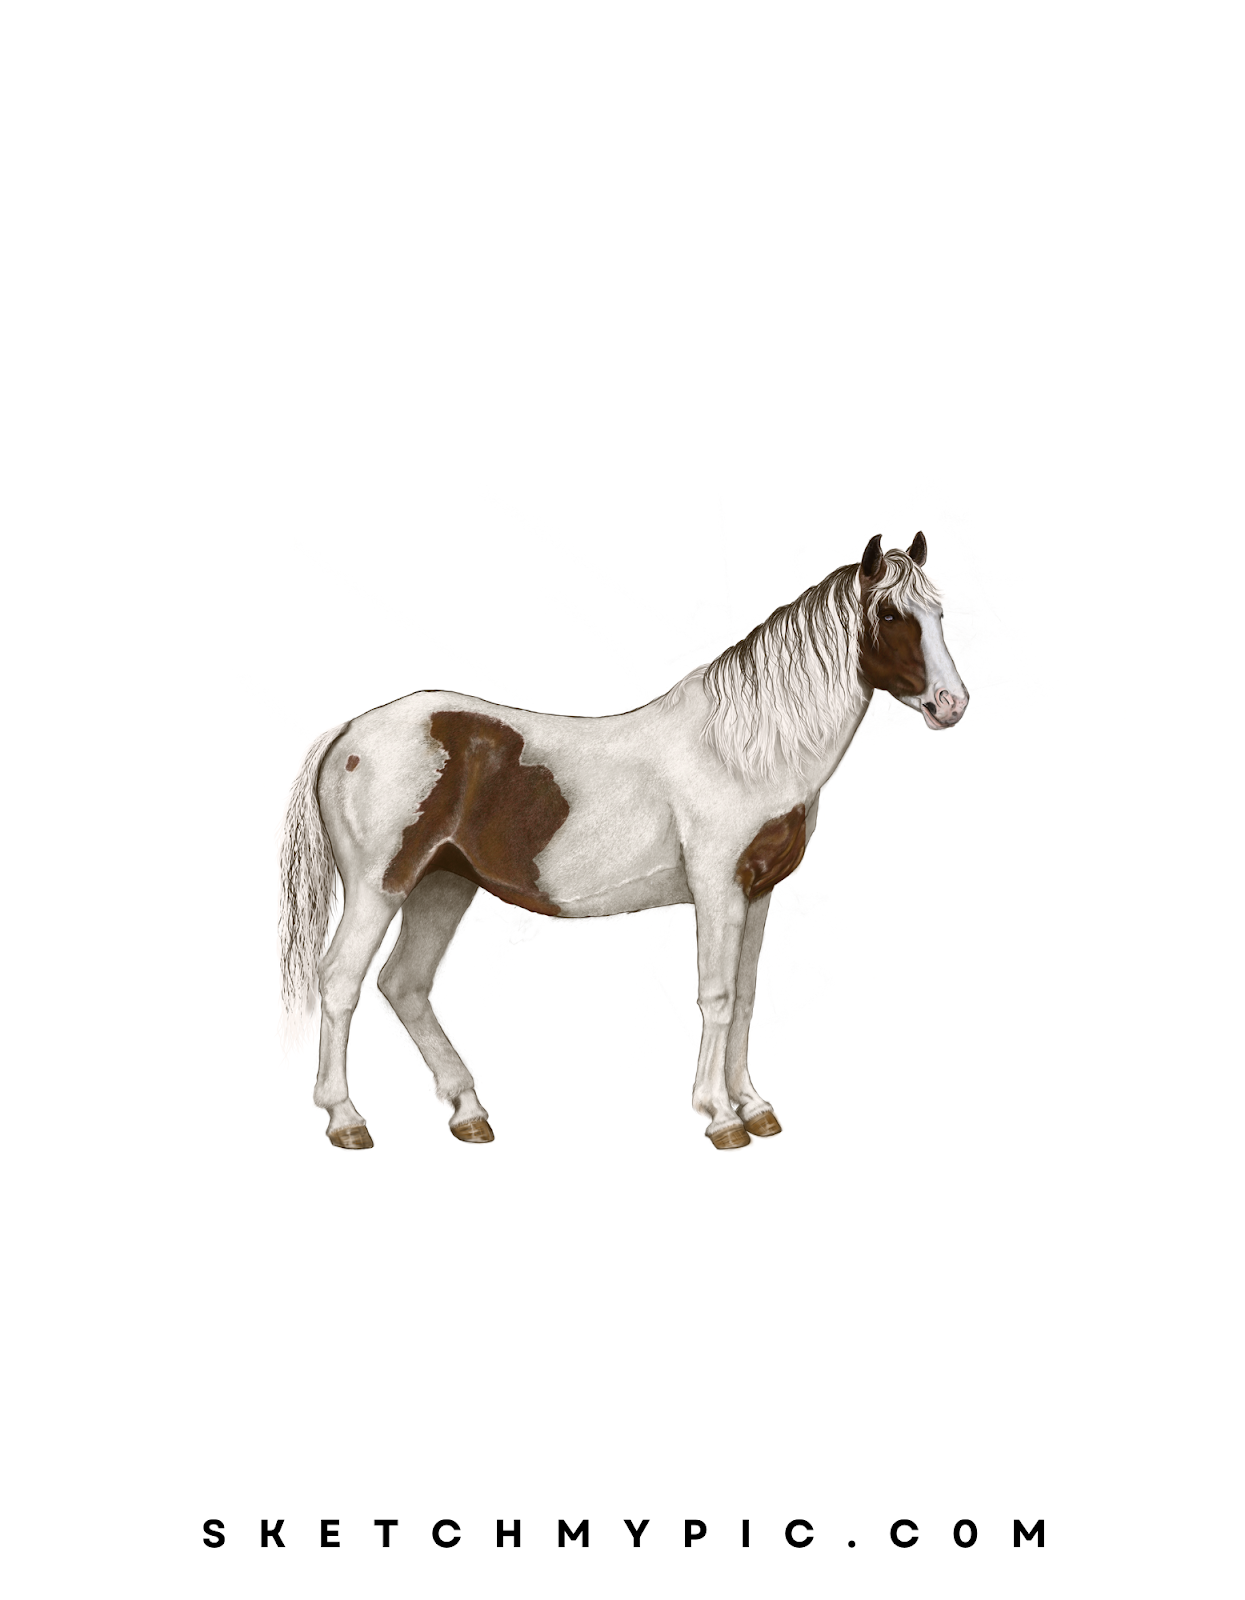
Adding Life with Color: Coloring Your Horse Drawing
Coloring your horse drawing is a transformative step that breathes life, energy, and personality into your artwork. Adding color to the horse allows you to convey its unique coat pattern, texture, and vibrant presence. Whether you're aiming for realistic equine colors or exploring imaginative color variations, follow these steps to infuse your horse drawing with captivating hues:
Step 1: Selecting Your Color Palette
Before you start coloring, decide on the coat color and pattern you want to depict. For realistic representation, refer to reference images to match the horse's coat accurately. If you're experimenting with creative color schemes, consider using colored pencils, markers, watercolor paints, or digital coloring tools based on your chosen medium.
Step 2: Coloring the Base Coat
Begin by applying the base color to the horse's coat. Use light, even strokes to cover the entire body with the chosen color. If you're using colored pencils or markers, layering multiple shades of the same color can help you achieve realistic variations in the coat color.
Step 3: Adding Shading for Dimension
Shading is essential to give your horse drawing depth and dimension. Determine the direction of the light source and visualize where the shadows would naturally fall on the horse's body. Use a slightly darker shade of your base color to add shading to areas that would be darker due to shadow or overlapping body parts.
Step 4: Creating Highlights
Highlights contribute to the horse's vitality and realism. Identify the areas where the light source hits the coat, such as the top surfaces of the body, the mane, and the tail. Use a lighter shade of your base color or even a touch of white to add highlights that mimic the reflection of light on the hair.
Step 5: Emphasizing Texture
To make your horse drawing more authentic, add texture using short, light strokes or dots. This technique mimics the texture of the horse's coat and enhances its three-dimensional quality. Apply these strokes following the direction of the coat's hair, varying the length and thickness to create the appearance of fur.
Step 6: Experimenting with Mane and Tail Colors
The mane and tail contribute to the horse's identity and style. Experiment with different colors for the mane and tail, keeping in mind their texture and flow. Use the same principles of shading and highlighting to add depth and realism to these elements.
Step 7: Incorporating Eye and Hoof Details
Pay attention to finer details such as the eyes and hooves. Horses' eyes can be expressive and convey their emotions, while hooves exhibit different shades and textures. Use appropriate colors and shading techniques to capture these intricate features.
Step 8: Blending for Realism
To achieve a smooth and realistic color transition, consider blending and smudging your colors. Use a blending tool, tissue, or your fingertip to gently blend the shades together. This technique softens the transitions between colors and creates a more cohesive appearance.
Step 9: Finalizing the Expression
As you approach the final stages of your colored horse drawing, step back and evaluate the overall composition. Ensure that the colors are well-blended, the shading is coherent, and the horse's presence is visually captivating. Make any necessary refinements to enhance the details and achieve a harmonious result.
Conclusion
Drawing a horse is a rewarding artistic endeavor that allows you to capture this magnificent creature's beauty, strength, and grace.
By understanding the anatomy and following the step-by-step guide, you can create horse drawings that are both realistic and thought provoking.
Embrace the opportunity to experiment with different poses, expressions, and styles to showcase your artistic prowess.
Drawing horses enables you to convey movement, tell stories, and celebrate the elegance of nature's creations. So, pick up your pencils, immerse yourself in the world of equine art, and revel in the art of creating stunning and lifelike horse drawings!