By Jinee
How To'sDrawing a Christmas tree is a heartwarming and creative endeavor that encapsulates the spirit of the holiday season. Whether you're a passionate artist eager to capture the magic of Christmas or a beginner looking to learn the art of tree drawing, this comprehensive step-by-step guide will lead you through the process of creating a stunning and festive Christmas tree illustration. From understanding tree anatomy to adding ornaments and lights, let's embark on a creative journey to draw a Christmas tree that brings joy and holiday cheer to your canvas.
Materials Needed
Before you start drawing a Christmas tree, gather the following materials:
1. Drawing paper or sketchbook
2. Pencils (HB, 2B, and 4B are recommended for different tones)
3. Eraser
4. Sharpener
5. Ruler
6. Colored pencils, markers, watercolors, or other coloring tools (optional)
Step 1: Grasping The Tree Shape
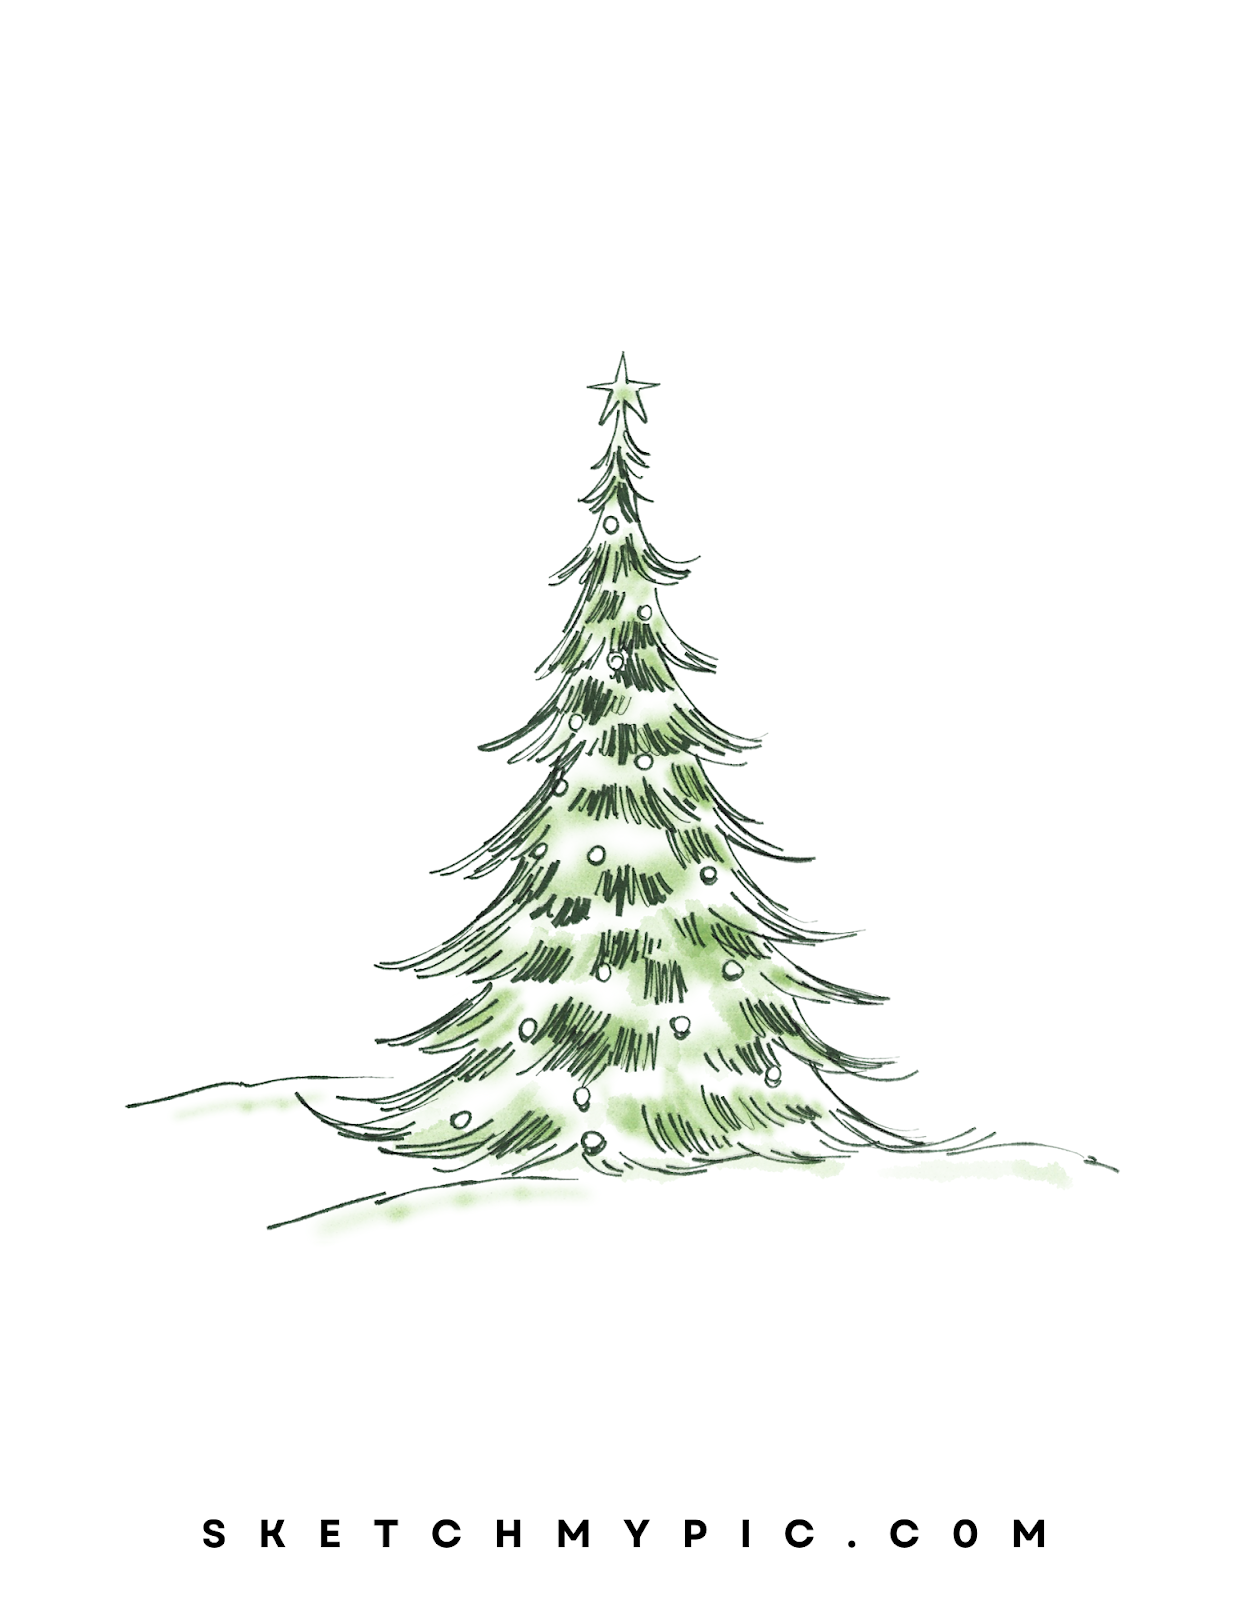
Begin by understanding the basic shape of a Christmas tree. Visualize the triangular shape that forms the foundation of the tree. The branches extend outward, becoming shorter as they move upward, while the trunk grounds the tree's structure.
Step 2: Outlining the Tree Base
Using a pencil, lightly outline the base of your Christmas tree. Draw a horizontal line to represent the ground, and then sketch a simple triangle above it. This triangle will serve as the foundation of your tree.
Step 3: Sketching the Branches
Starting from the bottom of the triangle, sketch the branches by drawing pairs of lines extending outward. These lines should gradually become shorter as they move up the triangle. Alternate the branches on both sides to maintain symmetry.
Step 4: Defining the Trunk
Draw the trunk of the Christmas tree by extending lines downward from the base of the triangle. The trunk should be thicker than the branches and can include textured lines to depict the bark.
Step 5: Adding Texture to the Tree
To create the appearance of foliage, add texture to the branches. Use short, irregular lines to simulate the look of needles or leaves. Concentrate the texture on the outer edges of the branches while leaving the inner portions smoother.
Step 6: Designing Ornaments
Draw circles, stars, and other shapes to represent ornaments on the tree. These ornaments can be evenly spaced or clustered in specific areas. Feel free to get creative with the sizes and designs of the ornaments.
Step 7: Stringing Lights (Optional)
If you're aiming for a festive touch, draw string lights on the Christmas tree. Use short, curved lines to depict the wires, and add small circles along the lines to represent the bulbs.
Step 8: Coloring Your Christmas Tree (Detailed Section Below)
If you choose to add color to your Christmas tree, consider using shades of green for the foliage and a contrasting color for the ornaments and lights. Experiment with colored pencils, markers, watercolors, or digital coloring tools to bring your tree to life.
Step 9: Adding Presents (Optional)
To enhance the holiday atmosphere, draw small rectangular shapes at the base of the tree to represent presents. You can also add bows or ribbons for a festive touch.
Step 10: Background and Final Touches
Consider adding a simple background, such as a snowy landscape or a cozy living room, to complement your Christmas tree. As you approach the final stages, step back and assess the overall composition. Ensure that the lines are clean, the proportions are accurate, and the tree radiates holiday charm. Make any necessary refinements to achieve a polished result.
A Splash of Festive Colors: Coloring Your Christmas Tree
Coloring your Christmas tree drawing is a delightful step that infuses your artwork with the vibrant and joyful hues of the holiday season. The right color choices can evoke the warmth and magic associated with Christmas trees, making your drawing truly come to life. Whether you're aiming for a traditional green tree or experimenting with imaginative color schemes, follow these steps to add a touch of festive brilliance to your Christmas tree illustration:
Step 1: Choose a Tree Color
Start by choosing a base color for your Christmas tree. Traditional Christmas trees are depicted in shades of green to represent their lush foliage. However, feel free to explore different shades of green to achieve the desired visual effect. For a whimsical twist, you might consider experimenting with unconventional colors like blue or purple.
Step 2: Apply Base Color
Using your chosen coloring tools, apply the base color to the tree's foliage. If you're using colored pencils or markers, layer the color to create depth and texture. If you're using watercolors, apply a wash of the base color using light, even strokes.
Step 3: Add Depth with Shading
Shading adds dimension to your Christmas tree drawing. Visualize the direction of the light source and determine where shadows would naturally fall on the tree. Use a slightly darker shade of your base color to add shading to areas that would be in shadow, such as the inner parts of the branches.
Step 4: Create Highlights
Highlights contribute to the realism and fullness of the Christmas tree. Identify the areas where the light source hits the tree's foliage, such as the outer edges of the branches. Use a lighter shade of your base color to add highlights that simulate the reflection of light.
Step 5: Embrace Texture
To make your Christmas tree appear more authentic, consider adding texture to the foliage. Use short, irregular strokes or dots to mimic the look of individual needles or leaves. Apply these strokes unevenly across the branches to achieve a natural and varied texture.
Step 6: Decorate the Ornaments
Color the ornaments on your Christmas tree using a variety of colors that match the festive spirit. Choose shades that contrast with the tree's foliage to make the ornaments stand out. Use colored pencils, markers, or other coloring tools to bring vibrancy to the decorations.
Step 7: Illuminate with Lights (Optional)
If you've drawn string lights on your Christmas tree, color the bulbs with bright, cheerful colors. Use shades of yellow, red, blue, and green to represent different types of lights. Allow the bulbs to radiate warmth and glow on your tree.
Step 8: Enhance the Trunk
Color the trunk of the Christmas tree using shades of brown to depict the natural texture of wood. You can add darker lines and details to represent the tree's bark. This step adds grounding and stability to your tree's overall appearance.
Step 9: Add Colorful Presents (Optional)
If you've included presents at the base of your tree, color them using a variety of vibrant colors. Add bows, ribbons, and patterns to make the presents look festive and inviting.
Step 10: Final Touches and Assessment
As you approach the final stages of coloring your Christmas tree, step back and assess the overall composition. Ensure that the colors are well-blended, the shading is realistic, and the tree exudes the holiday charm you envisioned. Make any necessary refinements to achieve a polished and visually captivating result.
Conclusion
Drawing a Christmas tree is a delightful and festive endeavor that captures the enchantment of the holiday season. By following this step-by-step guide, you can create Christmas tree illustrations that evoke joy, warmth, and holiday spirit.
Embrace the opportunity to experiment with different textures, colors, and ornament designs to create a tree that resonates with your artistic vision.
Drawing Christmas trees allows you to celebrate tradition, spread happiness, and share the magic of the holidays through your art. So, gather your drawing tools, immerse yourself in the festive atmosphere, and delight in the art of bringing a beautiful and heartwarming Christmas tree to life on your canvas!