By darakshan
Tips and Tricks GuideWant to learn how to sketch? Well, you have to keep reading!
First, grab a piece of paper and charcoal or pencil, and follow the techniques below with small tips and tricks - such as adding depth, contrast, and your unique style. You can be more precise by learning and improving, and your work will be valued. Below are a few techniques to help you learn how to sketch like a pro.
The following are the 17 techniques that you can
Source: Google Images
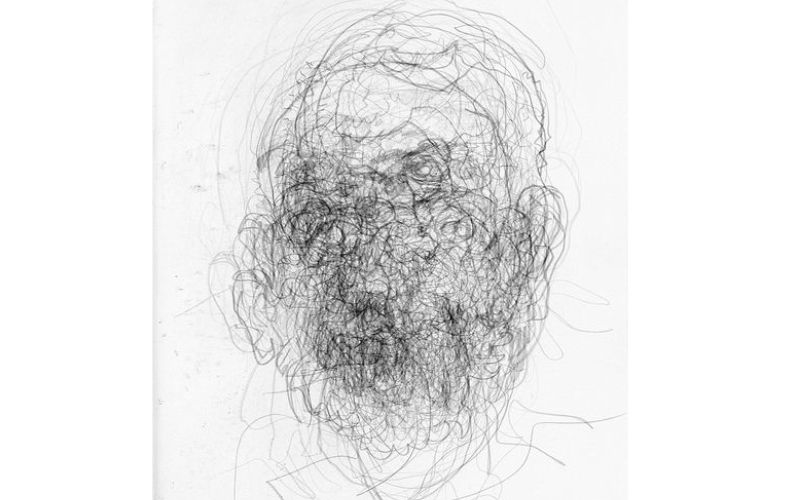
Layering pencil marks is not the same as layering paint. Graphite is a translucent medium to create a finished look with one layer. Layering drawing means starting with light strokes and gradually building in dark areas to create a shadow.
Source: Google Images
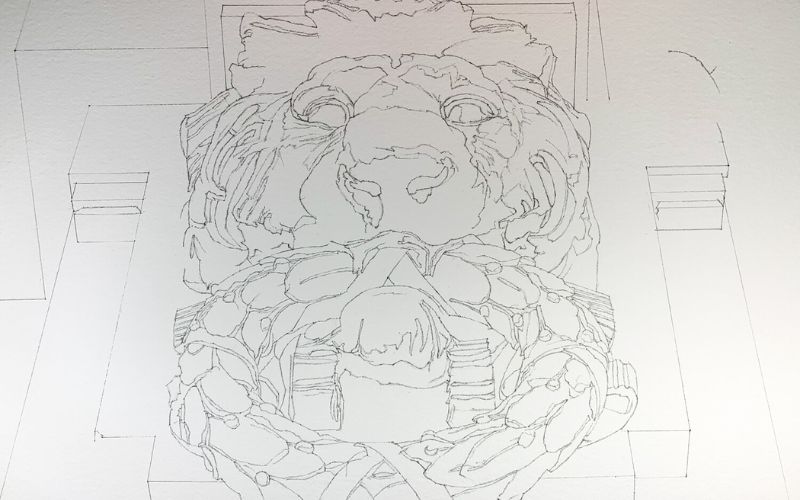
Underdrawing serves as the base layer of your artwork. It can be the first stage of drawing. This is best for drawing that needs accuracy and requires more time. You can draw the subject with fine lines and slowly build the shades using strokes. To enhance the accuracy, you can create a sketch on a piece of paper and transfer it to other paper using tracing paper.
Source: Google Images
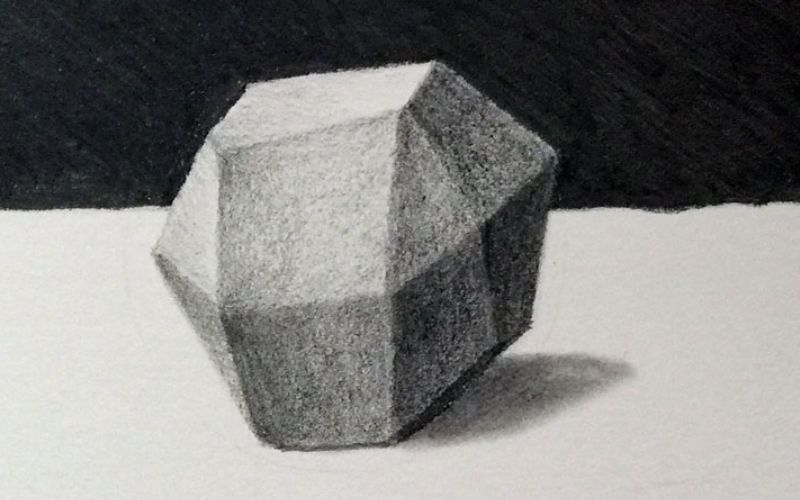
The methods of hatching, stippling, and tonal sketching are a part of shading techniques. These create depth in your art and add value to it. In art, value means a relative lightness or darkness of a color. Thus, using these techniques, you can create highlights and shadows, giving your drawing depth and form.
Source: Google Images
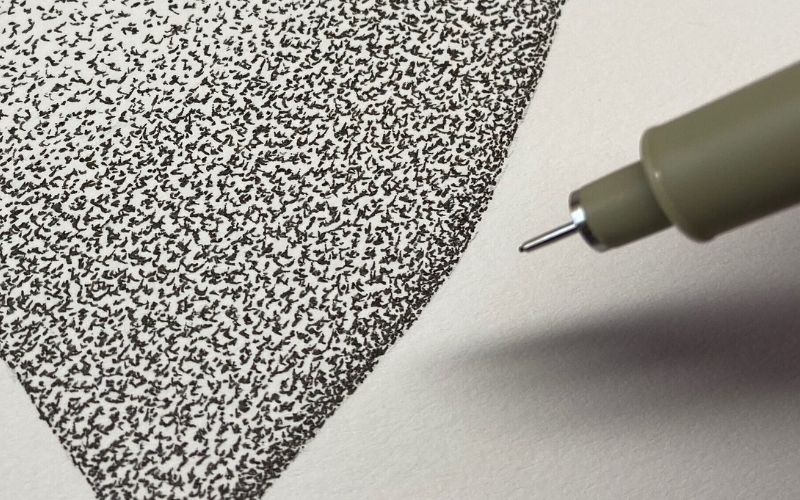
Stippling creates a similar pattern to emphasize darker and lighter areas. You can use dotted patterns to render values. Close dots resemble darker regions, whereas dots far from each other resemble lighter regions. Using a pencil with a fine tip is recommended to create more precise drawings.
Source: Google Images
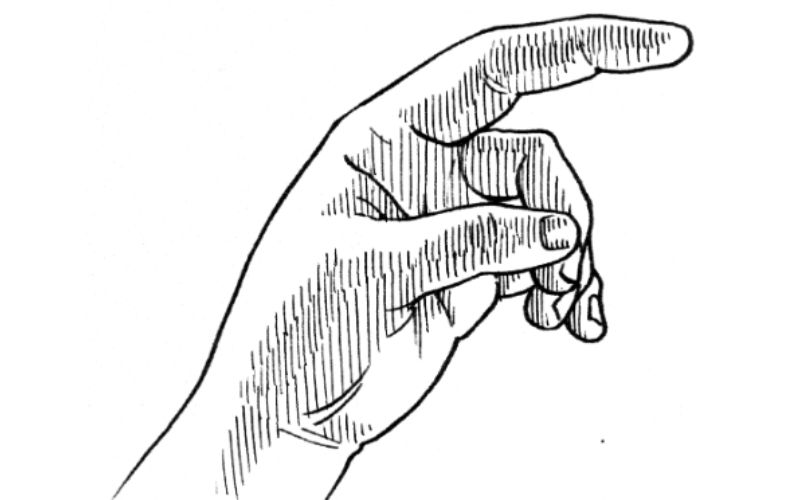
Hatching creates parallel lines to give the illusion of light and shadow. Draw lines closer enough to create dark values and lines away from each other to create highlights and mid tones. For darker regions, apply more pressure to the pencil.
To master the art of hatching, hold the pencil loose - this means draw using your elbow and keep your wrist straight. This will create long lines.
Source: Google Images
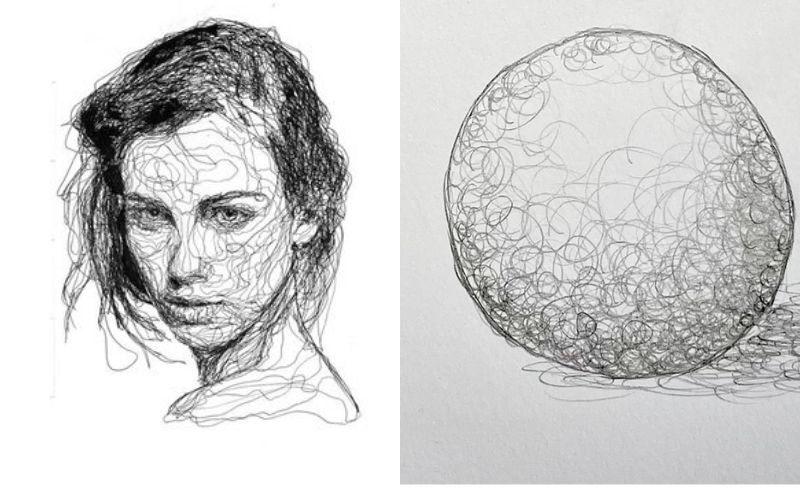
Scumbling is a technique where small circular marks are created on one another to create a textured appearance. You do not have to create a neat and clean circle. Apply pressure to create darker tones, and you can layer different colors on top of the other circle to alter the hues and tones.
Source: Google Image
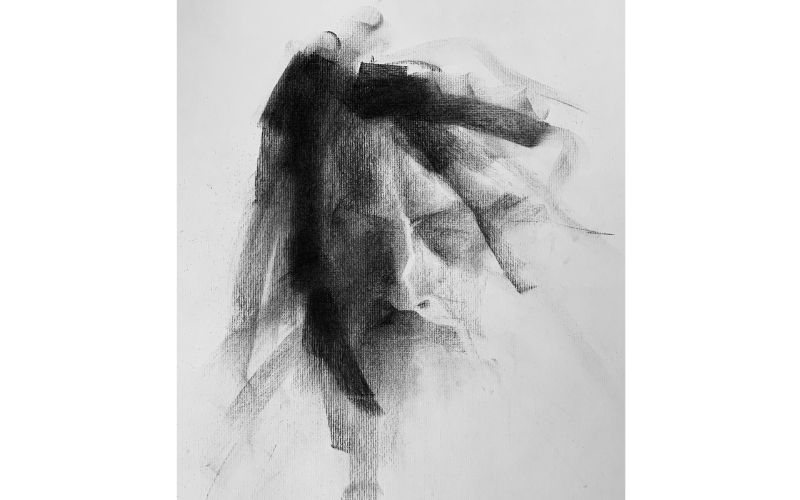
This shading technique is quite simple and intuitive of all the drawing techniques. All you need to do is apply pressure on the pencil and place the shadows in the artwork. You can use an unsharpened pencil as it can create softer lines.
Source: Google Images
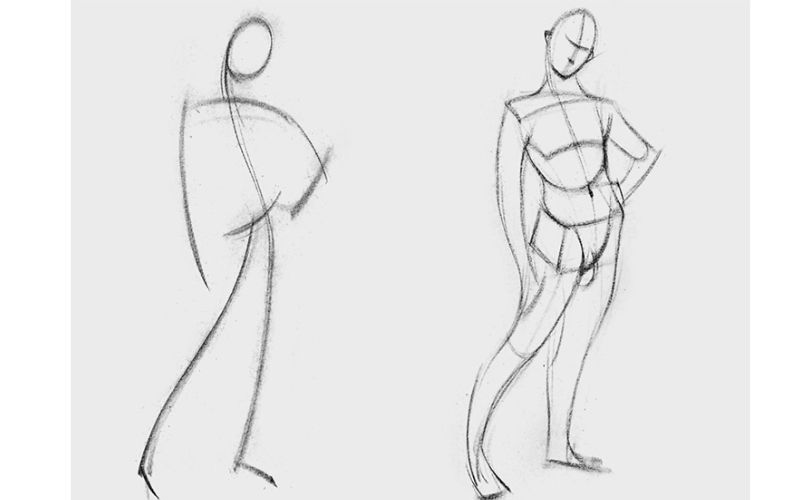
This technique is applied to drawing human forms and capturing the action and pose of the figure. The purpose of this technique is to be quick and not overthink the placement of lines. You only need to focus on the figure you are drawing - the rest of the details can be added later. It is great if you are a portrait artist.
Source: Google Images
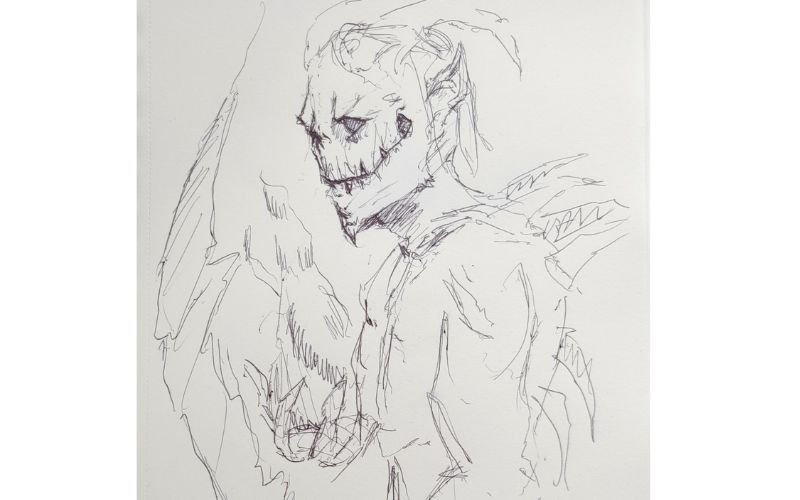
This technique gives a more relaxed and effortless style. It is best for beginners and only used to achieve fine lines. By loose sketching, you can practice drawing effectively without making mistakes. You can create a loose drawing and then erase the part you do not need.
Source: Google Images
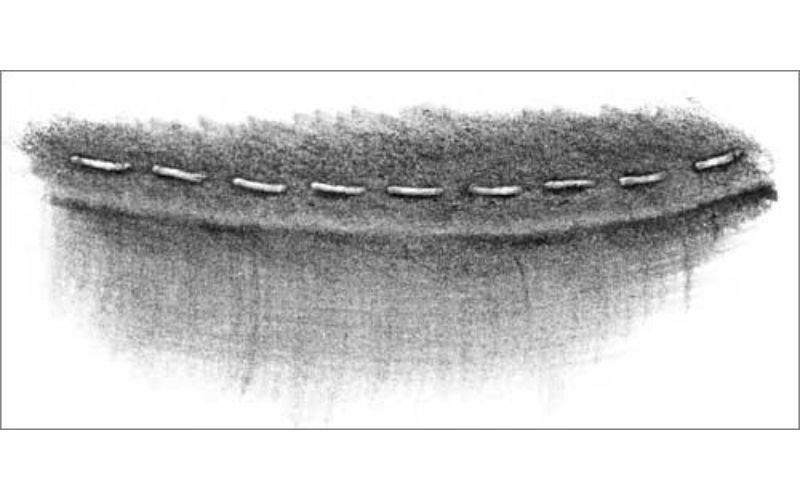
The indenting technique is used to show white lines on the color marks. You can draw lines on the paper and trace them with a pencil that will show the white lines on the paper. You can either create it using tracing paper or draw with a pencil over your paper. You can also use a stylus to create such dent.
Source: Google Images
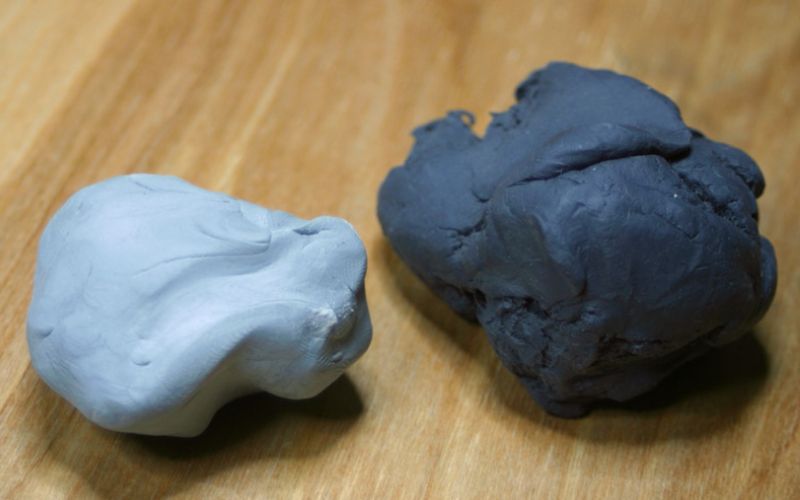
This technique is used to lift the pencil marking from the paper and reveal white highlights. This technique is used to eliminate any ultra-slim lines. It is also used to highlight delicate details like strands of hair in a human figure. Also, you can use a kneaded gum eraser to erase small areas or roll it across the paper to lift larger areas of the pencil. These types of erasers are soft and do not erase larger areas.

Source: Google Images
Detailing adds depth to the art. Use a quality pencil and a sharpener to keep the edge pointy. The precise edge of the pencil helps to create more fine lines and dots and adds detail to the image. Hold the pencil close to the tip for that extra precision.
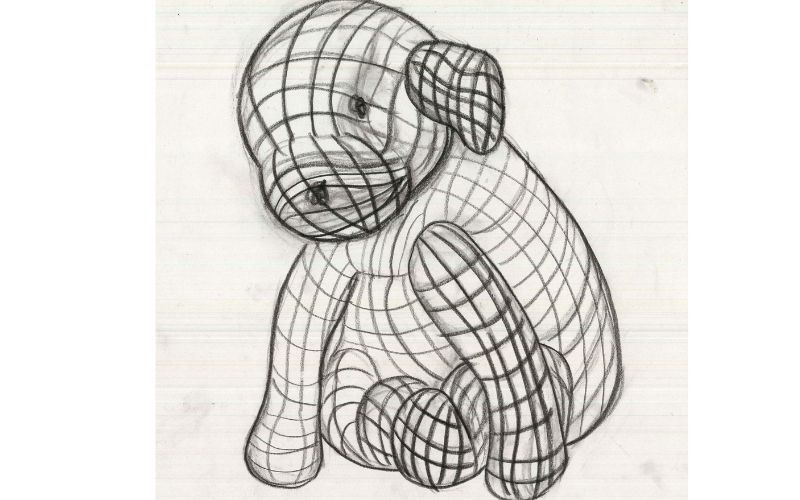
In this drawing, the outline weight and the spacing between the subject represent the subject volume. Parallel lines are drawn across the subject, which is usually not visible. Contour Line Drawing
Source: Google Images
A contour shows the outline of a subject. It shows the outline of edges and details. Use the line weight to show the 3D form of the subject. You can create darker or lighter lines as per the art - darker lines indicate areas of the subject that appear closer, whereas lighter lines represent areas further away from view.
The following are the supplies you would require when you start drawing -
Art is a way to mix real-life experience with imagination. Pick a subject and start working on it using strokes and lines. Using correct techniques for drawing can help you create amazing sketches which will stand out and look great. You can also use a sketching tool to create any picture into a sketch within a second.